Easy Knitting Stitch Pattern for Sweaters

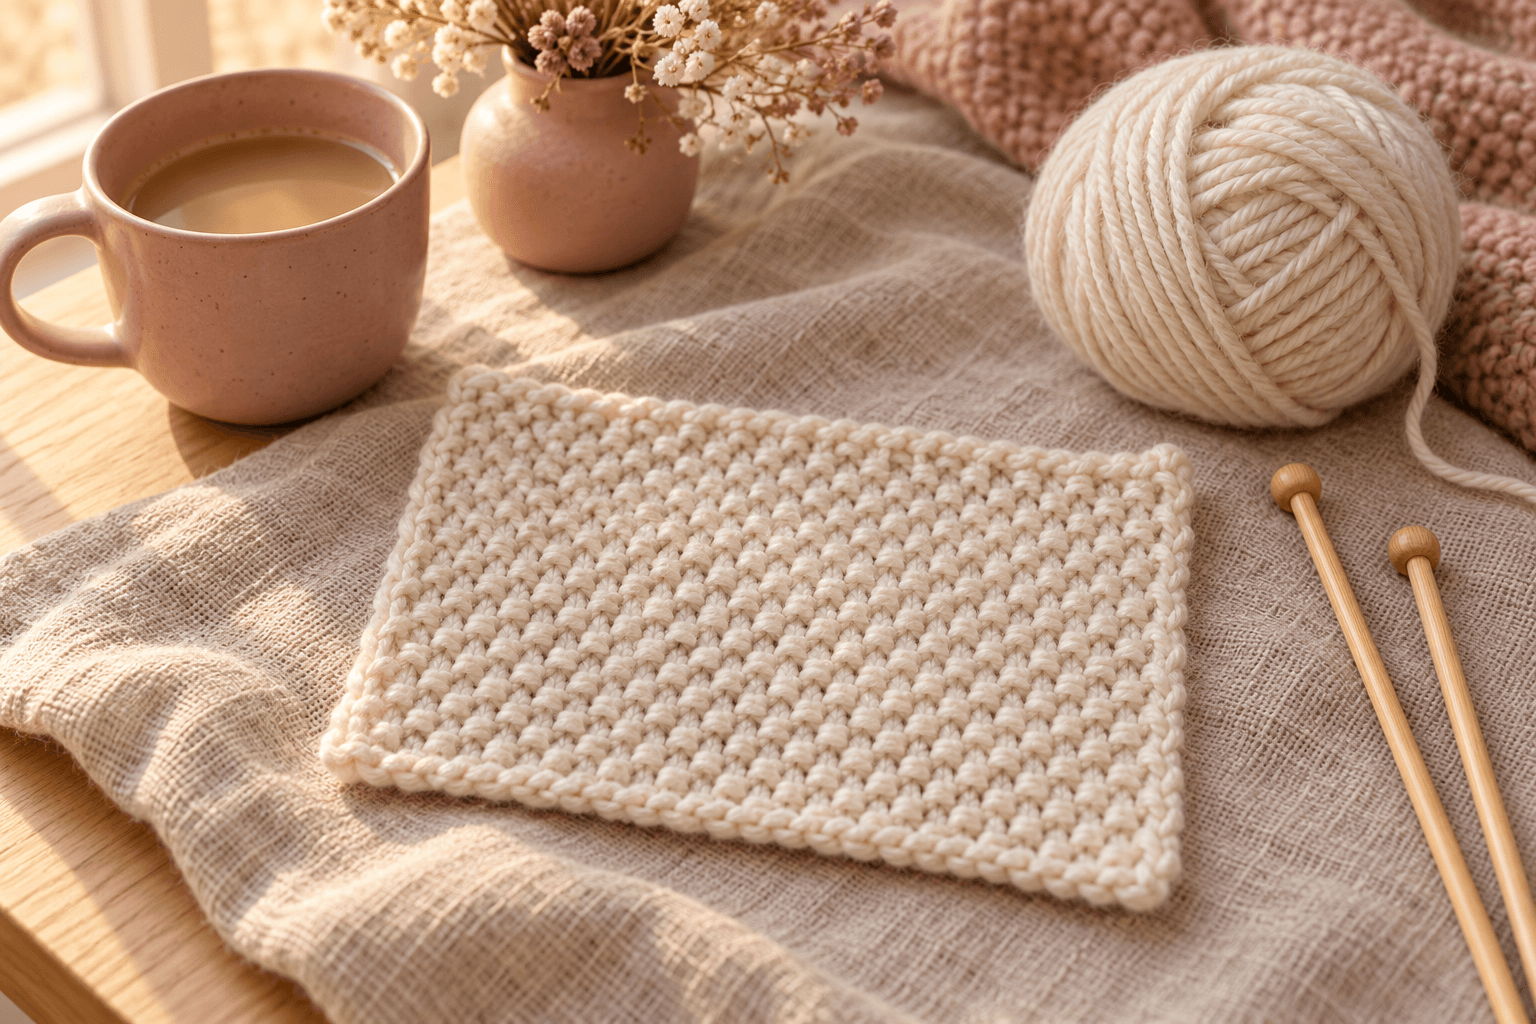
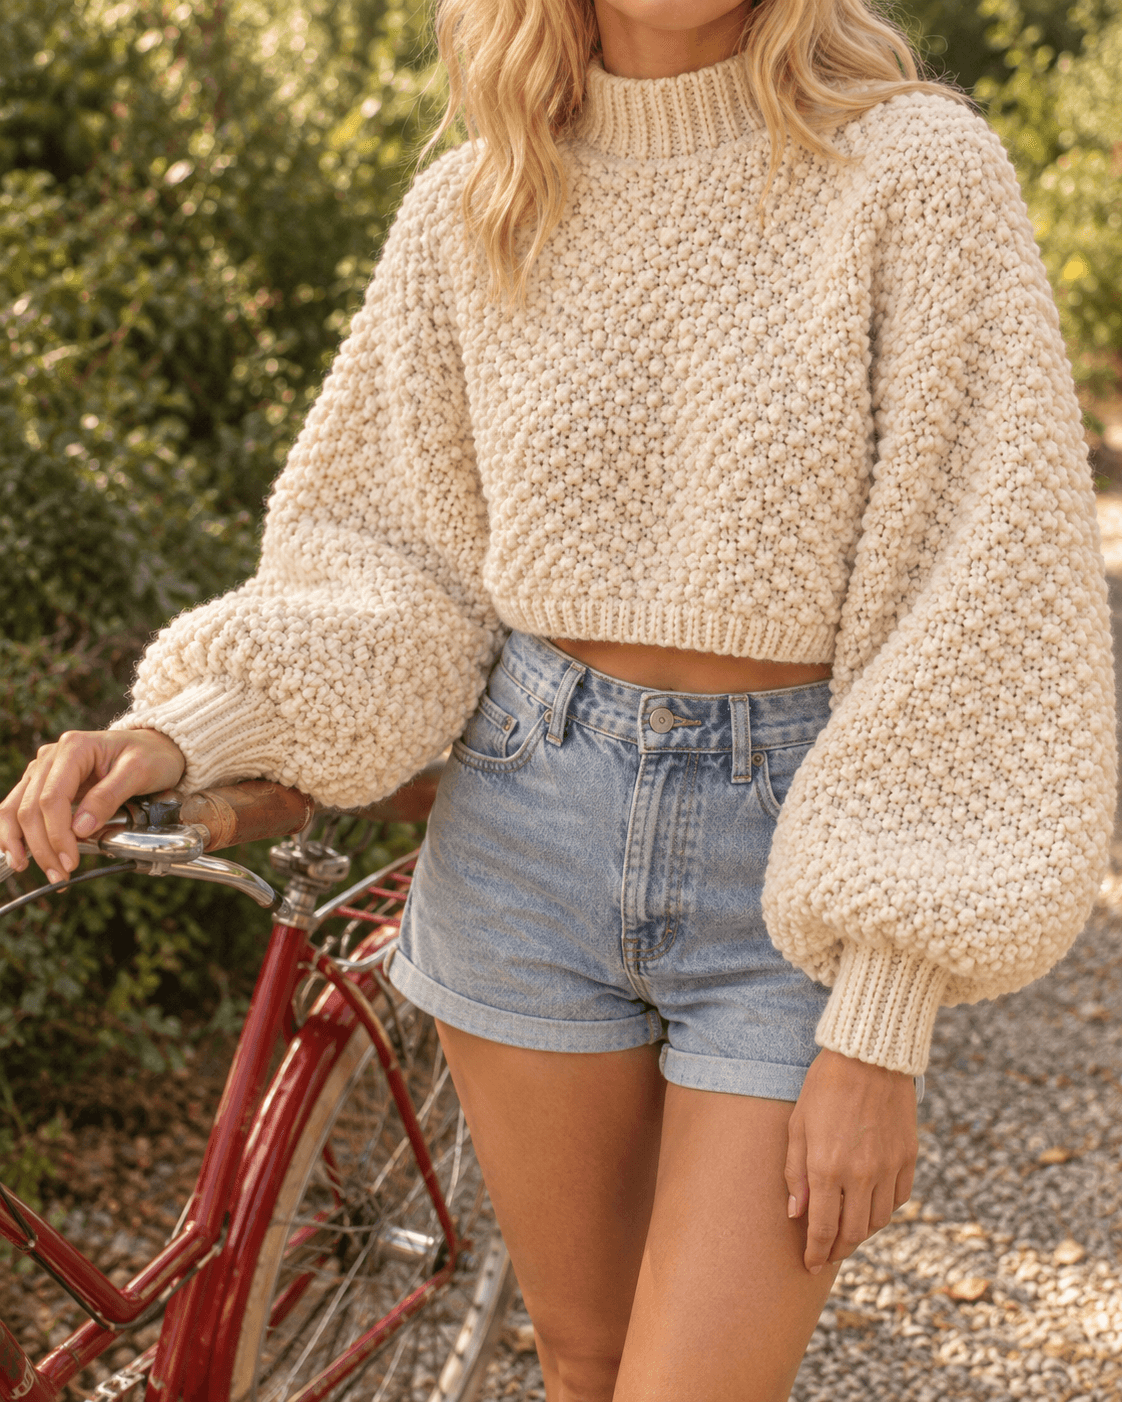
I love the quiet texture of a sweater that invites you to run your fingers over the sleeve. Seed stitch is an easy knitting stitch pattern for sweaters, made by alternating knit and purl stitches. Its little bumps give plain yarn a soft, pebbled surface, and the fabric looks much the same on both sides.
Here I start with a flat practice swatch on 31 stitches. You'll learn the repeat, spot the difference between seed stitch and ribbing, and measure the fabric before choosing a sweater pattern. Keep your sample beside you when you start the garment: it makes a useful little reference for the texture.
| At a glance | |
|---|---|
| Project | Flat seed stitch practice swatch |
| Pieces | 1 |
| Cast-on | 31 stitches |
| Yarn | Smooth, light-colored worsted #4 for practice |
| Needles | Start with the size recommended on the yarn label |
| Length | Work until the swatch is large enough for your purpose |
| Skills | Cast on, knit, purl, bind off |
Yarn and needles for a clear seed stitch texture
A smooth, light-colored yarn makes the knit V's and purl bumps easier to see. For a first practice piece, I like the clarity of worsted #4 in a plain color. Save very fuzzy yarn and dark shades for later, when your fingers know the movement and you can read the stitches comfortably.
Use the needle size on your yarn label as a starting point. Straight needles work, and a circular needle can hold the stitches while you knit back and forth. Turn at the end of every row. Keep the two edges separate throughout this swatch.
You'll also need scissors, a tapestry needle, and a ruler. Keep the yarn label so you can follow its washing instructions. For the sweater itself, use the yarn specified by your chosen pattern or a substitution checked against that pattern's gauge and fabric requirements.
Reading knit and purl stitches before you begin
The stitch facing you tells you what to do next. A knit stitch looks like a small V just below the needle. A purl stitch has a little horizontal bump. In seed stitch, purl the V's and knit the bumps as they face you on the needle.
These are the abbreviations used below:
- k1: knit 1 stitch.
- p1: purl 1 stitch.
- st / sts: stitch / stitches.
- R: row in this tutorial.
Before a knit stitch, hold the working yarn behind the needles. Before a purl stitch, bring it forward between the needle tips. Move it back between the tips before the next knit. Taking the yarn over a needle can add an accidental loop and change your stitch count.
Tip. Pause with the yarn in place before making the next stitch. It's easier to learn two calm movements than to untangle an extra loop later.
The pattern — seed stitch worked flat
Practice swatch: one light-colored yarn, needles matched to the yarn label. Make 1. Cast on 31 stitches using a cast-on you know. Count the loops on the needle before beginning. All 31 stitches belong to the seed stitch pattern; work the first and last stitches as written.
- R1: (k1, p1) × 15, k1. (31)
- R2 onward: Repeat R1 on every row, turning after each row. (31)
Every row starts and ends with a knit stitch. The odd stitch count lets you use the same written instruction after turning. For another practice width, cast on an odd number of stitches and work k1, p1 pairs until one stitch remains, then knit that last stitch.
The first row can be slow, especially if the cast-on edge is snug. Slide a few stitches toward the needle tip, keep the working yarn relaxed, and check the count again after finishing the row. After several rows, the scattered bumps become easier to recognize.
Continue until the fabric is long enough to study the texture. For a sweater gauge swatch, use the larger sample described below. Bind off in pattern: knit or purl each new stitch according to the established sequence, then pass the previous stitch over it. Keep the edge relaxed.
Cut the yarn, leaving a tail of about 6 in (15 cm). Pull it through the final loop and weave it through the edge stitches with a tapestry needle. Weave in the cast-on tail too, keeping the corners soft.
Keeping the seed stitch repeat on track
Seed stitch has scattered bumps; ribbing has vertical columns. If neat columns start appearing, stop and look at the next stitch on your needle. Purl a knit V and knit a purl bump. That change above the previous row is what keeps the texture staggered.
Count the stitches at the end of a row if the repeat suddenly feels awkward. The practice swatch should still have 31 stitches. An extra loop can come from moving the yarn over the needle. A missing stitch can come from dropping a loop or working two stitches together accidentally.
Tip. If you catch a mistake on the current row, undo one stitch at a time back to it. Put each loop securely on the left needle before pulling the working yarn out of that stitch.
Keep the first few rows beside the newer fabric when checking your work. A sudden stripe of different texture is easier to see with the swatch resting flat than with the whole piece bunched beneath the needles.
Swatching seed stitch before starting a sweater
Measure seed stitch in seed stitch. A stockinette gauge from a yarn label describes a different fabric. The Knitting & Crochet Guild's guidance on hand-knit tension squares explains why a garment swatch should reflect the yarn, needles, and stitch pattern you plan to use.
For a useful measurement, make a swatch larger than the area you'll count. The Craft Yarn Council's knitting instructor handbook recommends measuring the central 4 in (10 cm) of a larger sample. Add stitches in pairs to keep the cast-on odd if 31 stitches give you too narrow a sample.
Wash the swatch according to the yarn label and let it dry completely. Lay it flat without stretching. Measure stitches across the center and rows vertically, away from the cast-on, side edges, and bind-off. Write both counts on a card with the yarn and needle details.
For a sweater pattern already written in seed stitch, compare your washed gauge with its stated gauge. If you have more stitches across the same width, try larger needles. If you have fewer, try smaller needles. Wash and measure the next sample before making the decision.
I also like to lift the dry swatch by one corner and let it hang. A sweater needs fabric that feels comfortable against the body. A sample that matches the numbers but feels stiff deserves another look at the yarn or the garment pattern.
Using seed stitch for sweater panels and sleeves
A sweater pattern written for seed stitch is the easiest next step. It gives you the stitch counts, shaping, and finished measurements for that fabric. Look for the stated skill level and construction method, then check that your washed sample matches its gauge before casting on a panel.
When a panel increases or decreases, keep reading the stitches as they face you. The starting stitch can change when the stitch count changes. Follow the garment instructions for edge stitches and shaping, and keep the staggered texture across the remaining stitches.
The one-row instruction above applies to flat knitting over an odd stitch count. Joining stitches into a tube changes how you approach the next row of texture. For sleeves worked in the round, follow the seed stitch instructions in the garment pattern and make a matching circular swatch.
If you're considering replacing stockinette in an existing sweater pattern, check more than width. Row gauge, sleeve shaping, neck shaping, drape, and yarn consumption can all change. A sweater designed for seed stitch gives a beginner a clearer route from a small sample to a comfortable finished garment.
Washing and blocking your seed stitch swatch
Treat the sample as you intend to treat the sweater. Follow the yarn label for water temperature, washing method, and drying. Support wet fabric while lifting it, and press out water gently. Lay the swatch on a towel and smooth it into its natural shape.
Let it dry fully before measuring. Stretching a sample to a desired width makes the measurement misleading. If the fabric changes noticeably after washing, keep both measurements on your yarn card so you can see what the finishing step did.
Seed stitch usually lies fairly flat, but washing helps settle uneven stitches. Keep any heat treatment within the yarn manufacturer's care instructions. The Craft Yarn Council's standards caution that heat can flatten acrylic fibers.
Terminology note: knit and purl instructions are the same in US and UK usage; this US seed stitch texture is often called moss stitch in the UK.
I like the idea of a small seed stitch pocket on a plain sweater: just enough texture to catch the light. Keep your swatch with the yarn label, and let that soft little square help you choose the sweater you'll enjoy wearing.
Practicing seed stitch? Share your swatch with #wavodecrochet so I can see the color you chose.