Granny Stitch Christmas Tree Ornament

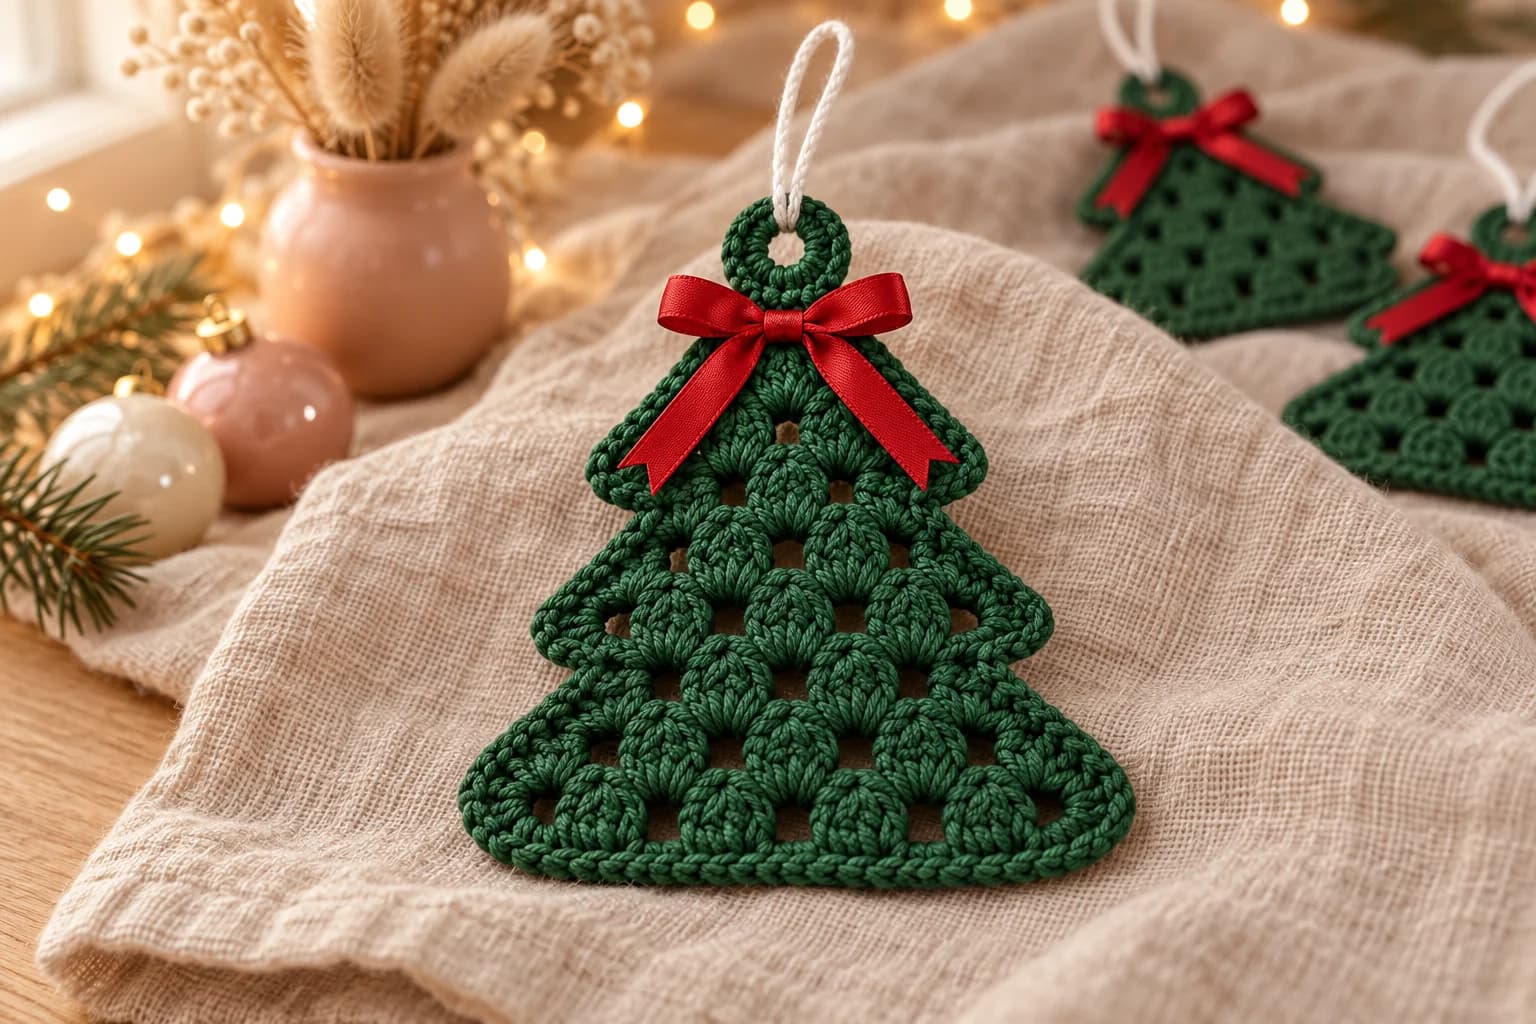
This granny stitch Christmas tree ornament is a flat little tree made of granny clusters, in three stepped tiers, finished with a red satin bow. It's worked top-down in just 8 short rows, starting from a tiny ring that becomes the hanging hole. A single crochet border rounds off the tiers. You need about 15 yards of green DK cotton, a 3 mm hook, a scrap of red ribbon and about an hour.
Key Takeaways
- Only granny clusters: every row is groups of 3 dc with a ch 1 between them.
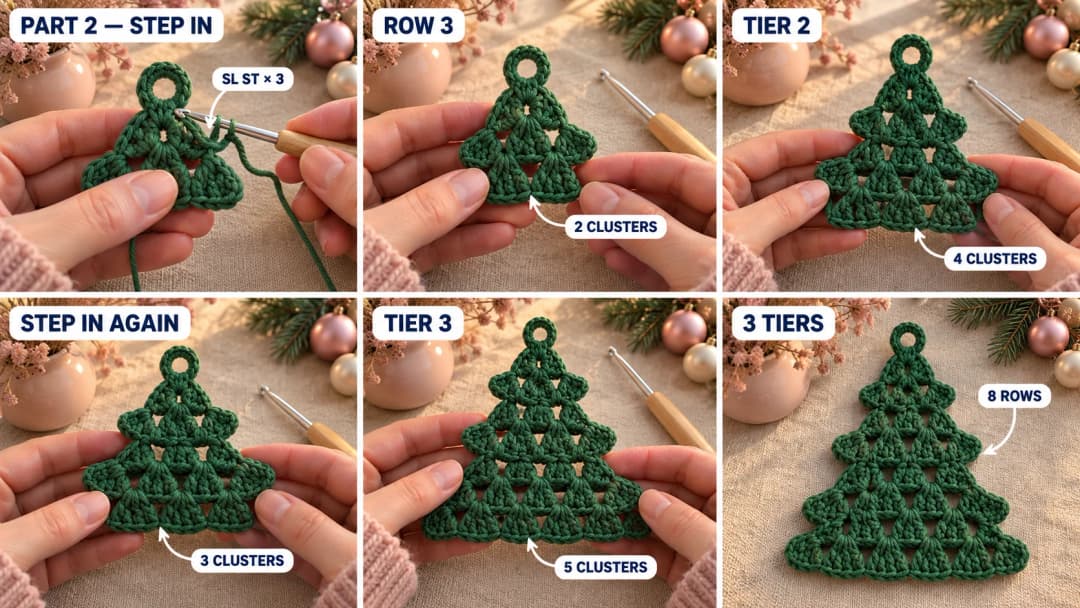
- The tiers come from one trick. A "step-in" row skips the two edge clusters, so the next tier starts narrower.
- The hanging hole is built in. The starting ring stays open at the top, and the border wraps around it.
- About 15 yd (14 m) of DK #3 cotton per tree, plus 10 in of ribbon and 8 in of cord.
Why I love this little tree
Granny stitch is the first "real" stitch pattern I ever learned, and this tree shows how far it can go with almost no counting. Each row is the row above it plus one cluster, and every few rows you step in to start a new tier. The little holes between the clusters let the tree lights shine through, so it glows on the branch.
It's also the perfect ornament to make in batches. One tree takes about an hour, so a free evening gives you three or four for gift toppers, a garland or a tree full of matching ornaments.
Skill level. Easy. You need to chain, slip stitch, single crochet and double crochet, and work into a chain space. If you've made a granny square, you already know the main stitch.
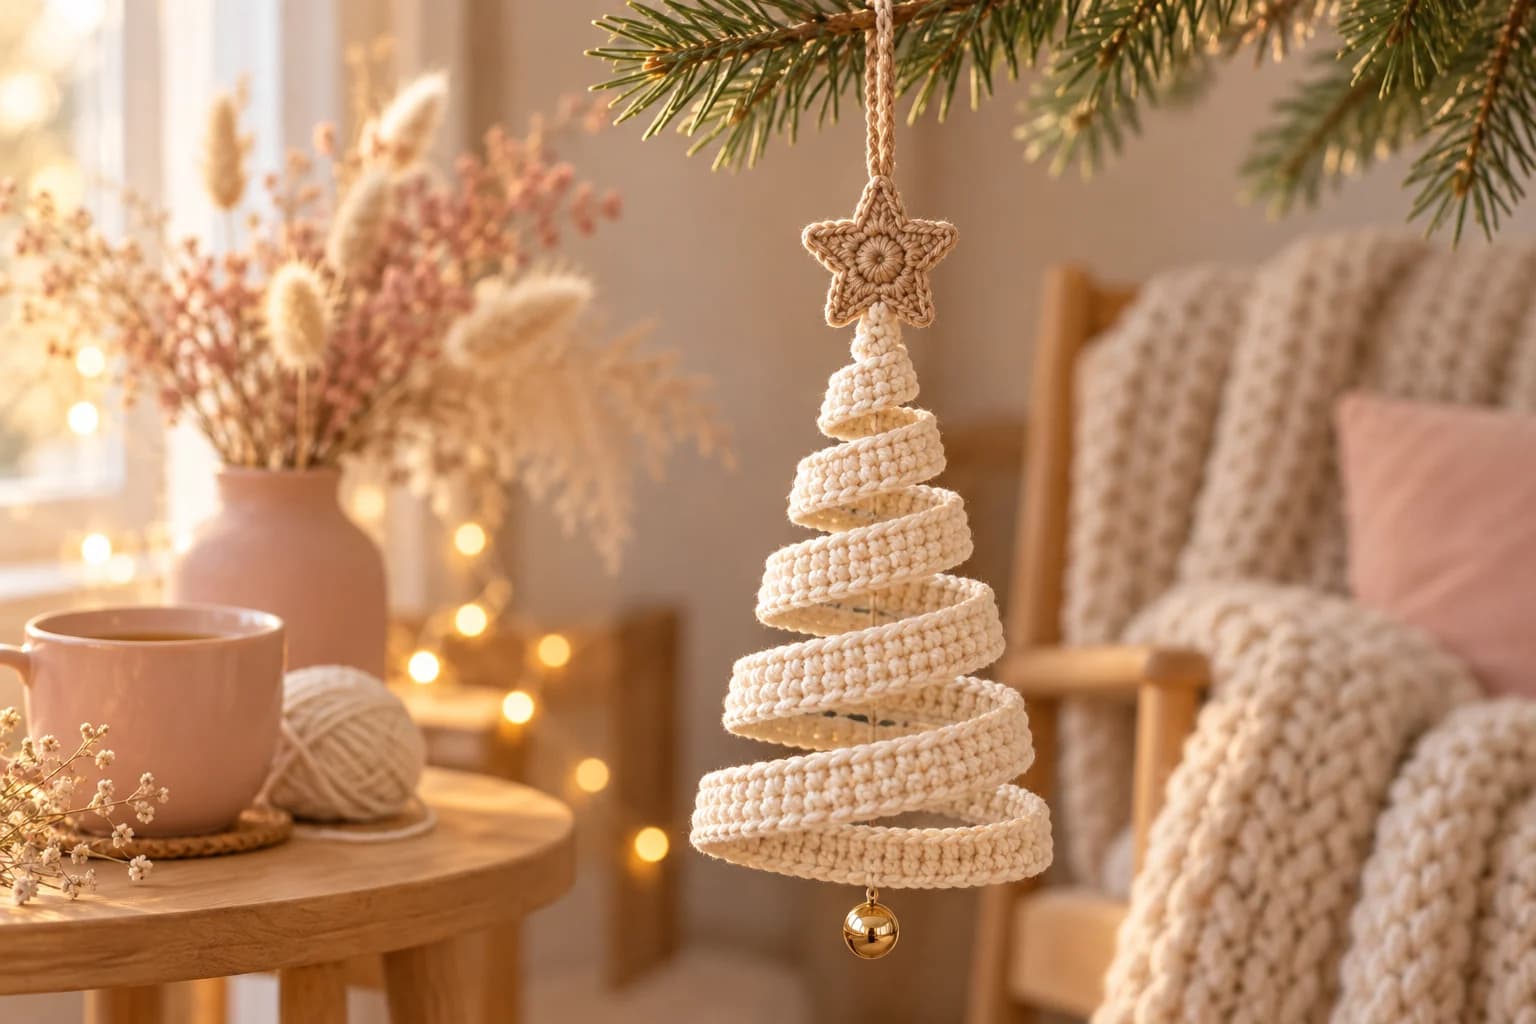
If you'd like a 3D tree for the same branch, my easy crochet Christmas tree ornament is a cream swirl tree with a star on top.
What you'll need
Yarn
- Green DK weight #3 cotton, about 15 yd (14 m) per tree. I like Paintbox Yarns Cotton DK in a deep pine green: one 50 g ball (137 yd) goes a long way. That's an estimate: the real amount depends on your yarn and tension, so keep a little extra on hand.
Hook and notions
- 3 mm (US C/2 or D/3) crochet hook.
- Red satin ribbon, 10 mm (⅜ in) wide, about 10 in (25 cm) for the bow.
- Thin white cord (cotton cord, baker's twine or thin elastic), about 8 in (20 cm) for the hanging loop.
- Red sewing thread and a sewing needle, a tapestry needle and scissors.
- Optional: clear nail polish or a fray stopper for the ribbon ends, and spray starch for a stiffer ornament.
Gauge and finished size
Gauge isn't critical for an ornament. With DK cotton and a 3 mm hook, each granny cluster plus the ch 1 after it is about ¾ in (2 cm) wide, and each row of dc is about ⅜ in (1 cm) tall. As a rough guide, five clusters, four ch-1 sps and the border come to a tree about 3¾ in (9.5 cm) tall and wide, before the cord. Your yarn and tension will move that a little either way. Measure your first one after the border and blocking: a looser tension makes a slightly bigger tree, which is fine.
For a mini tree, use a 4-ply or sport cotton with a 2.5 mm hook and the same counts. For a bigger tree, use worsted cotton with a 4 mm hook.
Abbreviations (US crochet terms)
- ch: chain
- sl st: slip stitch
- sc: single crochet
- dc: double crochet
- sp: space
- st(s): stitch(es)
- cluster: 3 dc worked in the same st or sp
- R: row
The ch 3 at the start of a row counts as the first dc of that row's first cluster.
The tree at a glance
The tree is worked from the top down, in turned rows. The number in brackets is the number of clusters in the row.
| Tier | Rows | Clusters per row |
|---|---|---|
| Top (tier 1) | R1–R2 | 2, 3 |
| Middle (tier 2) | R3–R5 | 2, 3, 4 |
| Bottom (tier 3) | R6–R8 | 3, 4, 5 |
There are only two kinds of rows after R1:
- Growing row (one more cluster than the row before): Turn. Ch 3, 2 dc in the first st. Ch 1, 3 dc in the next ch-1 sp. Repeat in each ch-1 sp across. Ch 1, 3 dc in the top of the turning ch 3.
- Step-in row (one cluster fewer): Turn. Sl st in each of the first 3 dc and in the first ch-1 sp. Ch 3, 2 dc in the same sp. Ch 1, 3 dc in the next ch-1 sp. Repeat in each ch-1 sp across, then stop: leave the last cluster of the row below unworked.
The two clusters you skip in a step-in row are what stick out at the bottom corners of each tier.
The pattern, step by step
Part 1: The top ring and tier 1
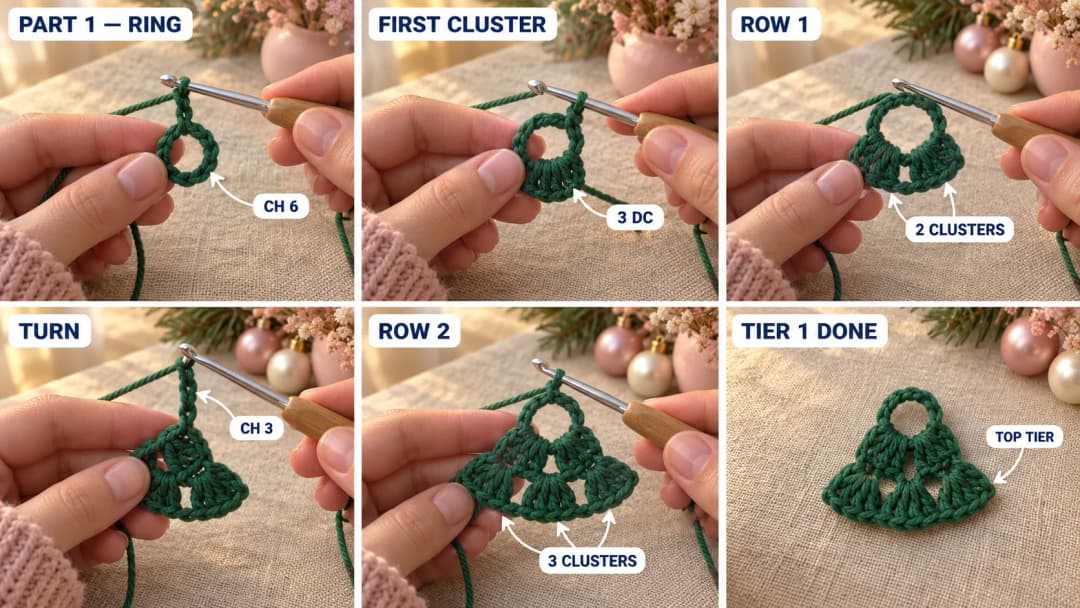
Ring. Ch 6, sl st in the first ch to make a ring. This ring is the top of the tree and its hanging hole. You'll work R1 into its lower half only, and the border into its upper half.
- R1: Ch 3 (counts as dc), 2 dc in the ring, ch 1, 3 dc in the ring. (2 clusters) Keep both clusters bunched on one half of the ring, so the other half stays free.
- R2 (growing): Turn. Ch 3, 2 dc in the first st (the dc at the base of the ch 3). Ch 1, 3 dc in the ch-1 sp. Ch 1, 3 dc in the top of the ch 3 from R1. (3 clusters)
That's tier 1: a little fan of granny clusters under the ring.
Part 2: Tiers 2 and 3
Tier 2.
- R3 (step-in): Turn. Sl st in each of the first 3 dc and in the ch-1 sp. Ch 3, 2 dc in the same sp. Ch 1, 3 dc in the next ch-1 sp. (2 clusters) Leave the last cluster of R2 unworked.
- R4 (growing): Turn. Ch 3, 2 dc in the first st. Ch 1, 3 dc in the ch-1 sp. Ch 1, 3 dc in the top of the ch 3 from R3. (3 clusters)
- R5 (growing): Turn. Ch 3, 2 dc in the first st. Ch 1, 3 dc in the next ch-1 sp, twice. Ch 1, 3 dc in the top of the ch 3 from R4. (4 clusters)
Tier 3.
- R6 (step-in): Turn. Sl st in each of the first 3 dc and in the first ch-1 sp. Ch 3, 2 dc in the same sp. Ch 1, 3 dc in the next ch-1 sp, twice. (3 clusters) Leave the last cluster of R5 unworked.
- R7 (growing): Turn. Ch 3, 2 dc in the first st. Ch 1, 3 dc in the next ch-1 sp, twice. Ch 1, 3 dc in the top of the ch 3 from R6. (4 clusters)
- R8 (growing): Turn. Ch 3, 2 dc in the first st. Ch 1, 3 dc in the next ch-1 sp, 3 times. Ch 1, 3 dc in the top of the ch 3 from R7. (5 clusters) Don't fasten off.
Before you start the border, lay the tree flat and check the counts: 2, 3, 2, 3, 4, 3, 4, 5 clusters from the top. The step-in sl sts on one side will disappear under the border.
Part 3: Border, hanging cord and bow
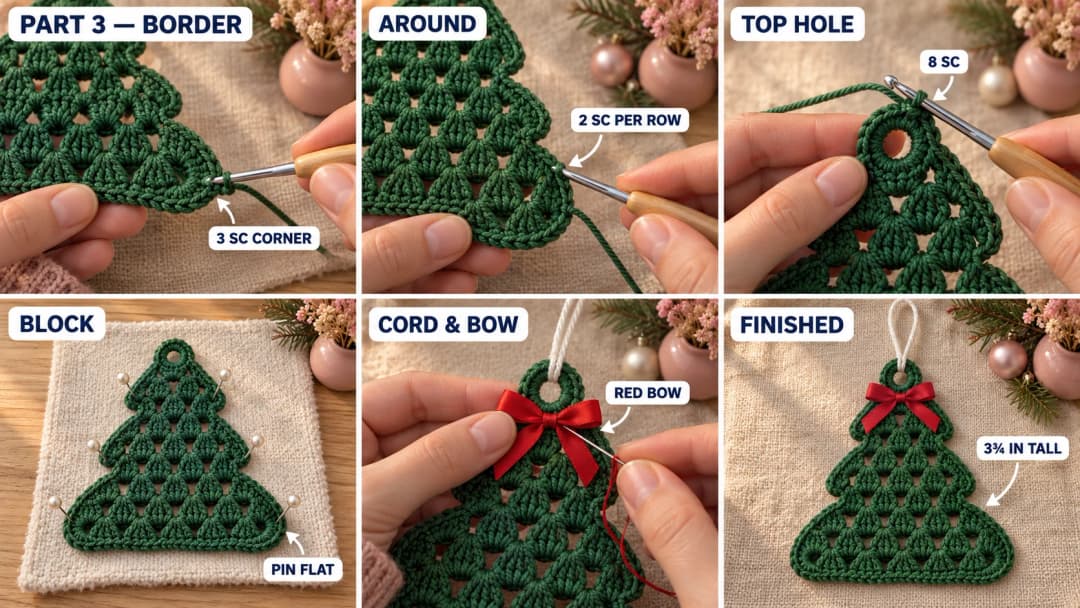
Border. The border is one round of sc all around the tree. Keep your stitches relaxed: a tight border makes the tree cup.
- Bottom edge. Turn. Ch 1, 3 sc in the first dc (corner). Sc in each of the 13 dc and the 4 ch-1 sps in between, then 3 sc in the last st, the top of the ch 3 (corner). (3 + 17 + 3 = 23 sc)
- Side of tier 3. Work 2 sc in the side of each row end: R8, R7 and R6. (6 sc)
- Under tier 2. You're now in the inner corner, under the edge cluster that sticks out at the bottom of tier 2. Work along its underside, from the inner corner out to the outer corner: sc in the first 2 of its 3 sts, then 3 sc in the third st, at the outer corner. (5 sc)
- On the side where you began the step-in row, these 3 sts are the sl sts of R3 or R6. Insert the hook under both loops of each sl st, and keep these sc loose: tight ones pull the step in and flatten the corner.
- On the other side, the cluster was left unworked, so you work into the tops of its 3 dc.
- Side of tier 2. 2 sc in the side of R5, R4 and R3. (6 sc)
- Under tier 1. Same as step 3, under the edge cluster of R2. (5 sc)
- Side of tier 1. 2 sc in the side of R2 and R1. (4 sc)
- Top ring. 8 sc in the free half of the ring. Leave the center of the ring open: that's the hanging hole.
- Second side. Work down the other side as a mirror of steps 2 to 6. Under each tier you now go from the outer corner in: 3 sc in the first st (outer corner), then sc in the next 2 sts. In order: tier 1 side (4 sc), under tier 1 (5 sc), tier 2 side (6 sc), under tier 2 (5 sc), tier 3 side (6 sc).
- Sl st in the first sc of the border. Fasten off. (83 sc planned)
If an inner corner (where a tier meets the one below) puckers, skip 1 sc on the row end just before it. Your count will then be a little under 83, which is fine. Weave in the ends on the back, through the sts of the border.
Block. Pin the tree flat on a towel, with the tiers straight and the corners pointing out. Mist it with water (or spray starch, for a stiffer ornament) and let it dry completely.
Hanging cord. Thread the white cord through the hole at the top. Tie the two ends together with a double knot, about 3 in (7.5 cm) above the tree, and trim the ends. Turn the knot to the back, behind the top ring.
Bow. Tie the red ribbon into a small bow with loops about ¾ in (2 cm) wide. Cut the two tails on a slant, about 1½ in (4 cm) long, and seal the cut ends with clear nail polish so they don't fray. Sew the knot of the bow to the tree with red thread, centered just under the top ring, going through the knot and the stitches several times. The tails fall over tier 1 and down toward tier 2.
Safety. This is a decoration, not a toy. The ribbon, the cord and the stitched-on bow aren't safe for babies and toddlers, so hang it out of their reach.
Make it yours — quick variations
| Variation | Change from the base pattern |
|---|---|
| Snowy tree | Work the border in white, for a frosted edge. |
| Double-sided | Make 2 trees. Hold them wrong sides together and work the border through both layers at once. |
| Beaded baubles | Sew a few small gold or red beads in the holes between the clusters. |
| Garland | Make 6 or more trees and thread them onto a long chain through their top holes. |
| Gift tag | Tie the tree onto a present with the ribbon, and write the name on a kraft tag. |
| Bigger tree | Keep going: R9 step-in (4), R10 (5), R11 (6) for a fourth tier, and add the extra rows to the border. |
Troubleshooting the three things that go wrong
The tiers aren't symmetrical
This almost always comes from the step-in row. Count the sl sts: exactly 3 dc, then the ch-1 sp, before the ch 3. At the other end, stop after the last ch-1 sp. If one side of a tier is still a little longer, blocking will even it out.
The tree cups or curls
The border is too tight, or has too many stitches along the sides. Go up a hook size for the border only, and keep to 2 sc per row end. Blocking with spray starch also flattens a curling tree.
The top ring closes up
R1 was spread around the whole ring. Keep the two clusters on the lower half, and work the 8 border sc loosely, so the hole stays open wide enough for the cord.
Frequently asked questions
How long does it take? About an hour: 30 to 40 minutes for the 8 rows, 15 minutes for the border, and a few minutes for blocking, the cord and the bow (plus drying time).
How big is it? About 3¾ in (9.5 cm) tall and wide in DK cotton with a 3 mm hook, before the cord. Thinner yarn and a smaller hook make a mini tree with the same counts.
Can I use acrylic instead of cotton? Yes. Acrylic is softer and a little fuzzier, so the clusters look rounder and the holes smaller. Cotton gives crisp clusters and holds its shape better after blocking.
Can I skip the ribbon? Yes. Crochet a little bow instead: ch 12 in red, sl st into a ring, wrap the tail several times around the middle and sew it on. Or skip the bow and sew a small gold bead at the top.
Can I sell ornaments made from this pattern? Yes, you're welcome to sell finished trees made from this free pattern at markets, on Etsy or as gifts. Please credit "Pattern by Wavode" in your listing and link back to this page. What you can't do is republish this write-up or my photos as your own pattern.
Related patterns on Wavode
- Easy crochet Christmas tree ornament: a 3D swirl tree with a star on top.
- Crochet Christmas tree decorations: a scalloped tabletop tree on a paper cone.
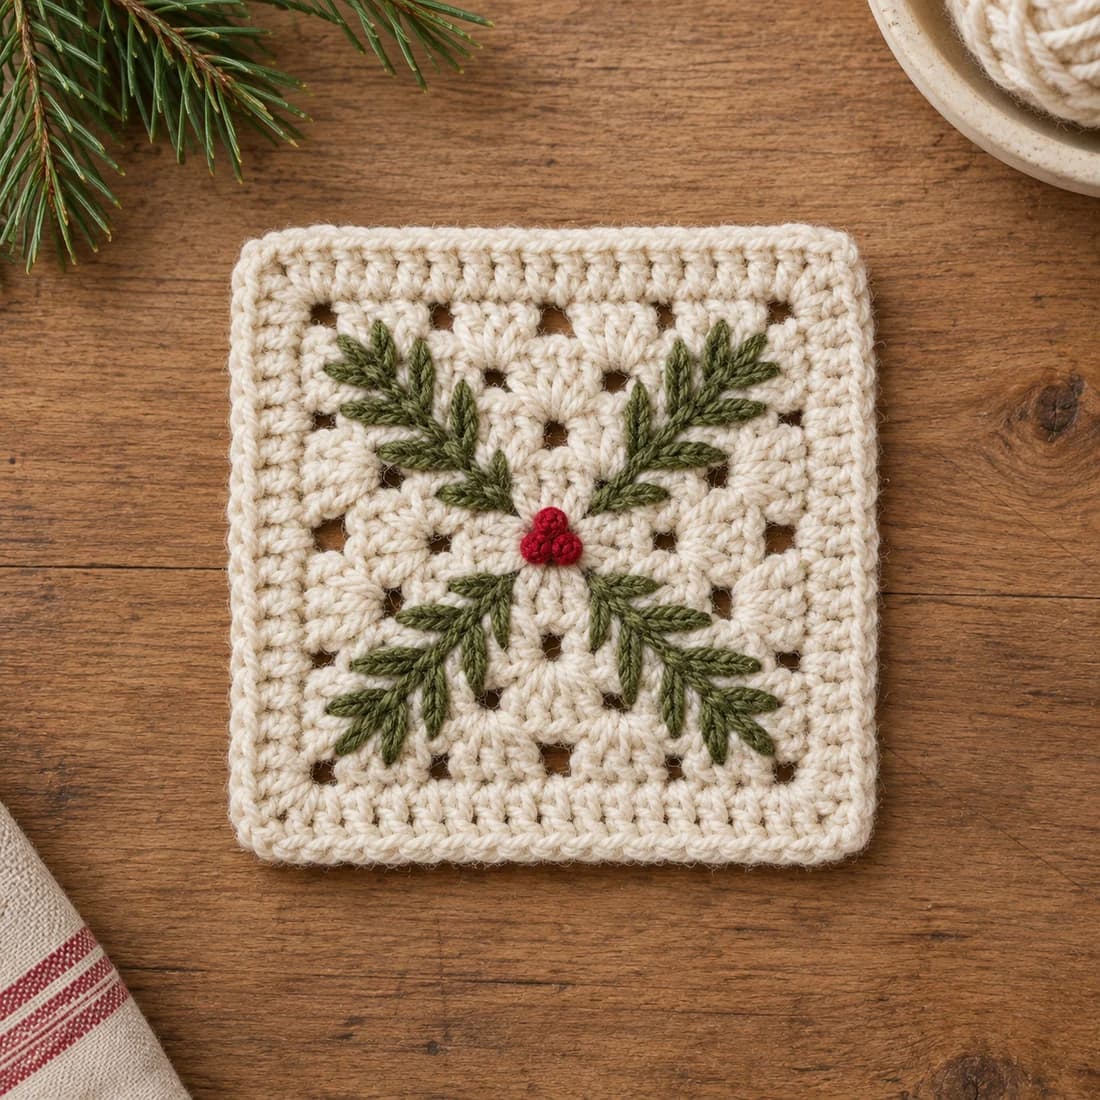
- Christmas granny square: more granny stitch for the holidays.
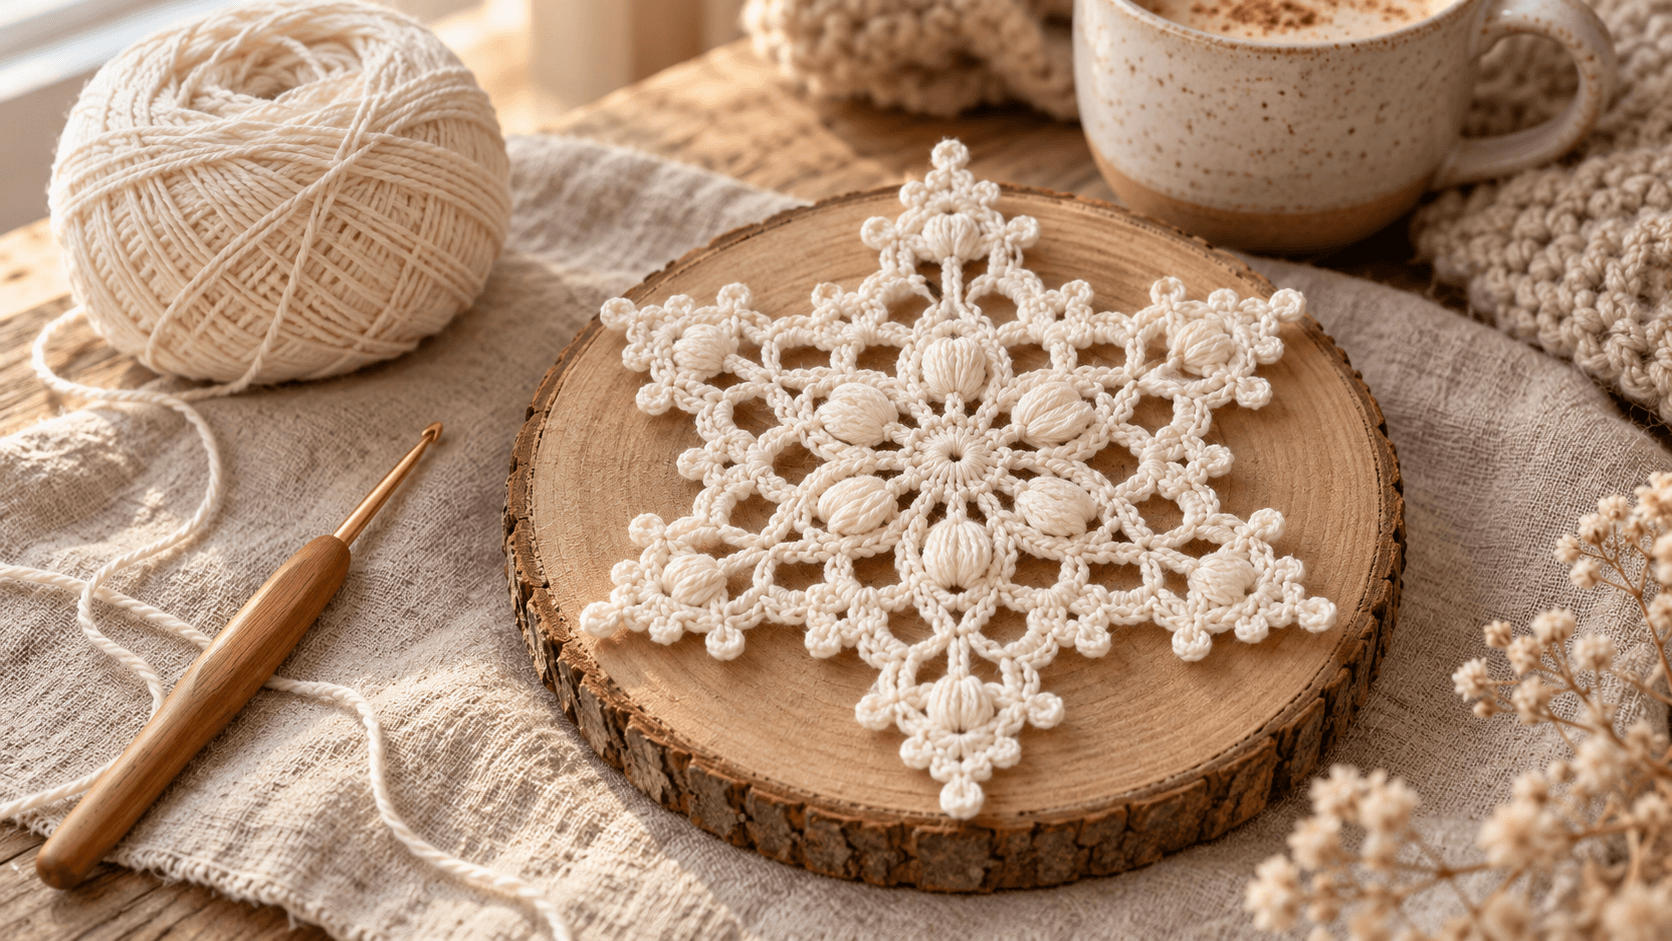
- Snowflake crochet pattern: a lacy ornament to hang next to your trees.
Made a granny tree? Tag #wavodecrochet on Pinterest. I re-pin every finished make and credit the maker.
Pattern by Clara Hartwell for Wavode. Questions? Email me at support@wavode.com.