Christmas Chevron Crochet Blanket

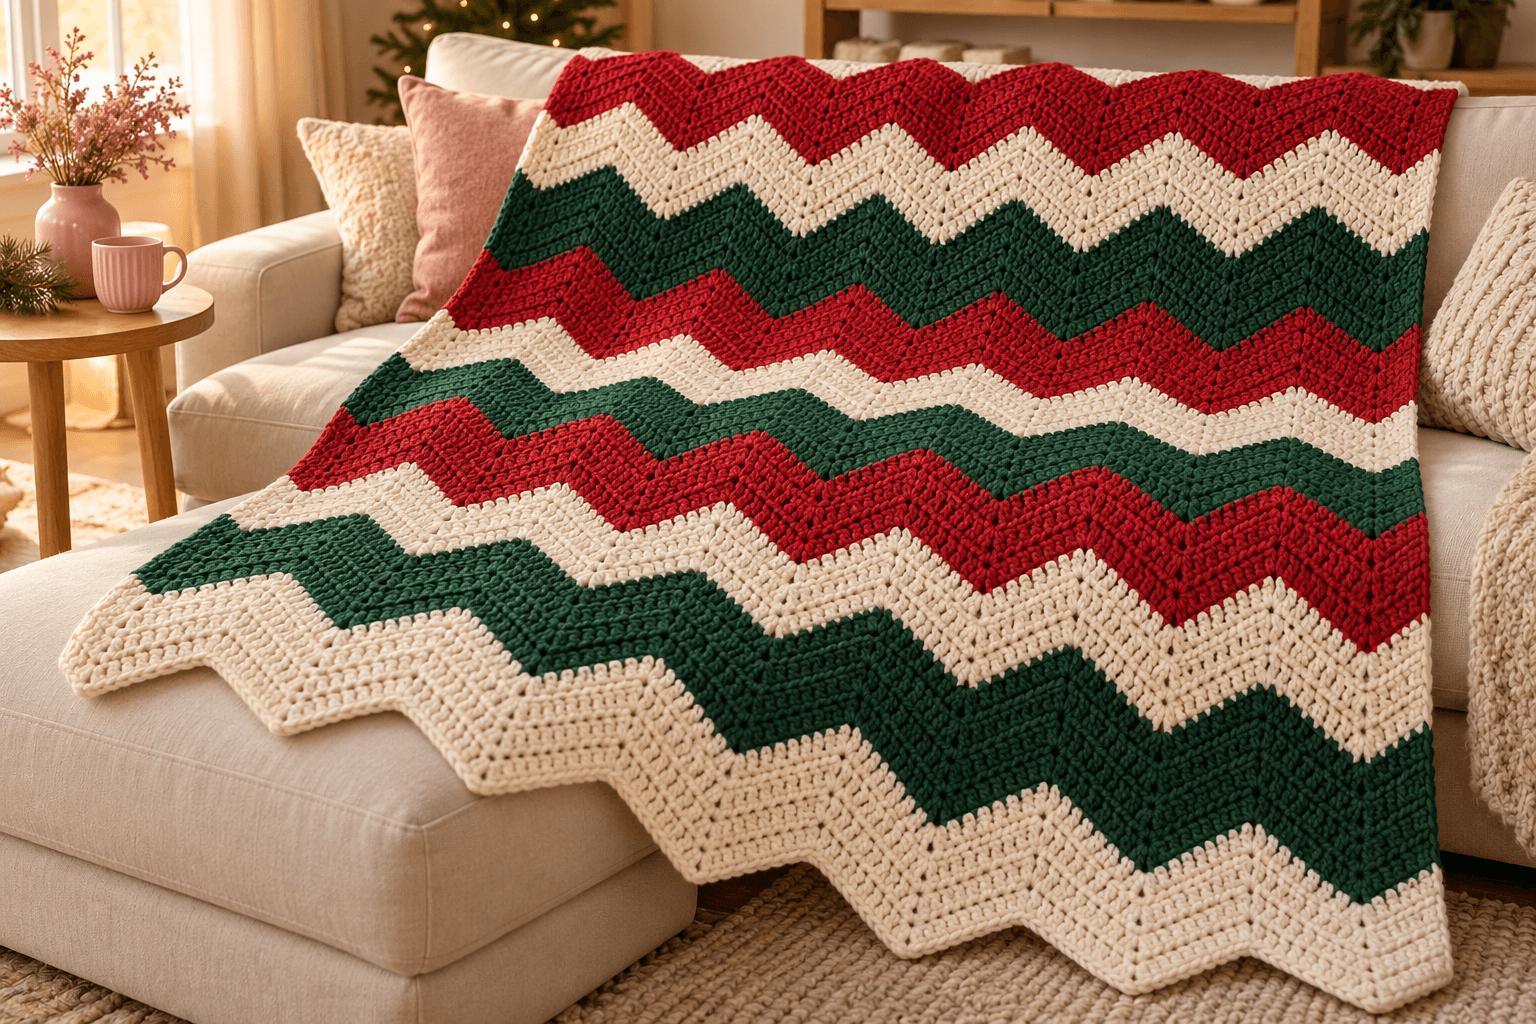
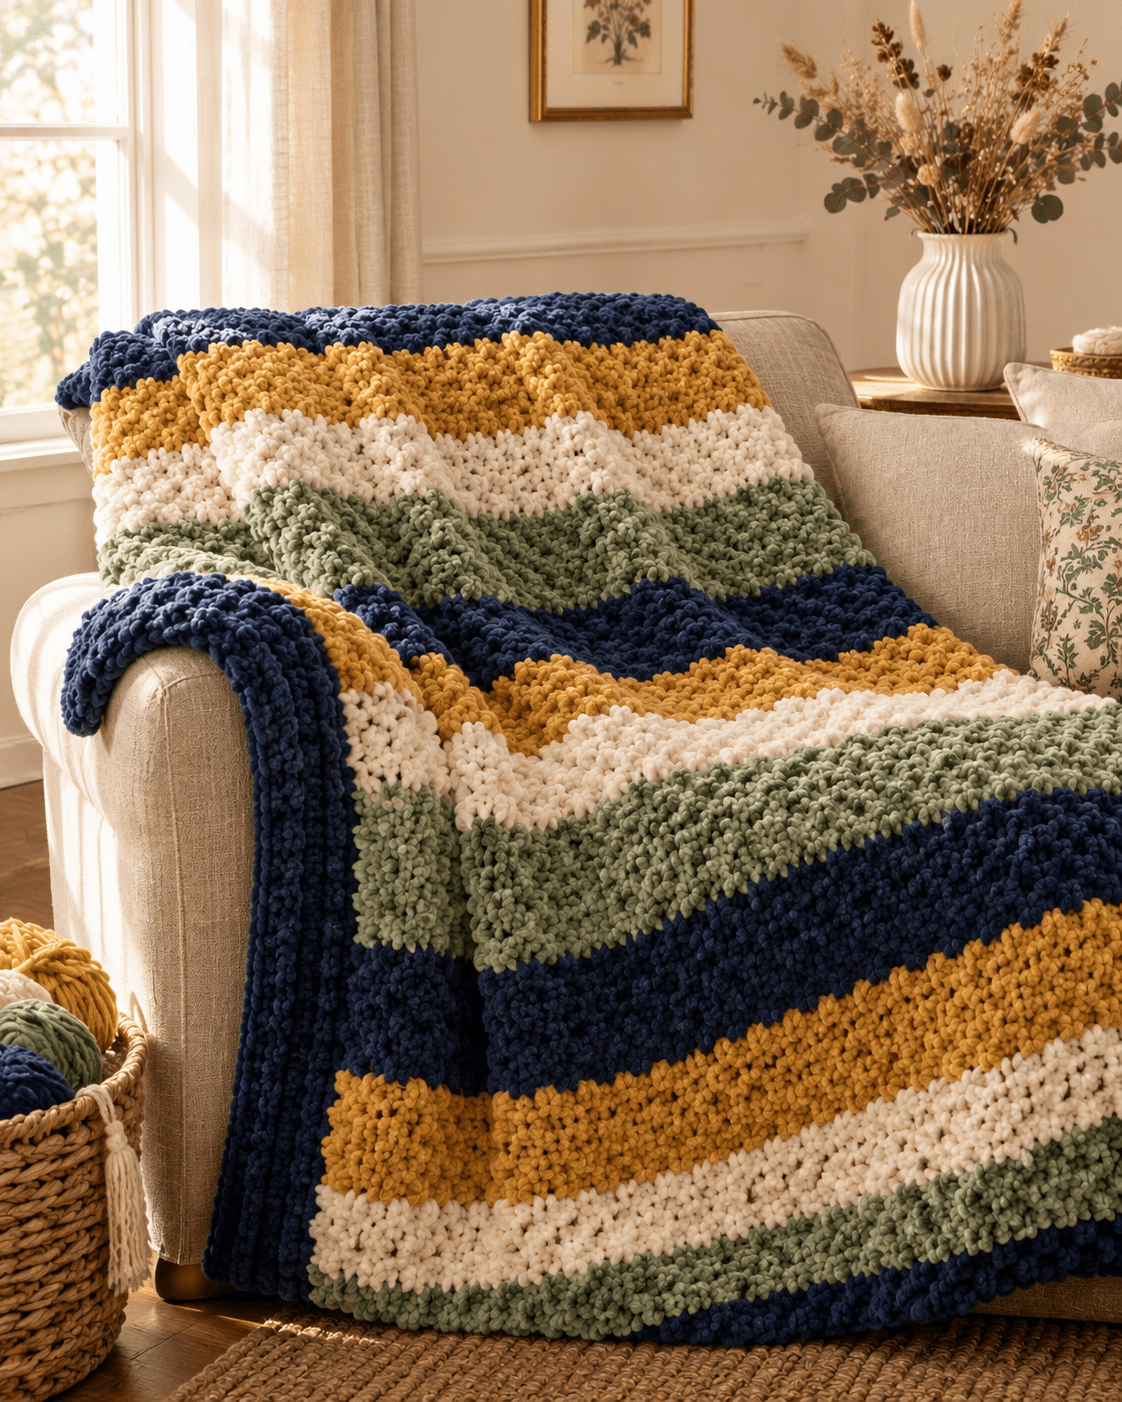
I like Christmas blankets with big, clear stripes: a little cream between the red and green makes each color stand out. This Christmas chevron crochet blanket is a sofa throw, estimated at 45–50 in (114–127 cm) wide and 60–64 in (152–163 cm) long. The zigzag ends give it that familiar folded-over-the-armchair look.
The rhythm settles in after the first few rows. Eleven plain stitches take you up a slope, three stitches make the point, and a decrease brings you through the valley. I keep the color bands wide so there's room to enjoy that rhythm before reaching for the next ball.
| At a glance | |
|---|---|
| Finished size | estimated 45–50 in (114–127 cm) wide, 60–64 in (152–163 cm) long; check a washed chevron swatch |
| Yarn | worsted #4 acrylic; estimated 1,300–1,500 yd cream; 1,000–1,200 yd each forest green and red |
| Hook | 5 mm (H/8), adjusted after swatching if needed |
| Pieces | 1 |
| Layout | 8 peaks across, 10 stripes, 12 rows per stripe |
| Time | about 35–50 hours, depending on pace |
| Skill | intermediate: double crochet, decreases and keeping the peaks aligned |
Yarn, hook and finished size for the Christmas throw
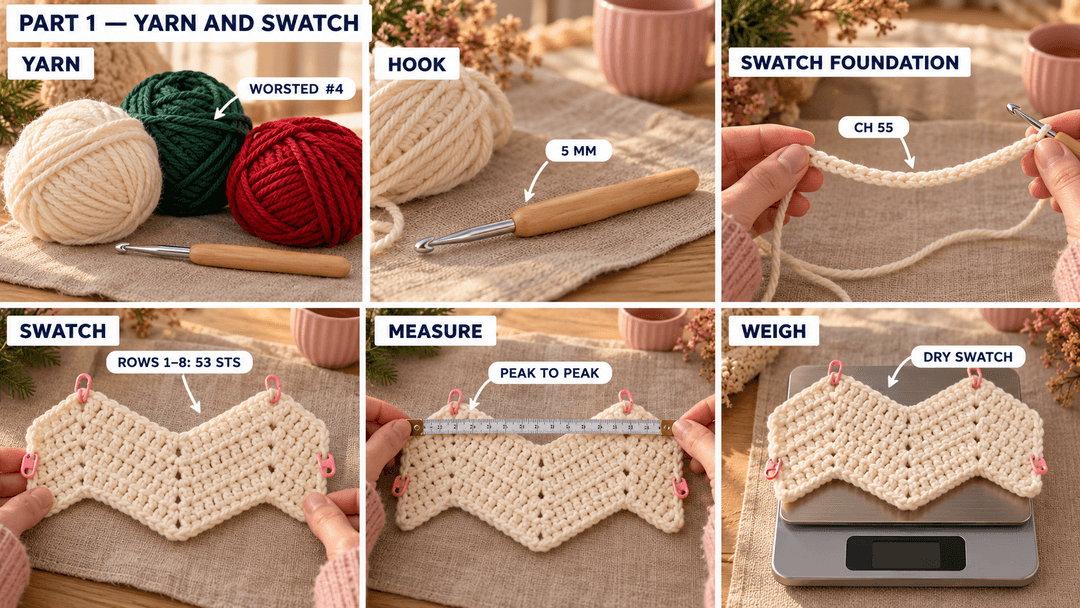
I would choose a smooth acrylic for this throw, so the stitch tops are easy to see when counting a long row. Use the same yarn range for all three colors; mixing a thin cream with a much thicker green can make the bands pull differently.
- Yarn: worsted #4, 100% acrylic, such as Red Heart Super Saver solids, 364 yd (333 m) per 198 g. Choose cream or soft white, forest green and red.
- Amount: allow an estimated 1,300–1,500 yd cream and 1,000–1,200 yd each of forest green and red for the written size. Five 364-yard balls of cream and four each of green and red cover the upper estimates and leave room for the swatch. Check consumption before committing to a larger size.
- Hook: 5 mm (H/8).
- Small things: a tapestry needle, scissors, measuring tape, and 10 locking stitch markers.
Start with a reference gauge of 14 dc and 8 rows over 4 in (10 cm) in plain double crochet, after washing. Berroco's Calypso gauge notes give this gauge with a 5 mm hook in a different worsted yarn. It is a starting reference for choosing your hook. Your chevron swatch determines the throw's actual width and length.
The sizes and yarn amounts here are planning estimates. The zigzag pulls a row inward, so a straight double-crochet swatch alone cannot tell you the blanket's finished width. Check the shaped swatch below before starting the long foundation chain.
A small chevron swatch. With your chosen yarn and hook, chain 55. Work Row 1 below using one bracketed repeat instead of seven; this gives 53 stitches and two peaks. Work the Row 2 instructions the same way for seven further rows, keeping 53 stitches. This practice swatch is separate from the throw.
Wash and dry it as you will the blanket. Lay it flat without stretching. Measure its width straight across, its height from the lowest point to the highest, and the horizontal distance between the two peaks. Also measure the vertical rise from the top of Row 2 to the top of Row 8 at the same peak. Keep these measurements for the sizing section.
For a firmer grip on yardage, weigh the dry swatch before cutting its tails short. With the specified solid yarn, each gram represents about 1.84 yd. Multiply the swatch yardage by 66 for a whole-throw estimate with a finishing allowance. Allow 40% of that estimate for cream, 30% for forest green and 30% for red. This applies to the written 120-row size. Keep the swatch or unravel it after measuring if you'd like to reuse the yarn.
How the chevron peaks and valleys work
I place 3 dc into one stitch to open each peak, then use dc3tog over three consecutive stitches to draw the valley together. The first and last decreases shape the two outside edges. Keep the center stitch of each peak marked as you work; it's the place where the next row's peak belongs.
Abbreviations, in US terms: ch = chain; dc = double crochet; dc2tog = double crochet two stitches together; dc3tog = double crochet three stitches together; st/sts = stitch/stitches.
Work back and forth through both loops. Begin every row after Row 1 with ch 2, turn. These two chains give height and do not count as a stitch. The number in parentheses at the end of each row is the finished stitch count. Each completed decrease counts as one stitch.
Closing the decreases
For dc2tog, yarn over, insert the hook into the next stitch, yarn over and pull up a loop, then yarn over and pull through two loops. Leave the remaining loops on the hook. Do the same in the following stitch. Yarn over and pull through all three loops.
For dc3tog, work that unfinished double crochet in each of the next three stitches. There will be four loops on the hook. Yarn over and pull through all four. Keep the final pull-through relaxed enough that you can find its top on the next row.
On Row 1, work these decreases into consecutive foundation chains instead of stitches.
Tip. At each valley, the three stitches you use are the stitch just before the old decrease, the top of that decrease, and the stitch just after it. The valley should sit directly above the one below.
Planning the red, cream and forest-green stripes
I start with cream, add forest green, then return to cream before the first red band. After that, green, cream and red take turns up the throw. Each band has 12 rows. Mark off the rows as you finish them; the last row of every band is an even-numbered row, so the color changes stay along the same side.
| Stripe | Rows | Color |
|---|---|---|
| 1 | 1–12 | Cream |
| 2 | 13–24 | Forest green |
| 3 | 25–36 | Cream |
| 4 | 37–48 | Red |
| 5 | 49–60 | Forest green |
| 6 | 61–72 | Cream |
| 7 | 73–84 | Red |
| 8 | 85–96 | Forest green |
| 9 | 97–108 | Cream |
| 10 | 109–120 | Red |
Change color in the last decrease of the band. At the end of Row 12, work the final dc2tog until three loops remain on the hook. Yarn over with forest green and pull it through all three loops. Cut the cream, leaving an 8 in (20 cm) tail. Leave the same length of green tail, then ch 2 and turn with green for Row 13.
Use that method at the ends of Rows 24, 36, 48, 60, 72, 84, 96 and 108, taking the next color from the table. Cut the old color at each change. I weave the tails into their own color once a new band is established, so the finishing stays manageable.
The pattern — starting the chevron blanket
Throw — cream to begin, 5 mm hook, Make 1. Leave an 8 in (20 cm) starting tail and ch 211 loosely. Count the chain before working into it. The first two chains skipped at the hook provide height and do not count as a stitch.
- Row 1: Beginning in the 3rd ch from the hook, dc2tog over the next 2 ch, dc in each of the next 11 ch, 3 dc in the next ch, dc in each of the next 11 ch, (dc3tog over the next 3 ch, dc in each of the next 11 ch, 3 dc in the next ch, dc in each of the next 11 ch) × 7, dc2tog over the last 2 ch. (209)
- Row 2: ch 2, turn, dc2tog, dc 11, 3 dc in the next st, dc 11, (dc3tog, dc 11, 3 dc in the next st, dc 11) × 7, dc2tog. (209)
- Rows 3–12: ch 2, turn, dc2tog, dc 11, 3 dc in the next st, dc 11, (dc3tog, dc 11, 3 dc in the next st, dc 11) × 7, dc2tog. (209)
Before starting Row 2, mark the middle dc of all eight peaks in Row 1, and mark the completed decrease at each outside edge. For the two-peak swatch, mark its two peaks and two edges instead.
Here is the beginning of Row 2 slowly:
- Chain 2 and turn the work. Find the first actual stitch beside the chain.
- Work dc2tog into that stitch and the next one. Put a marker in the top of the completed decrease.
- Work 11 dc, one in each of the next 11 stitches.
- Work 3 dc into the next stitch. Mark the middle one: this is the first peak.
- Work 11 dc down the other slope.
- Work the bracketed section 7 times in total, moving each peak marker into the middle dc of its new peak.
- Work dc2tog over the last two stitches, and mark its top with the remaining marker.
Move both edge markers up on every row. On the following row, begin in the marked edge stitch and finish in the marked stitch at the far end. Leave the turning chain unworked.
At the end of Row 12, change to forest green as described above.
Tip. Lay the first few rows on a table. If the bottom edge draws up tightly, loosen the foundation chain or use a slightly larger hook for that chain alone. If a point leans sideways, check the 11 stitches on each slope before continuing.
Building the throw with wide Christmas stripes
Once the first cream band is finished, let the markers lead you across the green. Keep the same stitch sequence, and check the stripe table before starting each band. Change color during the last dc2tog of its final row. Every row below has 209 stitches.
- Rows 13–120: repeat Row 2, following the stripe table for color changes. (209)
For a new ball of the same color, join at a row end with the same final pull-through used for a color change. Leave 8 in (20 cm) tails on both strands.
Tip. Check the whole stitch count at the end of each stripe. If the next peak falls beside its marker, stop there and check back to the previous valley. Catching the missed stitch now saves a long row later.
Finishing the chevron edges and weaving in the ends
After Row 120, cut the red yarn, leaving an 8 in (20 cm) tail. Pull that tail through the last loop to fasten off. Keep the pointed top and bottom edges as they are; the outer decreases give the long sides their finished edge.
Flip the throw over so the loose tails face you. Thread one tail onto the needle and pass it through the backs of nearby stitches in the same color for about 2 in (5 cm). Turn back through a slightly different path, catching a few yarn strands to hold it. Change direction once more, then trim the excess.
Gently stretch that section before trimming so the woven tail has enough slack. Keep cream tails inside cream stitches, especially near the green bands, where a pale strand is easy to spot. Remove the markers once all the ends are secure.
Washing and blocking your Christmas throw
Follow the care instructions on your chosen yarn, using the same method as for the swatch. Support the whole blanket when lifting it wet. Spread it on towels and ease the long sides into place, then smooth each peak with your palm.
I would keep the points relaxed. Pulling them hard makes the slopes look thin and can stretch the color changes. Let the throw dry completely before measuring its full width and its length between the outermost tips. Keep a hot iron away from acrylic.
Changing the width or length of the blanket
For a narrower throw, use 185 starting chains and six bracketed repeats in each row: 183 stitches and seven peaks. For a wider throw, use 237 starting chains and eight bracketed repeats: 235 stitches and nine peaks. Keep the beginning and ending instructions exactly as written.
Your washed two-peak swatch is the useful guide here. Each extra repeat adds approximately the measured distance between its peaks. The eight-peak throw spans the swatch's width plus six of those peak-to-peak distances. Measure across the table, straight from side to side, rather than following the zigzag with the tape.
For the length of the 120-row version, take the vertical measurement between Rows 2 and 8 of your swatch, divide it by six, and multiply by 112. Add the full height of the eight-row swatch. That gives a closer estimate for your own stitch height, including the pointed ends.
To keep the broad bands and add length, work 14 rows per stripe instead of 12, giving 140 rows. Change colors after Rows 14, 28, 42, 56, 70, 84, 98, 112 and 126, then finish Row 140 in red. Use the same stitch sequence for every row. Allow about 17% more yarn than for the 120-row version, and check the vertical growth of your swatch before choosing.
I like the cream band folded outward when the throw is draped over a chair. It brings a little brightness to the room, especially beside dark winter cushions. A wide cotton ribbon around the folded blanket would make a lovely Christmas gift.
UK terms: US dc = UK tr; US dc2tog and dc3tog = UK tr2tog and tr3tog.
Made a Christmas chevron throw? Tag #wavodecrochet on Pinterest so I can see your colors.