Diagonal Striped Crochet Blanket

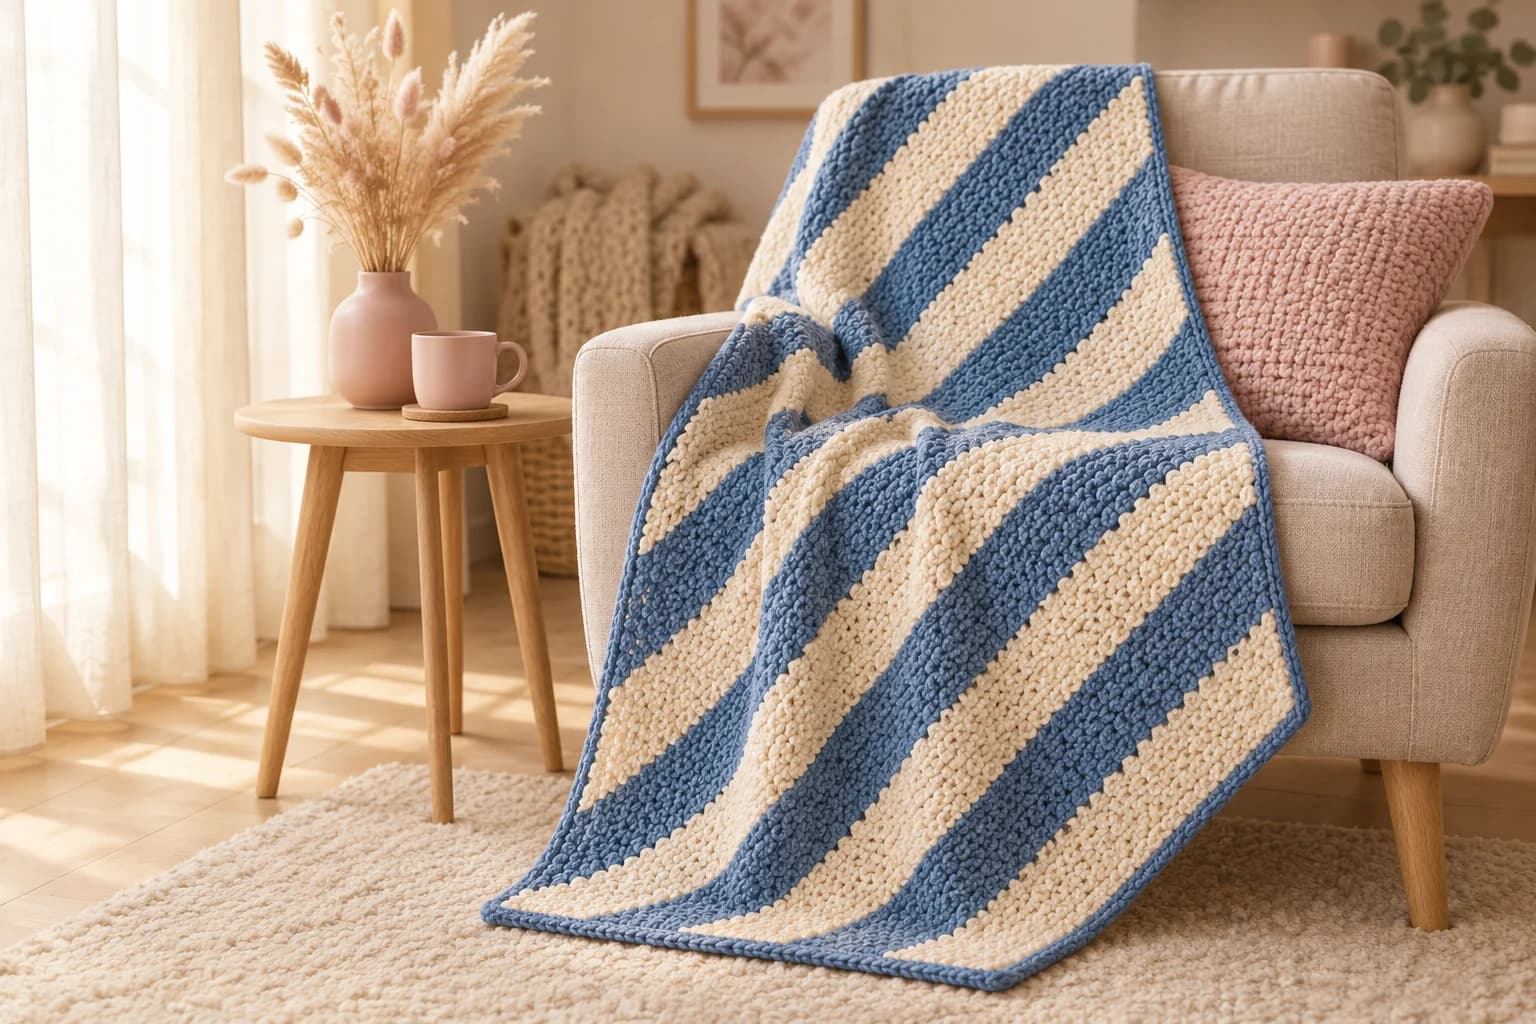
This free diagonal striped crochet blanket pattern makes a 40 × 52 inch lap throw in denim blue and cream. You work it corner to corner in moss stitch, so the stripes come out diagonal on their own, with no slanted counting. It takes bulky #5 yarn on a 6.5 mm hook, about 1,350 yards in two colors, and about 20 to 25 hours of easy, relaxing rows.
Key Takeaways
- One stitch, four row types: every row is just sc and ch 1 into the spaces. Only the first and last stitch change.
- 195 rows, 13 stripes of 15 rows each: 7 denim blue, 6 cream, blue at both corners.
- Three sections: grow the triangle, shift the rectangle, then shrink to the last corner.
- Budget ~1,350 yd of bulky #5: about 750 yd blue (border included) and 600 yd cream.
Why I love this diagonal striped blanket
I wanted a throw that looks planned and graphic, but that I could crochet in front of a movie. Corner-to-corner moss stitch does exactly that: the stripes slant across the blanket, but every row is the same easy rhythm. You never count stitches across, you only watch the two ends.
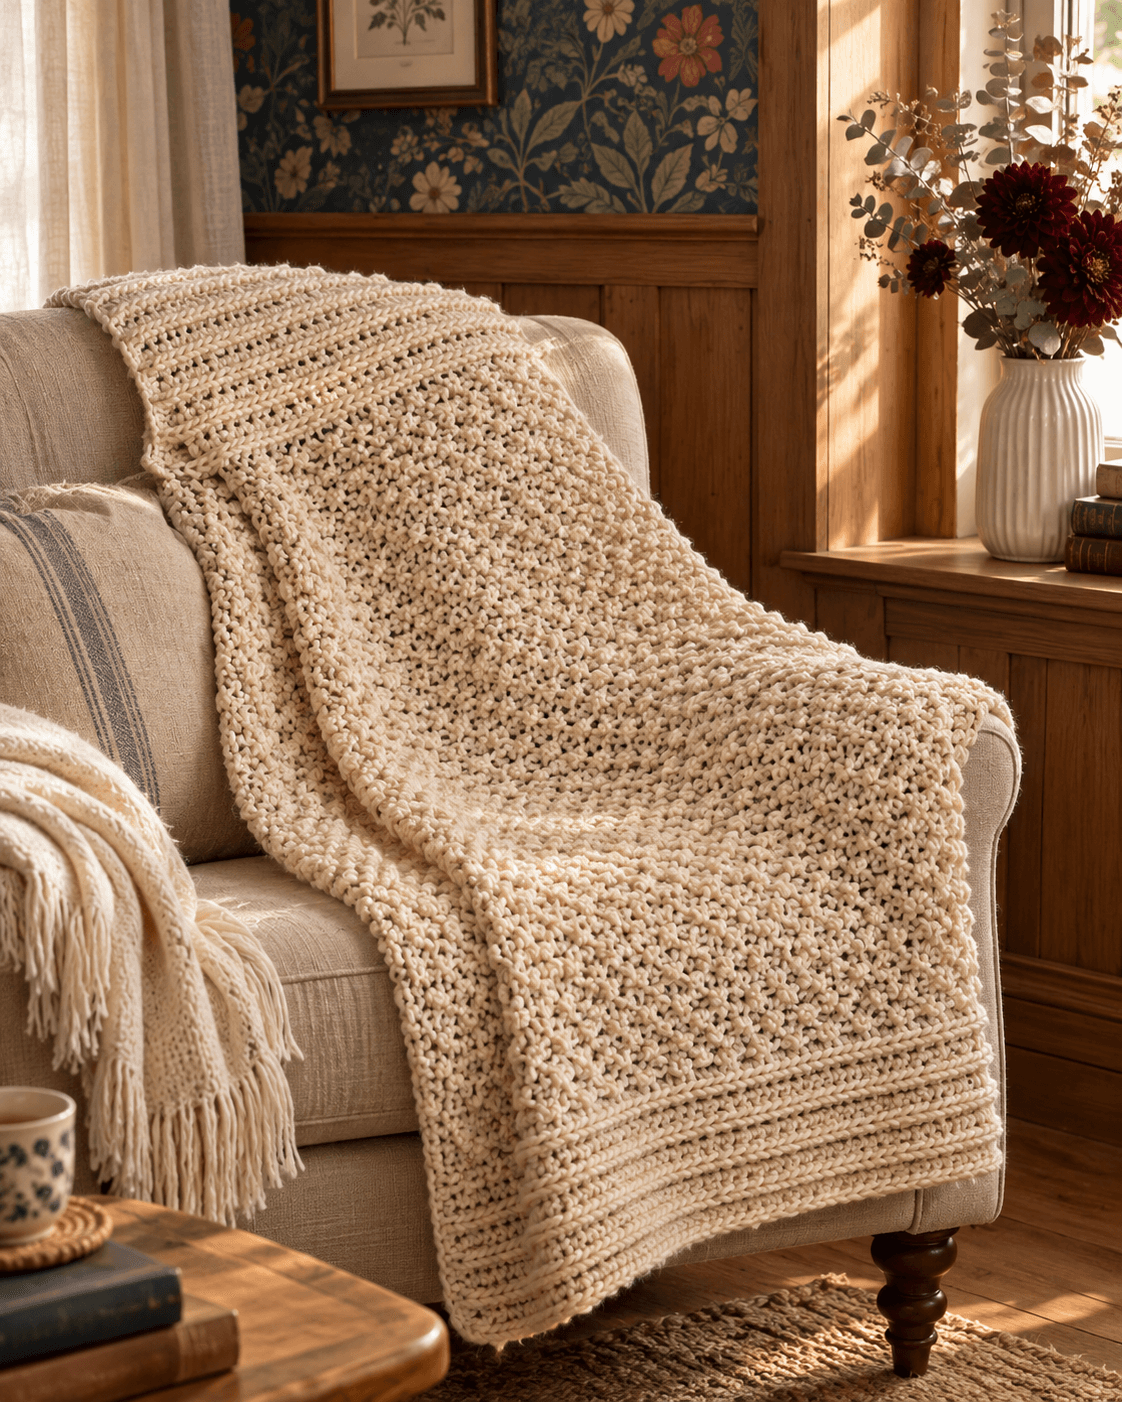
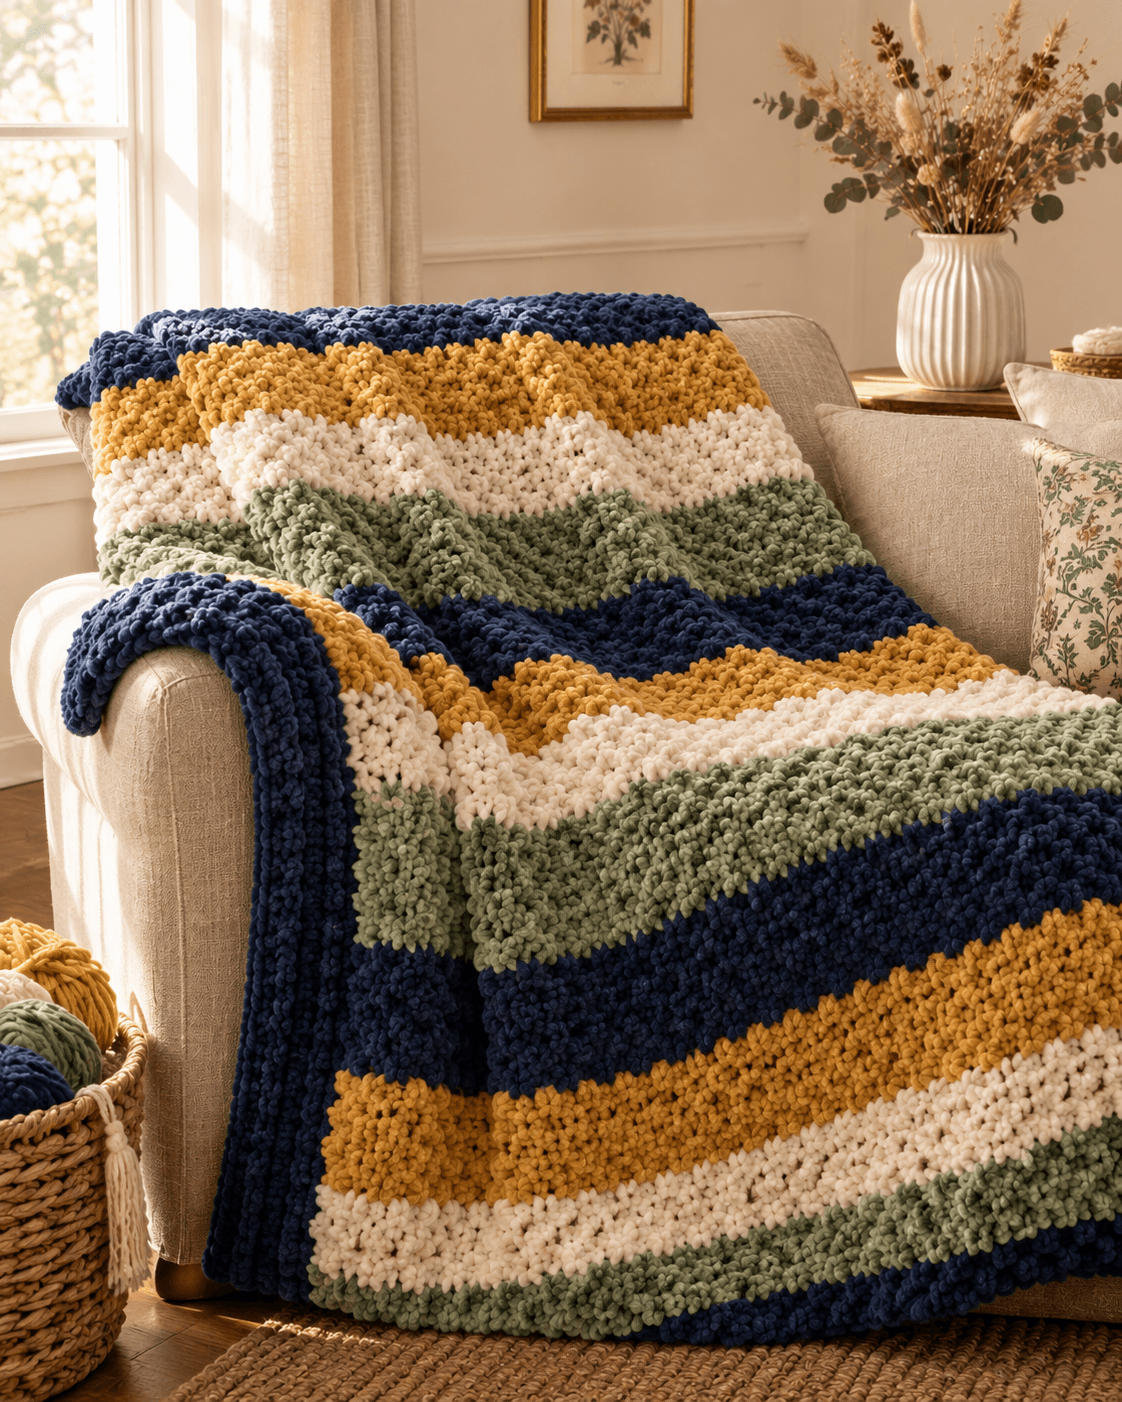
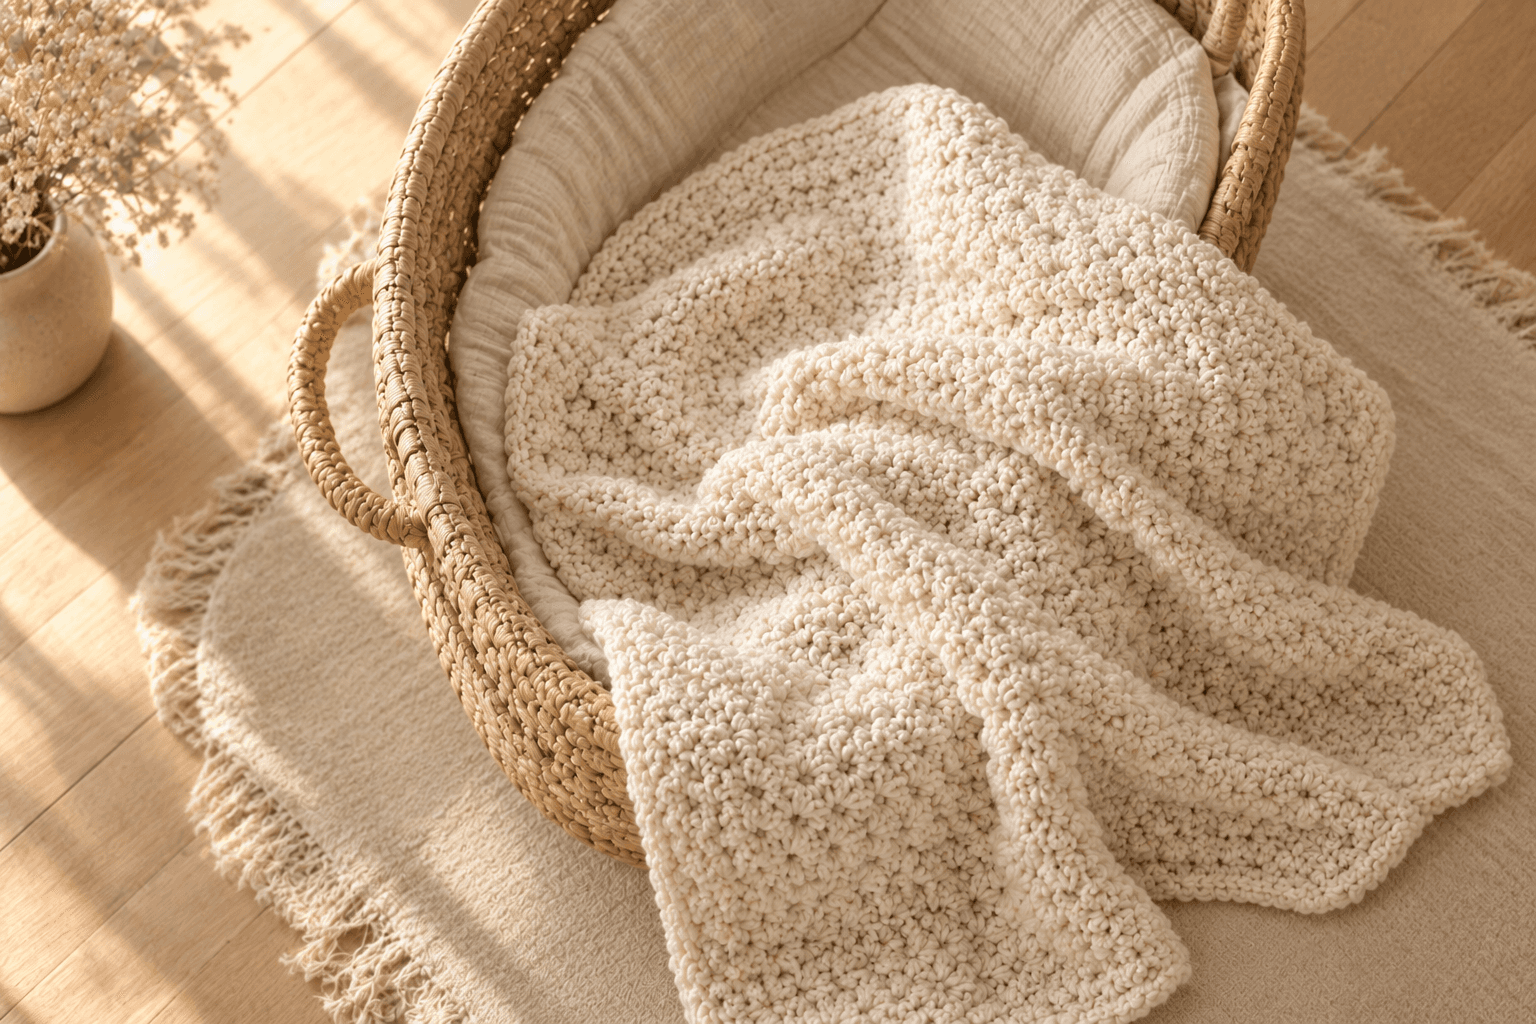
The moss stitch gives the little pebbled texture you can see in the photos. It's dense and squishy, with no big holes, and it drapes beautifully over a chair. It also hides small tension wobbles, which matters on a project this size.
Blue and cream is my coastal combination, but this is a perfect stash buster for any two colors. If you like a straight stripe better, my chunky striped crochet blanket works them across instead.
Why make a plain throw when one color change turns it into this?
Skill level. Easy. You need chains, single crochet, working into chain spaces and changing colors. If you've never done corner to corner, this is the friendliest way in: no blocks, no slip-stitch steps, just rows.
What you'll need
Yarn: bulky #5 acrylic, such as Paintbox Yarns Simply Chunky (136 yd / 124 m per 100 g ball) or Lion Brand Hue + Me (137 yd / 125 m per 125 g skein). A soft acrylic is easy to wash and keeps the stripes crisp.
| Color | Used for | Amount | Balls (136 yd) |
|---|---|---|---|
| Denim blue | 7 stripes + the border | about 700–750 yd | 6 |
| Cream | 6 stripes | about 580–630 yd | 5 |
I worked those amounts out from the stitch counts: the body takes about 9,600 single crochet and 9,400 chains, split almost evenly between the two colors. The border adds about 100 yd of blue. Buy one extra ball of blue if your gauge runs loose.
Hook and notions
- 6.5 mm (US K-10.5) hook.
- 2 locking stitch markers, one for each end of the row (optional, but handy).
- A tapestry needle and scissors.
- A row counter, or a notes app. You'll want to know your row number.
Gauge and finished size
Gauge: 12 sts and 12 rows = 4 in (10 cm) in moss stitch. Count every sc and every ch-1 as one stitch. Measure the rows straight across them, at a right angle, not along the edge.
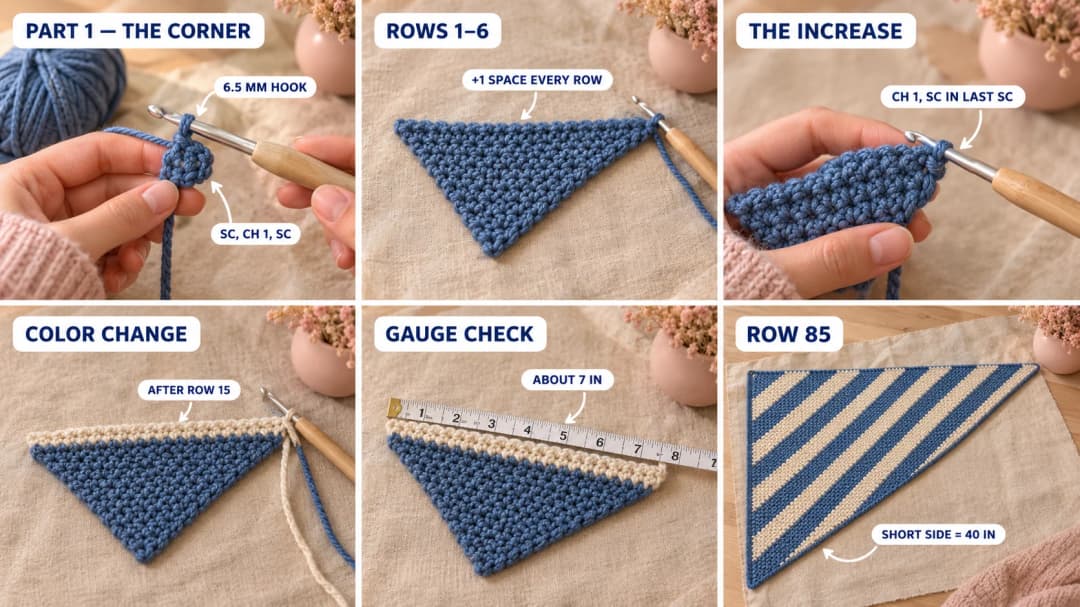
The easiest check is your first stripe. After Row 15, each of the two straight edges of your triangle should measure about 7 in (18 cm). If they're longer, go down to a 6 mm hook. If they're shorter, go up to 7 mm.
Why 7 in and not 5 in? In corner to corner, the blanket's edges run at 45° to the rows. Each new row adds ⅓ in of height and sticks out ⅓ in further at each end, so the edge grows along the diagonal of that little square: about 0.47 in per row (⅓ × √2). Measured straight across, 15 rows are 5 in, which is the width of a stripe. Measured along the edge, they're about 7 in. The same math gives about 40 in at Row 85.
Finished blanket: about 40 × 52 in (102 × 132 cm) after the border. Each stripe is about 5 in wide, measured straight across the stripe, and about 7 in wide along the blanket's edge.
Abbreviations (US crochet terms)
- ch = chain
- sc = single crochet
- sl st = slip stitch
- sp(s) = space(s): here always the ch-1 spaces
- st(s) = stitch(es)
- sk = skip
UK crocheters: this pattern uses US terms. US single crochet = UK double crochet.
The ch 1 at the start of each row turns the work and does not count as a stitch.
How the corner-to-corner moss stitch works
Every row looks like this: sc, then (ch 1, sc) into each ch-1 space of the row below. The single crochets always go into spaces, and the chains always sit on top of single crochets. That's the moss stitch.
The only thing that changes is how you start and finish each row:
| Row ends | How to work it | Spaces |
|---|---|---|
| Increase at the start | sc in the first sc | +1 |
| Decrease at the start | sk the first sc, sc in the first ch-1 sp | −1 |
| Increase at the end | after the last ch-1 sp, ch 1, sc in the last sc | +1 |
| Decrease at the end | stop after the sc in the last ch-1 sp, leave the last sc unworked | −1 |
Between the two ends, the middle is always the same: ch 1, sc in the next ch-1 sp, repeated across.
While you grow the blanket, each row has as many ch-1 spaces as its row number. Row 40 has 40 spaces, so you can always check where you are.
The pattern — step by step
Stripe sequence
Change color every 15 rows. Rows 1–15 are blue, 16–30 cream, 31–45 blue, and so on, for 13 stripes. The last stripe, Rows 181–195, is blue.
To change color, work the last sc of the stripe's final row until 2 loops are left on the hook. Drop the old color and pull the new one through. Cut the old yarn, leaving a 6-in tail. You'll weave all the tails in at the end, each into a stripe of its own color.
Part 1 — Grow the triangle (Rows 1–85)
With blue.
- Row 1: Ch 2, (sc, ch 1, sc) in the 2nd ch from the hook. (1 sp) This tiny piece is the first corner of the blanket.
- Row 2: Ch 1, turn. Sc in the first sc, ch 1, sc in the ch-1 sp, ch 1, sc in the last sc. (2 sps)
- Row 3: Ch 1, turn. Sc in the first sc, [ch 1, sc in the next ch-1 sp] across, ch 1, sc in the last sc. (3 sps)
- Rows 4–85: Repeat Row 3. You add 1 sp on every row. (85 sps at Row 85)
Remember to change to cream after Row 15, back to blue after Row 30, and so on.
At Row 85, one of the straight edges measures about 40 in. That's the short side of the blanket. Lay the triangle flat and check. If you'd like a wider throw, keep increasing; every 3 extra rows adds about 1.4 in.
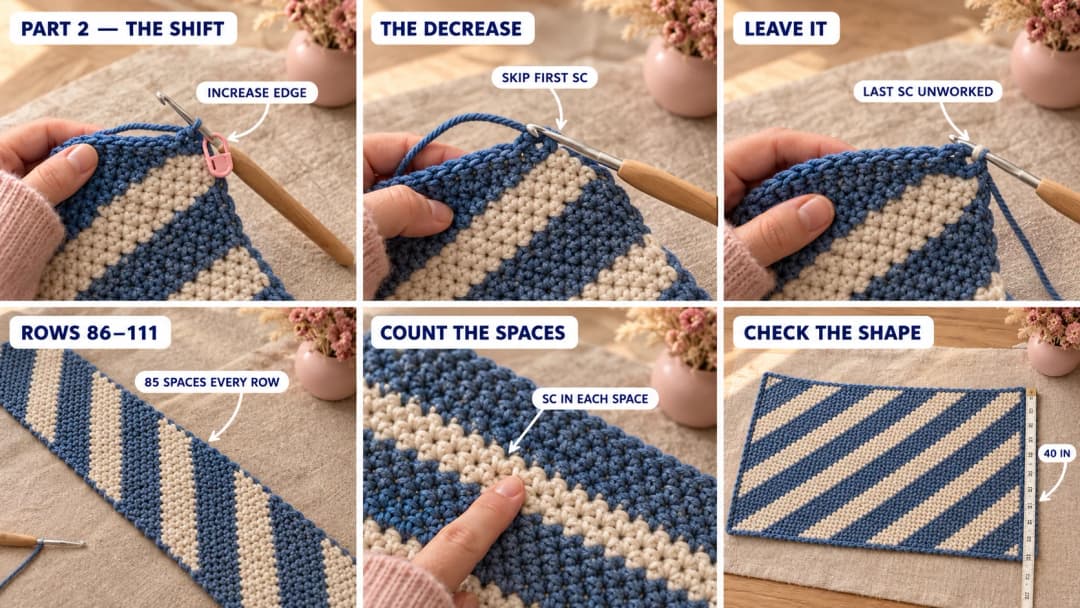
Part 2 — Shift the rectangle (Rows 86–111)
Now one edge keeps growing, while the other starts to shrink. The number of spaces stays at 85 on every row.
- Row 86: Ch 1, turn. Sc in the first sc, [ch 1, sc in the next ch-1 sp] across, leave the last sc unworked. (85 sps)
- Row 87: Ch 1, turn. Sk the first sc, sc in the first ch-1 sp, [ch 1, sc in the next ch-1 sp] across, ch 1, sc in the last sc. (85 sps)
- Rows 88–111: Repeat Rows 86 and 87, 12 more times. (85 sps)
An easy way to remember it: the edge where Row 86 starts always increases. The other edge always decreases. Put a marker on the increasing edge and you'll never mix them up.
Want a longer blanket? Add rows here, in pairs. Every 2 extra rows adds about 1 in to the length.
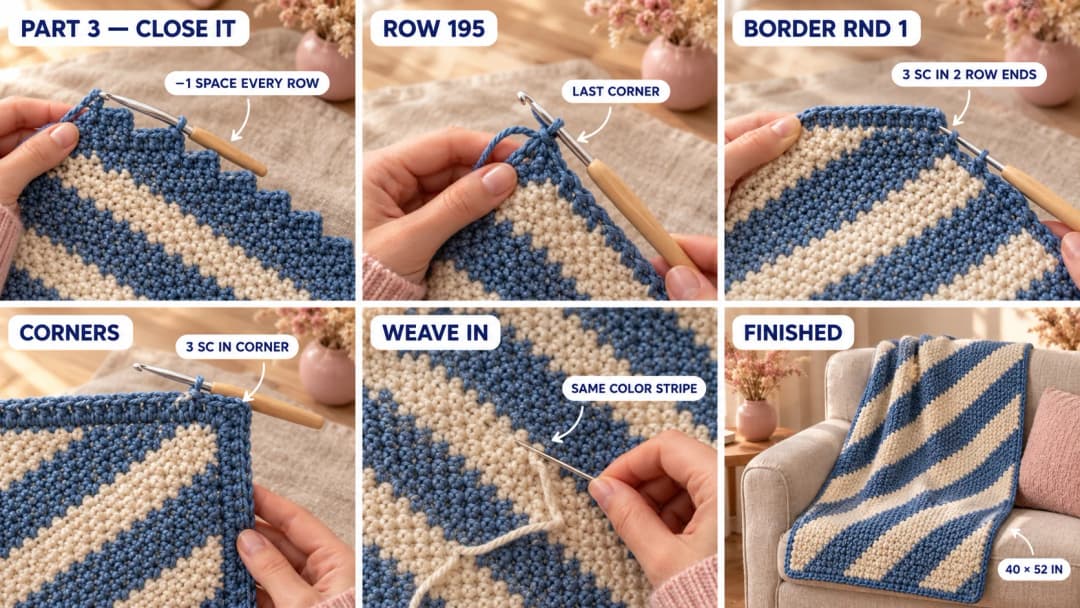
Part 3 — Close the last corner (Rows 112–195)
Both edges shrink now, 1 sp per row.
- Row 112: Ch 1, turn. Sk the first sc, sc in the first ch-1 sp, [ch 1, sc in the next ch-1 sp] across, leave the last sc unworked. (84 sps)
- Rows 113–195: Repeat Row 112. (1 sp at Row 195)
Row 195 is just sc, ch 1, sc: the last corner, mirroring Row 1. Fasten off.
Border (blue)
The border straightens the stepped edges of the rows. Work with the right side facing.
- Rnd 1: Join blue in any corner. Ch 1. Work sc evenly around all four sides: 3 sc in every 2 row ends along the edges, and 3 sc in each corner. Sl st to the first sc. (About 127 sc on each short side and 166 on each long side, plus corners.)
- Rnd 2: Ch 1. Sc in each sc around, with 3 sc in the center sc of each corner. Sl st to the first sc.
Fasten off. Weave in all the ends, each one into a stripe of its own color, for at least 3 in. Change direction once so they can't work loose.
Don't worry if your side counts differ by a few stitches. What matters is that the edge lies flat. If it ruffles, skip a stitch here and there. If it pulls in, add one.
Blocking
Moss stitch in acrylic barely needs blocking, but a gentle steam makes the corners truly square. Lay the blanket flat, pin the corners to 40 × 52 in, and hover a steam iron above it without touching it. Let it cool and dry before you unpin it.
Care. Machine wash cold on a gentle cycle, then tumble dry low or lay flat. Acrylic doesn't felt, but high heat can flatten the texture.
Make it yours — quick variations
| Variation | Change from base pattern |
|---|---|
| Baby blanket (about 30 × 35 in) | Increase to Row 64, shift for 10 rows (Rows 65–74), decrease Rows 75–137 (63 rows, ending at 1 sp). Use 9 stripes of about 15 rows; the last stripe gets 17 rows. |
| Blush and cream | Swap the blue for a soft blush pink for a nursery or a cozy bedroom. |
| Narrow stripes | Change color every 5 rows (39 stripes). More ends, but a striking pinstripe look. |
| Rainbow stash buster | Use a new color for each of the 13 stripes, and edge it in cream. |
| Square throw (40 × 40 in) | Skip Part 2. After Row 85, go straight to the decrease rows (84 rows, ending at 1 sp). That makes 169 rows, so change color every 13 rows for 13 even stripes. |
Troubleshooting the three things that go wrong
My blanket isn't a rectangle
You mixed up the two edges in Part 2. The edge where Row 86 starts must keep increasing on every row, and the other edge must keep decreasing. A marker on the increasing edge solves it. If it's already off, count the spaces: every row in Part 2 should have exactly 85.
The edges ripple or curl
Your edge stitches are tighter or looser than the middle. Keep the first and last sc of each row the same size as the others, and don't pull the turning chain tight. The border also fixes a lot of this.
The stripes aren't the same width
You changed color on the wrong row. Keep a row counter: the color changes after Rows 15, 30, 45, 60 and so on, every multiple of 15. On a long project, it's easy to lose a row, so write the row number down at the end of every session.
Frequently asked questions
How long does this diagonal striped blanket take? About 20 to 25 hours. That's around 19,000 stitches, but they're all sc and ch 1, so the rows go fast. The first and last stripes take minutes; the long middle rows take longer, around 5 minutes each.
How much yarn do I need? About 1,350 yd (1,235 m) of bulky #5 yarn in total: 700–750 yd of blue, including the border, and 580–630 yd of cream. In Paintbox Simply Chunky, that's 6 balls of blue and 5 of cream.
Can I use worsted yarn instead? Yes, with a 5.5 mm hook, but your blanket will be smaller, about 30 × 39 in at the same row counts. To keep the full size, work Part 1 to Row 113, shift for 35 rows (Rows 114–148), then decrease to 1 sp (Row 260), changing color every 20 rows. You'll need about 1,500 yd.
Is corner to corner hard for a beginner? Not this version. Classic C2C uses blocks of double crochet and slip stitches, which confuses a lot of people. Here every row is sc and ch 1, and only the first and last stitch change. If you can make a moss stitch dishcloth, you can make this blanket.
Can I sell blankets made from this pattern? Yes, you're welcome to sell finished blankets made from this free pattern at markets, on Etsy or as gifts. Please credit "Pattern by Wavode" in your listing and link back to this page. What you can't do is republish this write-up or my photos as your own pattern.
Related patterns on Wavode
- Chunky striped crochet blanket: classic horizontal stripes in plush yarn.
- Chunky moss stitch blanket: the same moss texture, worked straight in one color.
- Eyelet waves crochet blanket: soft waves in four coastal colors.
- Tunisian patchwork blanket: a dense, woven-look throw in squares.
- Easy crochet baby blanket: a one-row-repeat weekend blanket for babies.
Made a diagonal striped blanket? Tag #wavodecrochet on Pinterest. I re-pin every finished make and credit the maker.
Pattern by Clara Hartwell for Wavode. Questions? Email me at support@wavode.com.