Eyelet Waves Crochet Blanket: Free Ripple Pattern (Step-by-Step)

Eyelet Waves Crochet Blanket: Free Ripple Pattern (Step-by-Step)
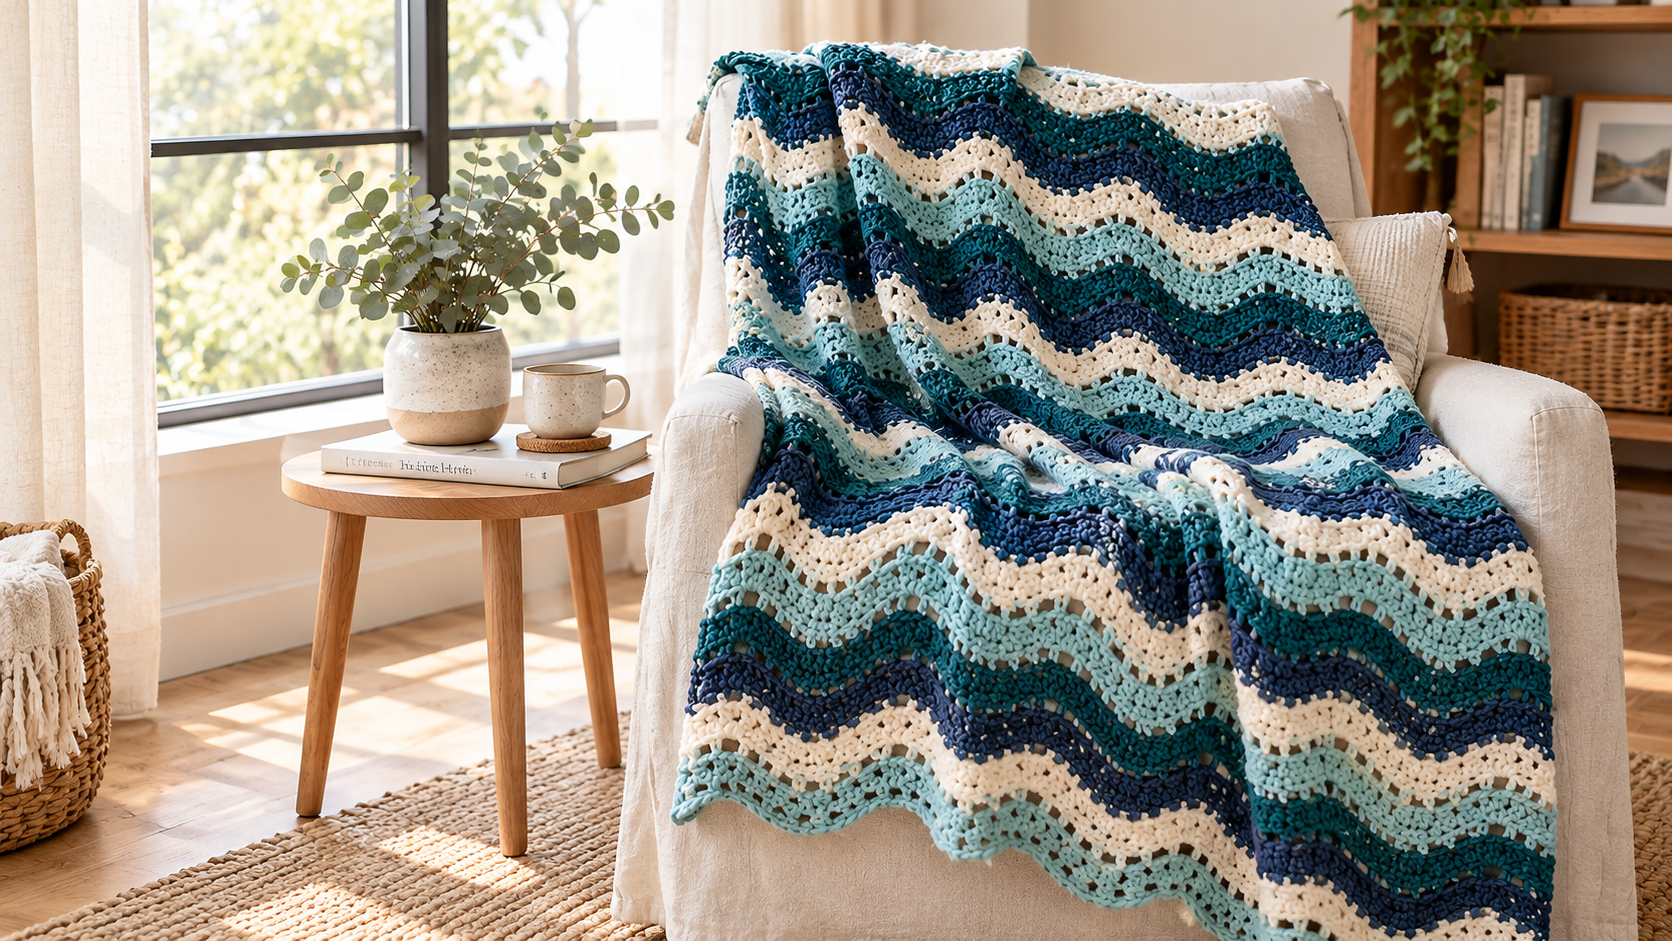
The eyelet waves crochet blanket uses a simple 14-stitch repeat plus 3 to create a gentle ripple with small decorative eyelet holes along each peak. It works up in about 15–20 hours using a 5.5mm hook and worsted-weight yarn — most crocheters finish one over a long weekend.
Key Takeaways
- Stitch multiple: 14 + 3 — resize it any way you like.
- Skill level: easy — just chains, double crochet, and a repeating peak/valley sequence.
- Finished size: ~130 cm × 150 cm (adjustable) using a 5.5mm hook + worsted-weight yarn.
- Perfect for anyone who's mastered basic granny squares and wants to try their first ripple.
What Is an Eyelet Waves Blanket?
An eyelet waves blanket is a variation on the classic ripple afghan, sometimes called a chevron blanket, with tiny decorative holes — the "eyelets" — spaced along each wave crest. Those eyelets come from strategically placed chain-1 spaces that catch the light and give the finished piece an almost lace-like feel.
It's part of the wider ripple-stitch family, and it's the pattern I recommend to anyone who's tired of straight rows but not ready for cables or intarsia. The rhythm is meditative. You'll fall into it by row three.
How Long Does an Eyelet Waves Blanket Take to Crochet?
Plan on 15–20 hours for a throw-sized blanket (~130 × 150 cm). A confident intermediate crocheter working ~30 rows per hour finishes in about a weekend. First-timers should budget closer to 25 hours — expect to frog row 2 once you figure out the ripple rhythm. That's normal.
Want a full bedspread (200 × 220 cm)? Roughly double it: 35–45 hours total. Split it across two weeks of evenings and it flies.
Materials You'll Need
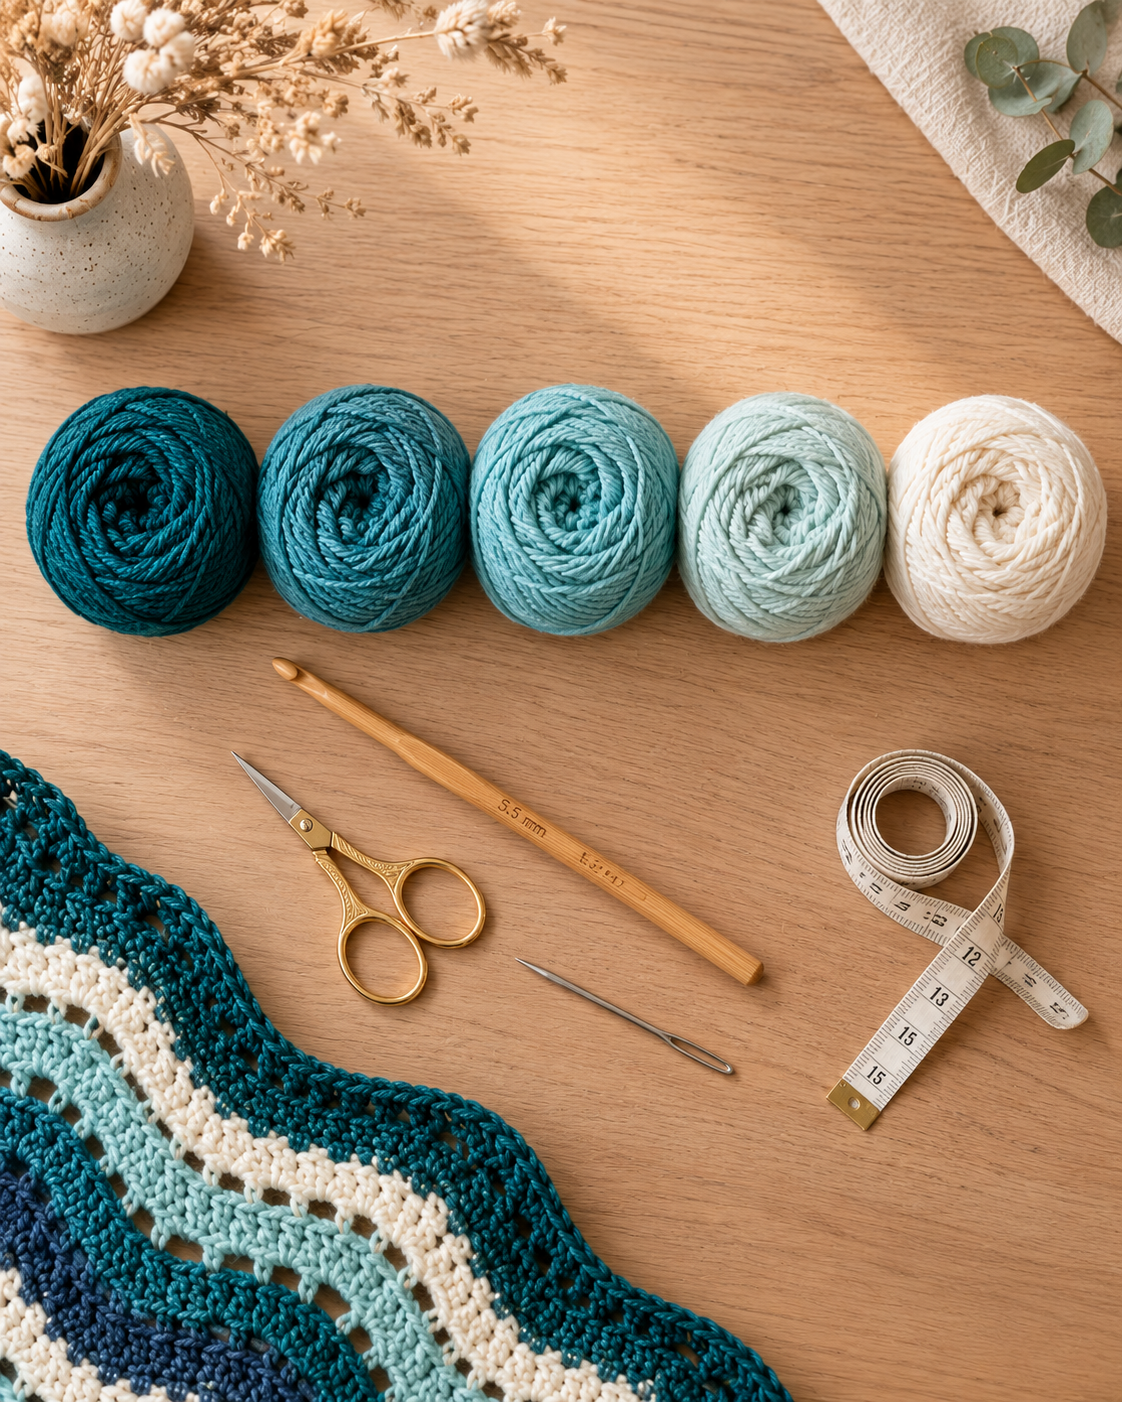
- Yarn: Medium-weight (4) worsted, ~5 balls (A, B, C, D, E — about 200g each)
- Hook: 5.5mm (US I/9)
- Tapestry needle for weaving in ends
- Scissors and a measuring tape
Skill level: Easy · Finished size: Approx. 130 cm × 150 cm (adjustable)
Abbreviations (US Terms)
| ch | chain |
| dc | double crochet |
| hdc | half double crochet |
| sc | single crochet |
| sk | skip |
| sp | space |
Pattern Notes Before You Start
- The blanket is worked in a ripple (chevron) pattern.
- Each repeat is 14 stitches + 3.
- Use any number of colors you like — I used five, but three or even one works.
- Change color at the end of the row for clean stripes.
How Do You Crochet the Eyelet Waves Blanket?
You crochet it in seven simple steps, starting from a foundation chain and building rippled rows using a 14-stitch repeat. Below is the full pattern. All abbreviations follow US terms — if you're used to UK terms, see the Craft Yarn Council conversion chart.
Step 1 — Foundation Chain
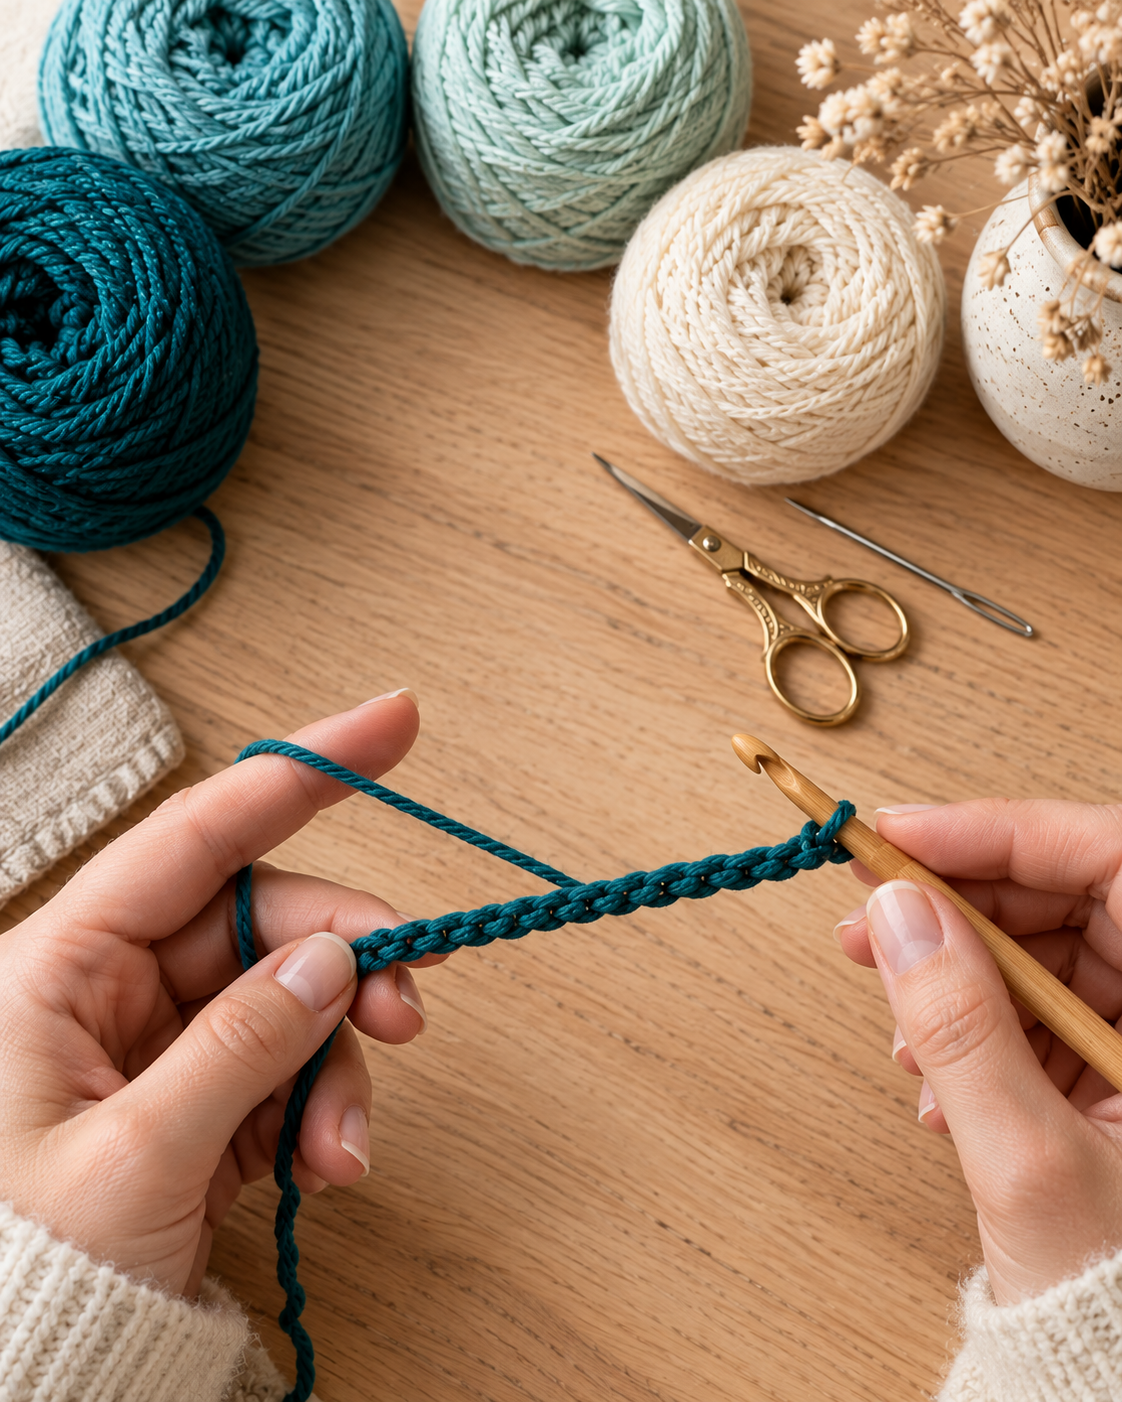
Ch a multiple of 14 + 3. For the blanket shown, I chained 171 (14 × 12 = 168 + 3 = 171). Adjust to your desired width — every extra 14 chains adds one full wave.
Step 2 — Row 1 (Setup Row)
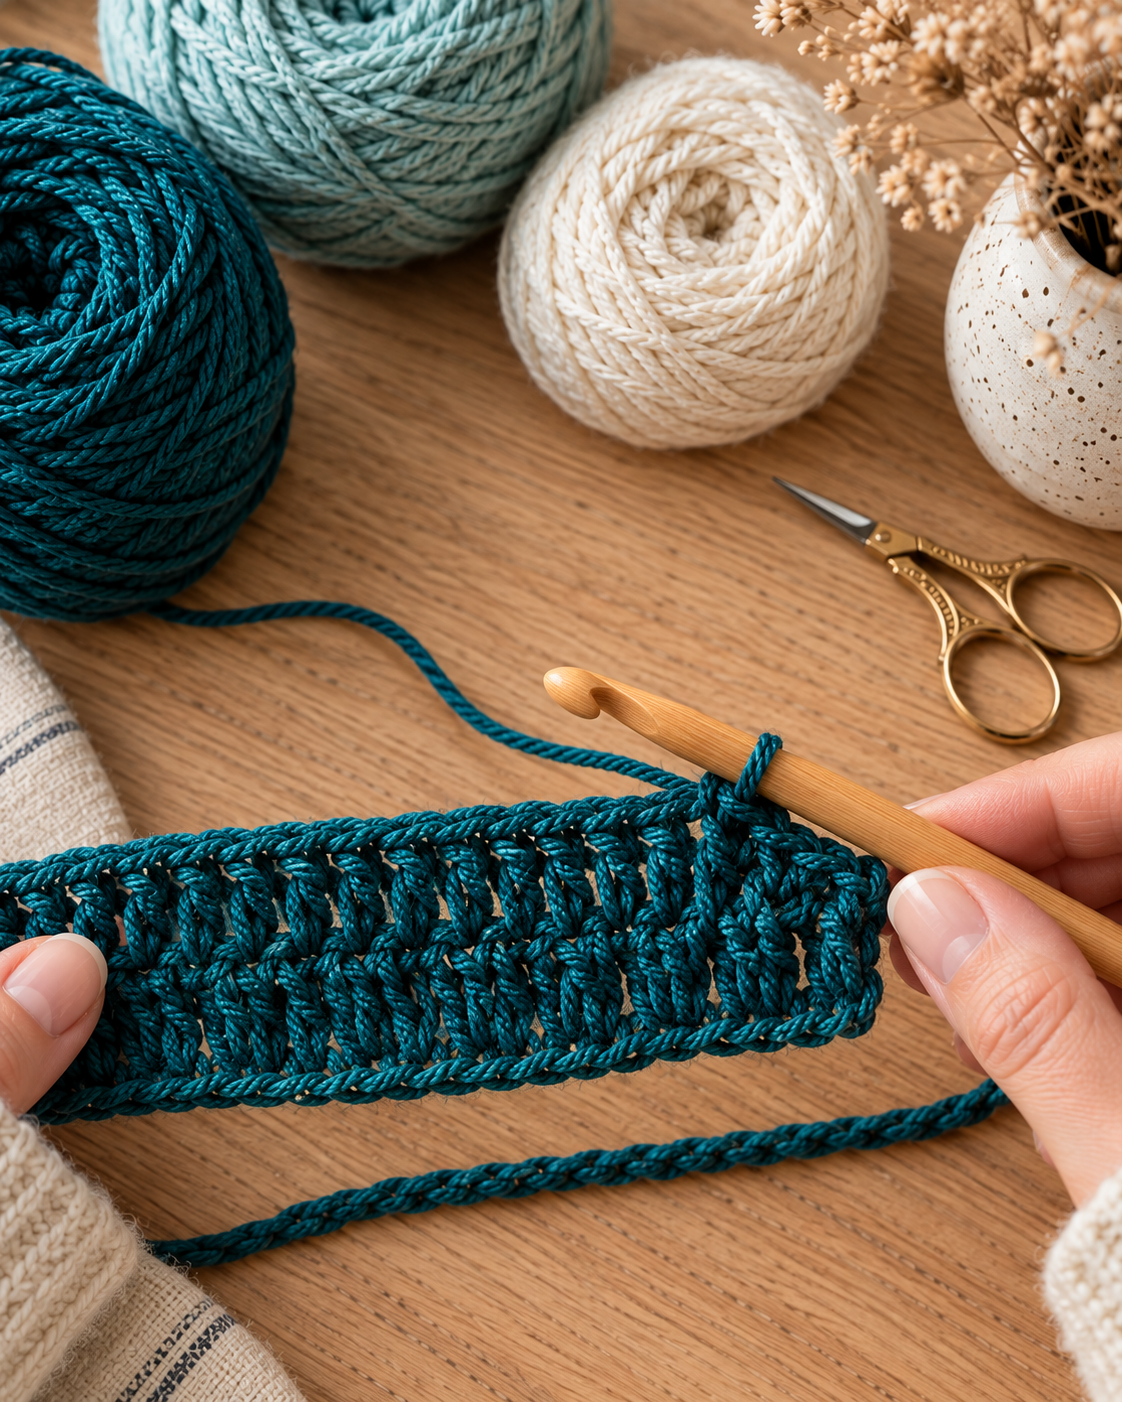
1 dc in 4th ch from hook, 1 dc in each ch across. Turn. (170 dc). This is a plain base row that gives the ripples something to build on.
Step 3 — Row 2 (Start the Ripple)
Ch 3 (counts as dc). Dc in next 5 st. (Skip 2 sts, 3 dc, ch 1, 3 dc in next st) — this creates the peak. Dc in next 5 st, skip 2 sts, dc in next 5 st. Repeat between * * across to last 3 sts. Skip 2 sts, 1 dc in last st. Turn.
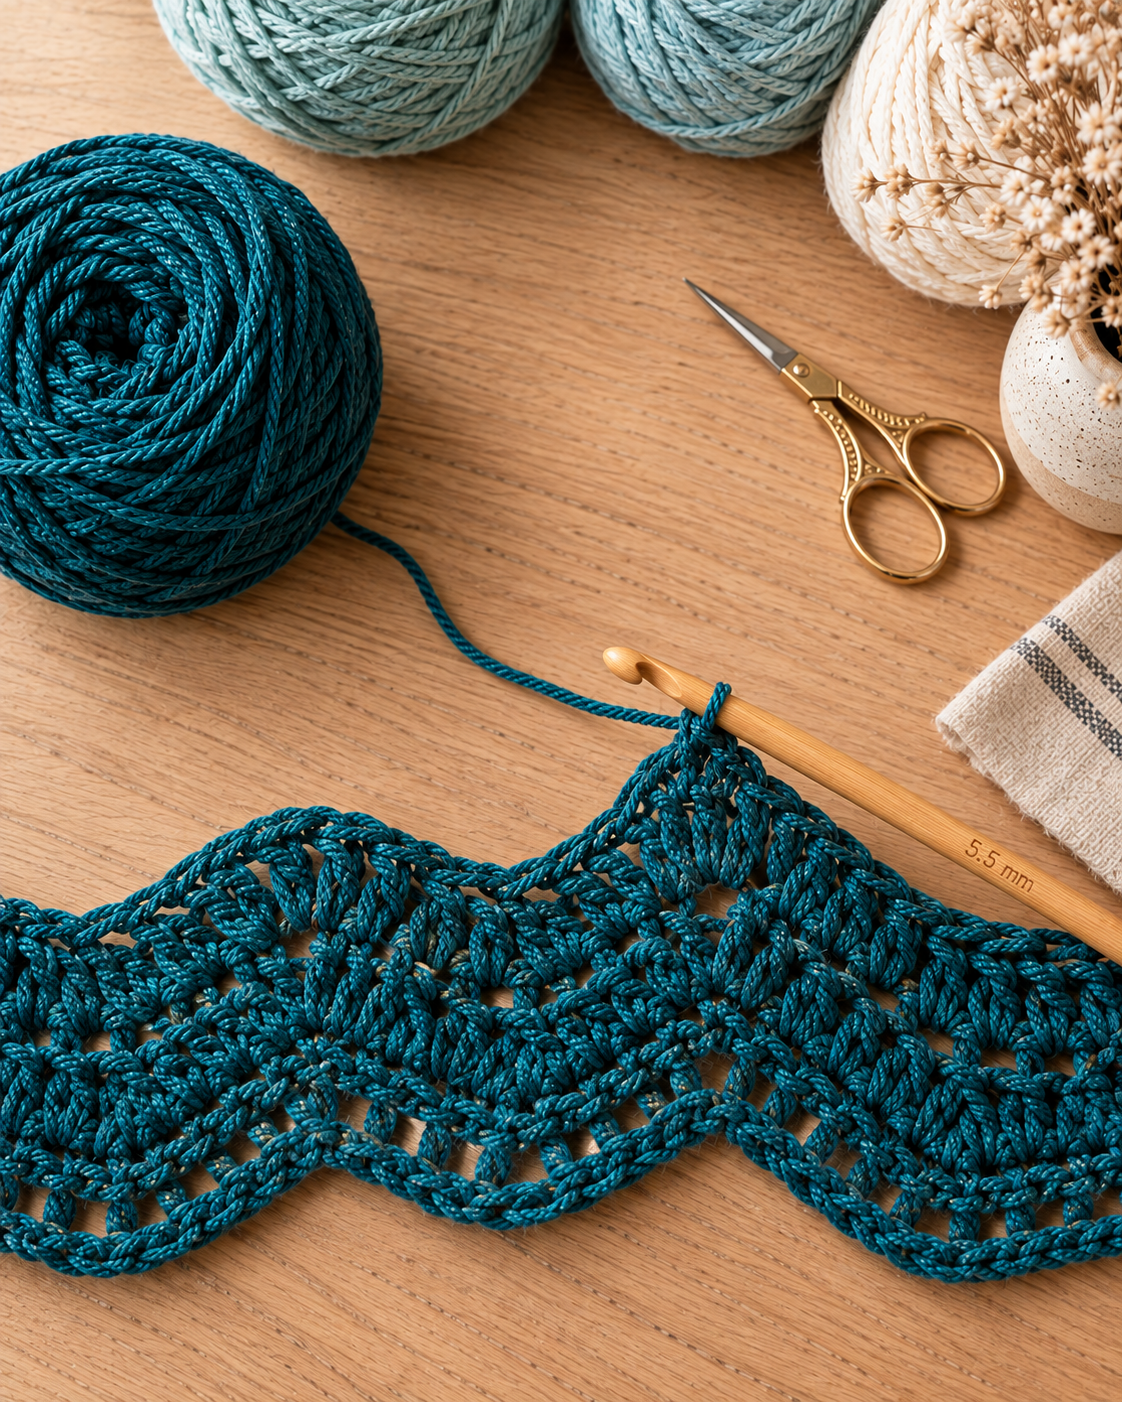
Step 4 — Row 3 (Main Repeat)
Ch 3 (counts as dc). Dc in each dc across, working (3 dc, ch 1, 3 dc) in each ch-1 space, and skipping 2 sts at each valley. This is your main repeat row — memorize it, because you'll do a lot of them.
Step 5 — Change Color and Keep Rippling
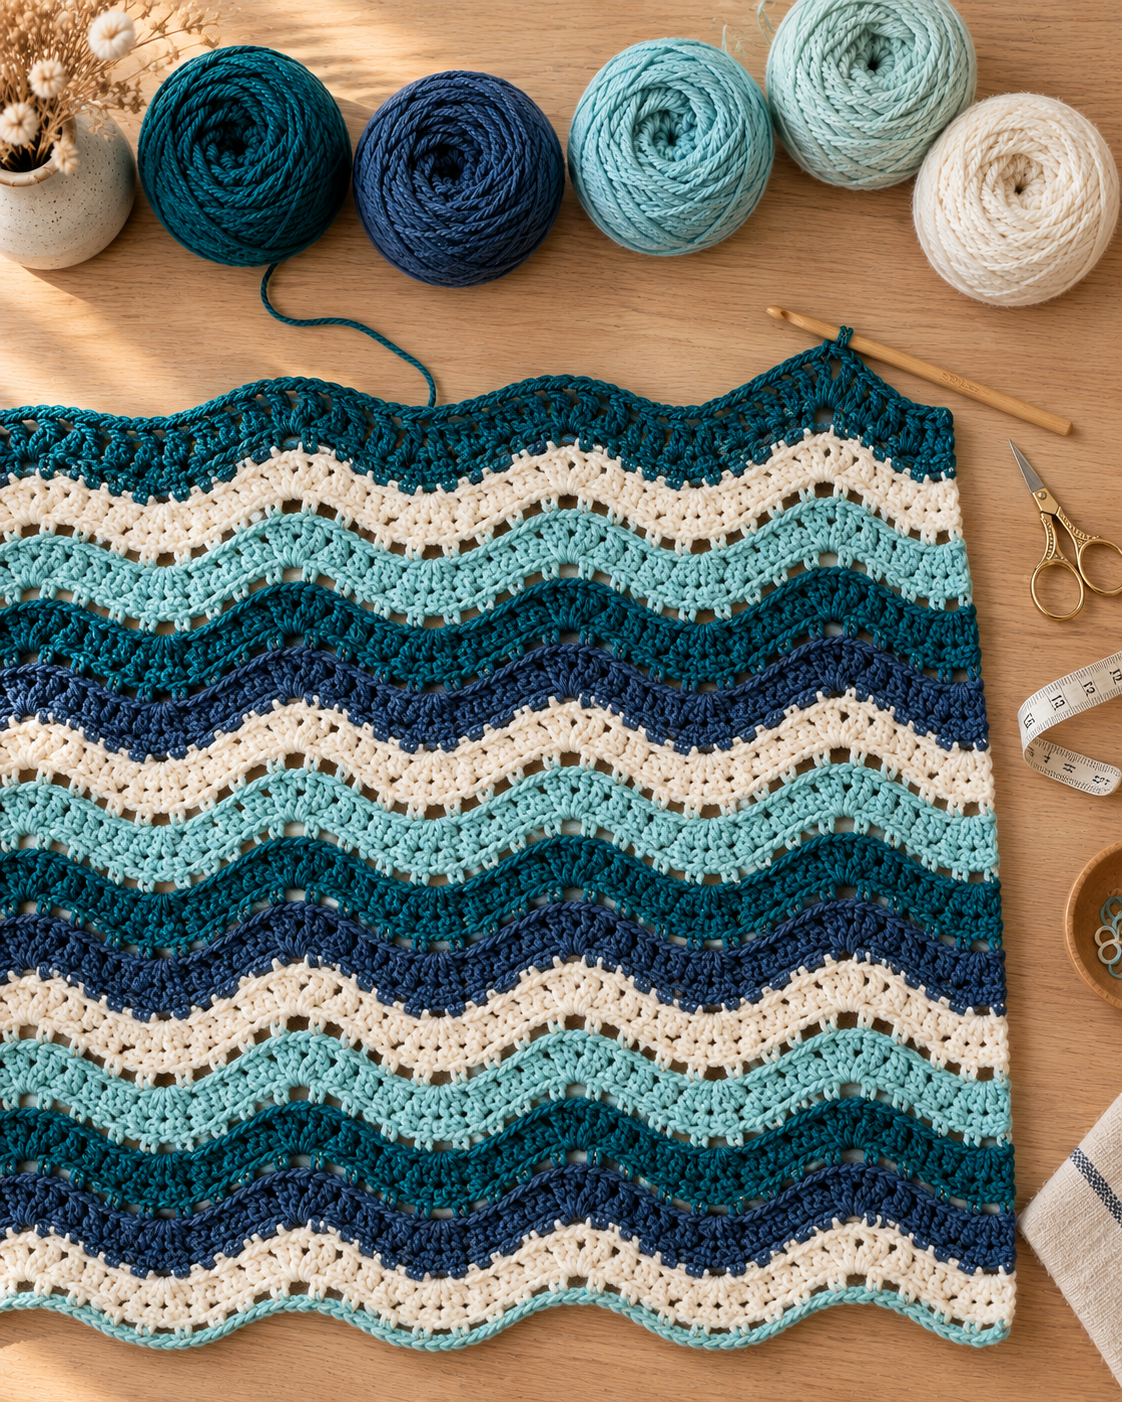
At the end of any row, drop the working yarn and join the next color. Weave the tail in as you go for fewer ends later — future-you will be grateful. Keep repeating the main pattern row, changing colors in your chosen sequence.
Step 6 — Border and Finishing
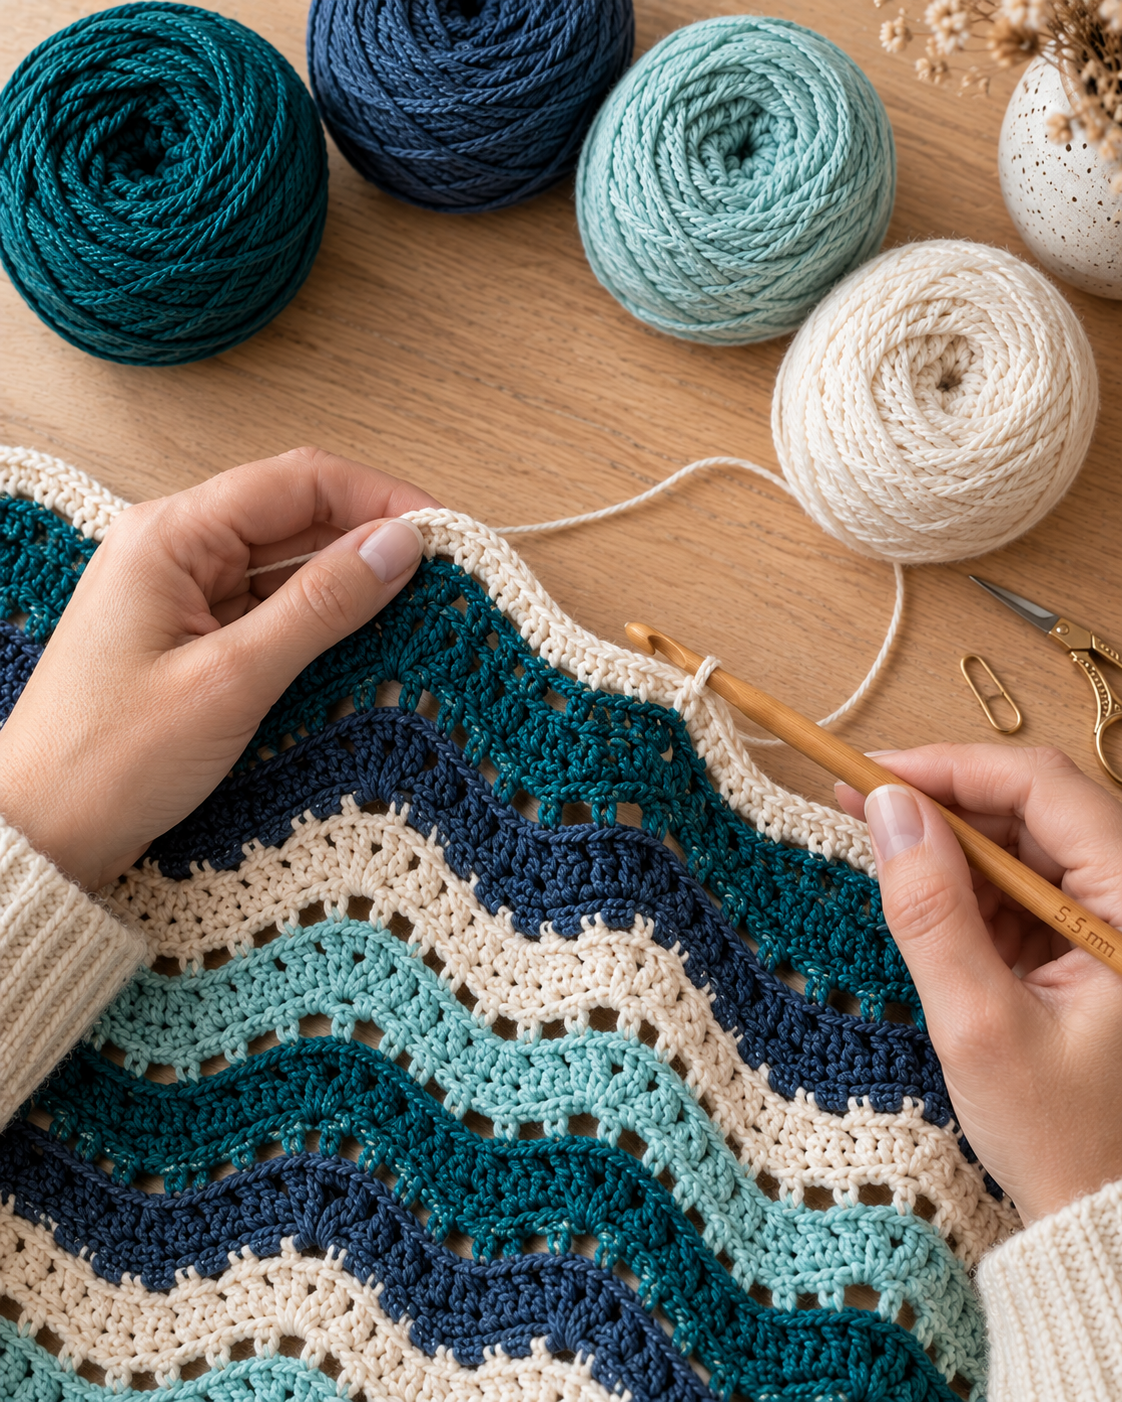
Once you've hit your desired length (~110 rows for a standard throw), work one round of single crochet around the entire blanket in your border color. Follow the peaks and valleys along the top and bottom to preserve the wavy edge. Fasten off. Weave in all ends.
Step 7 — Block and Style
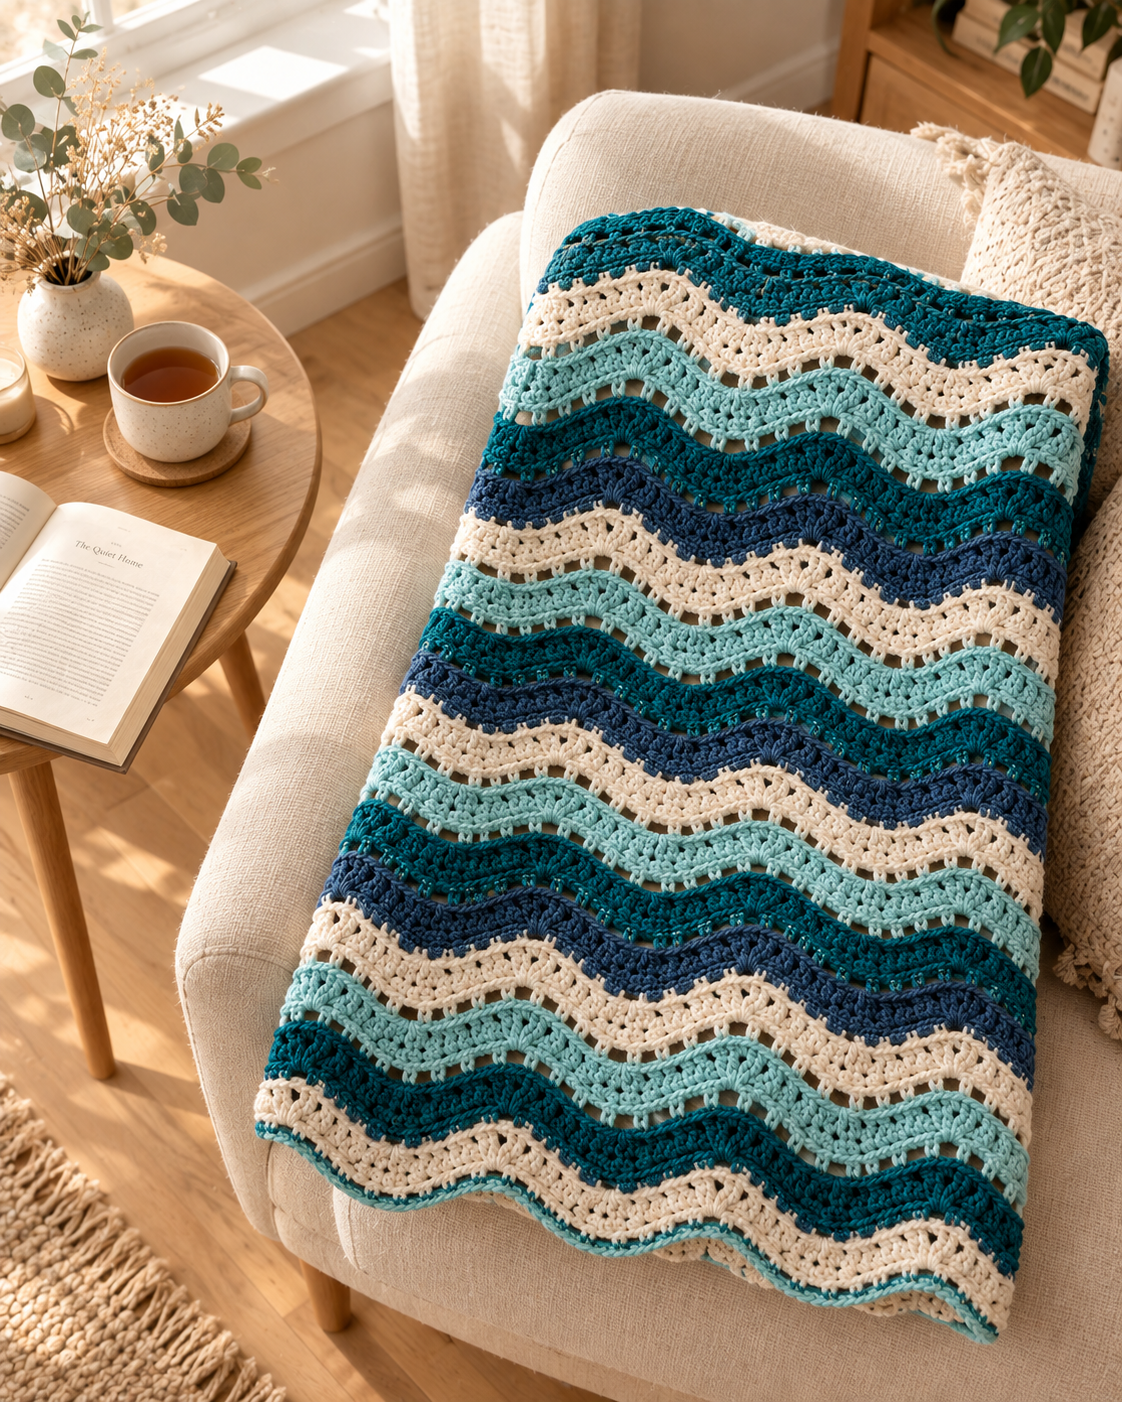
If your blanket looks slightly wonky, wet-block it: dampen with cool water, shape it flat, and let it dry overnight. That's the difference between "handmade" and "homemade."
How Do You Get Clean Color Changes on a Ripple Blanket?
Change color on the very last yarn-over of the previous row — pull the new color through to complete the final stitch. This keeps the new color from bleeding into the last stitch of the old row, and eliminates the tiny "V" of old color that ruins otherwise clean stripes.
My other trick: weave the tail into the top of the row as you crochet the next one. That way there's nothing to weave in at the end.
Which Yarn Is Best for an Eyelet Waves Blanket?
Medium-weight (4) worsted acrylic or a cotton-acrylic blend is ideal. Acrylic gives the blanket drape and machine-washability — non-negotiable if this is going on a family couch. Pure cotton works too, but the blanket ends up heavier and stretchier over time.
I used Lion Brand Mandala for the sample shown, which auto-changes colors and gave me the gradient effect without buying five separate skeins. For a beginner-friendly all-in-one option, that's my top pick.
Frequently Asked Questions
How much yarn do I need for an eyelet waves blanket?
About 1,000g of medium-weight worsted yarn for a standard throw (~130 × 150 cm). If you're using five colors, plan on 200g of each. Always buy one extra ball of your main color — running out mid-color-change during a dye-lot shift is heartbreaking.
What size hook is best for this pattern?
A 5.5mm (US I/9) hook is the sweet spot with worsted-weight yarn and gives a soft, drapey fabric. If your ripples curl at the edges, size up to 6mm. If they look loose and holey, go down to 5mm.
Can I make this blanket bigger or smaller?
Yes — the stitch multiple is 14 + 3. Add 14 chains for each additional wave to widen it, or subtract 14 to make it narrower. For a bedspread, aim for ~210 stitches wide (15 repeats) and about 200 rows tall.
Is the eyelet waves pattern beginner-friendly?
Yes, it's rated easy. If you can chain and double crochet, you can make this blanket. The trickiest part is memorizing the "3 dc, ch 1, 3 dc" peak and the "skip 2" valley — after ten rows it'll be automatic.
Why are my ripples uneven or crooked?
Nine times out of ten, it's a stitch-count mistake in row 2 or 3. Recount your chain — you need a multiple of 14 + 3. Also make sure you're skipping exactly 2 stitches in every valley. A stitch marker at each peak helps.
What to Make Next
Once you've mastered the eyelet waves pattern, you can carry that ripple rhythm into any project. Try scaling it down for a newborn-sized ripple blanket, or use the same stitch multiple to make a matching chevron scarf. If you liked the eyelet detail, my lacy shell blanket uses similar decorative holes on a larger scale.
Happy crocheting.