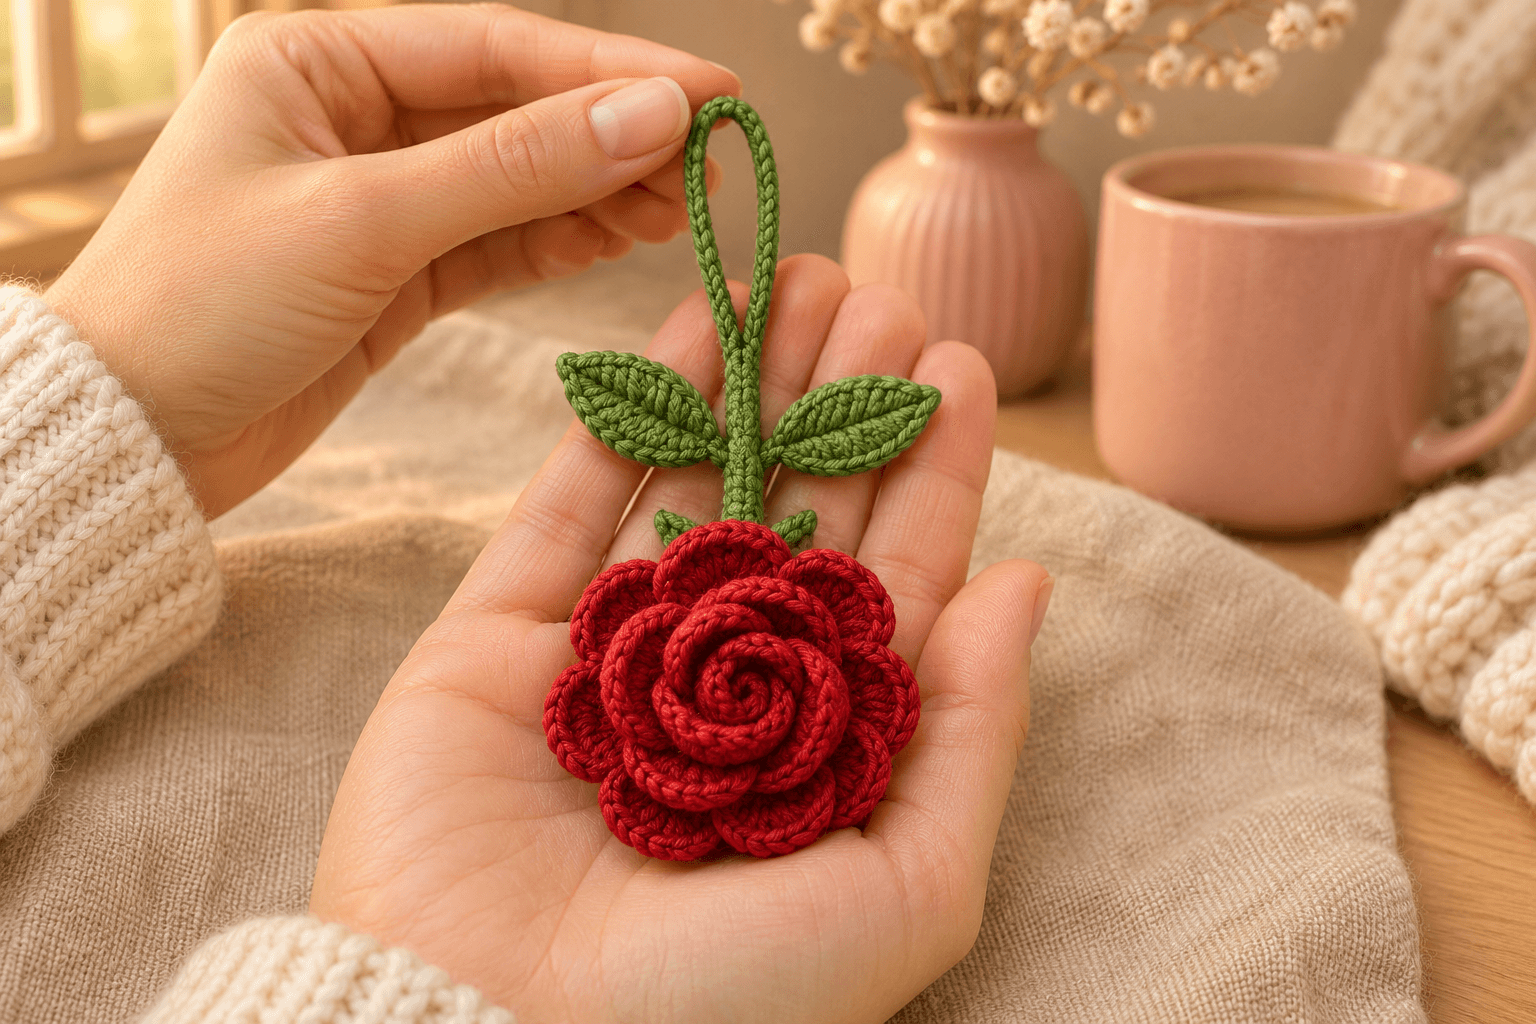
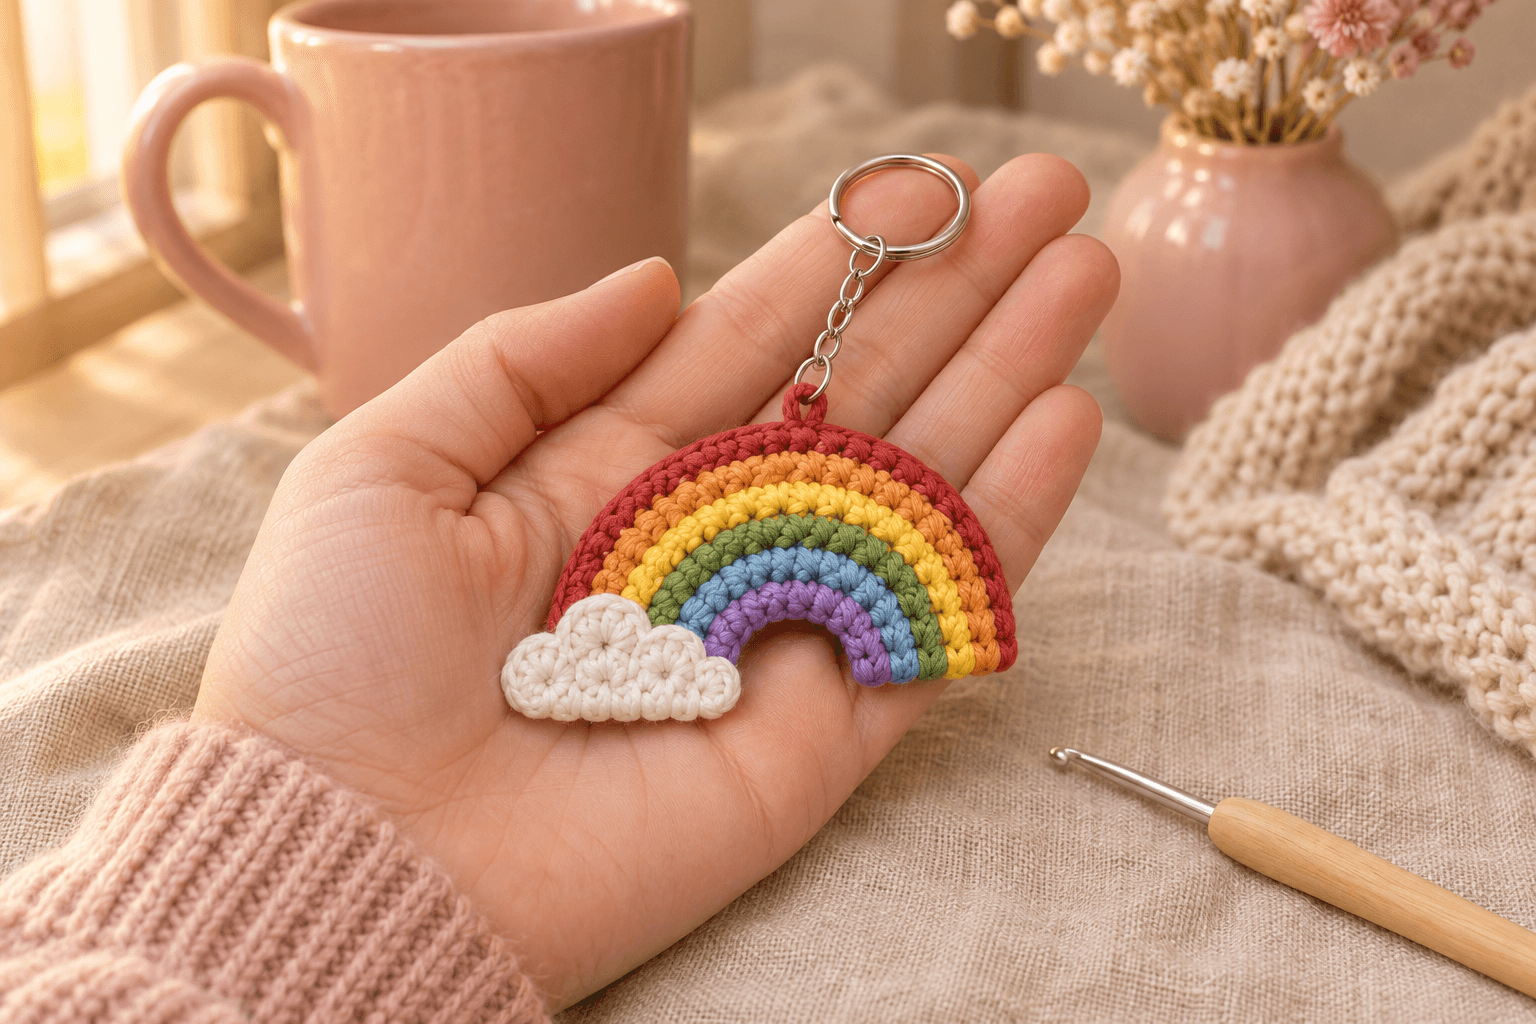
Eight-Petal Crochet Daisy Keychain

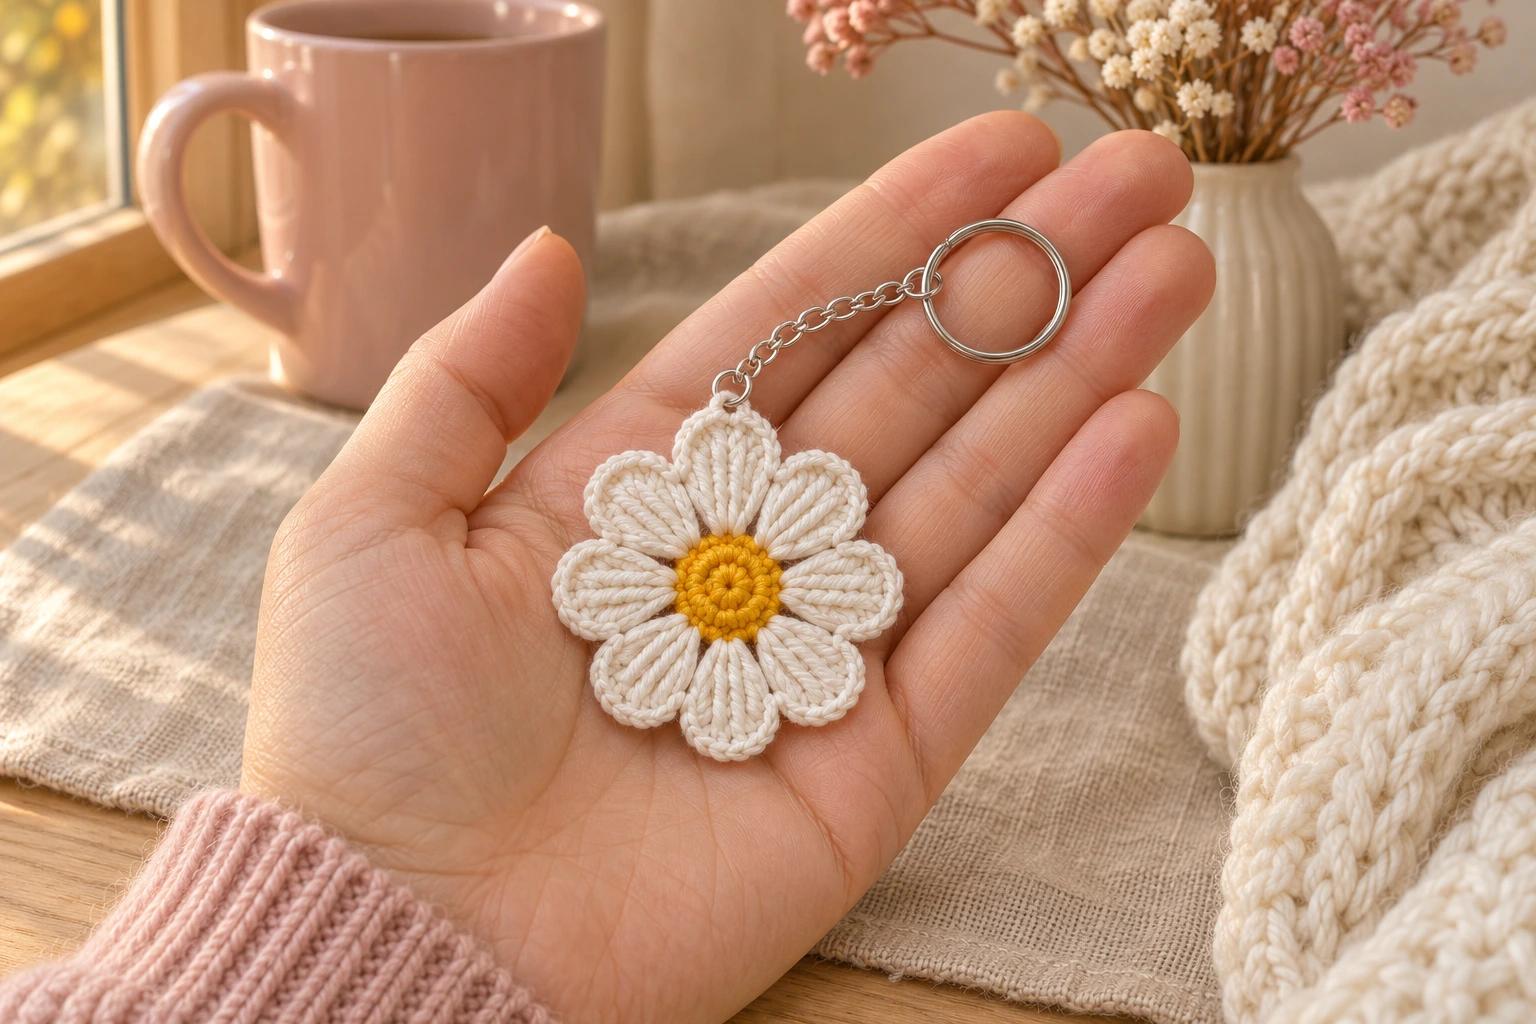
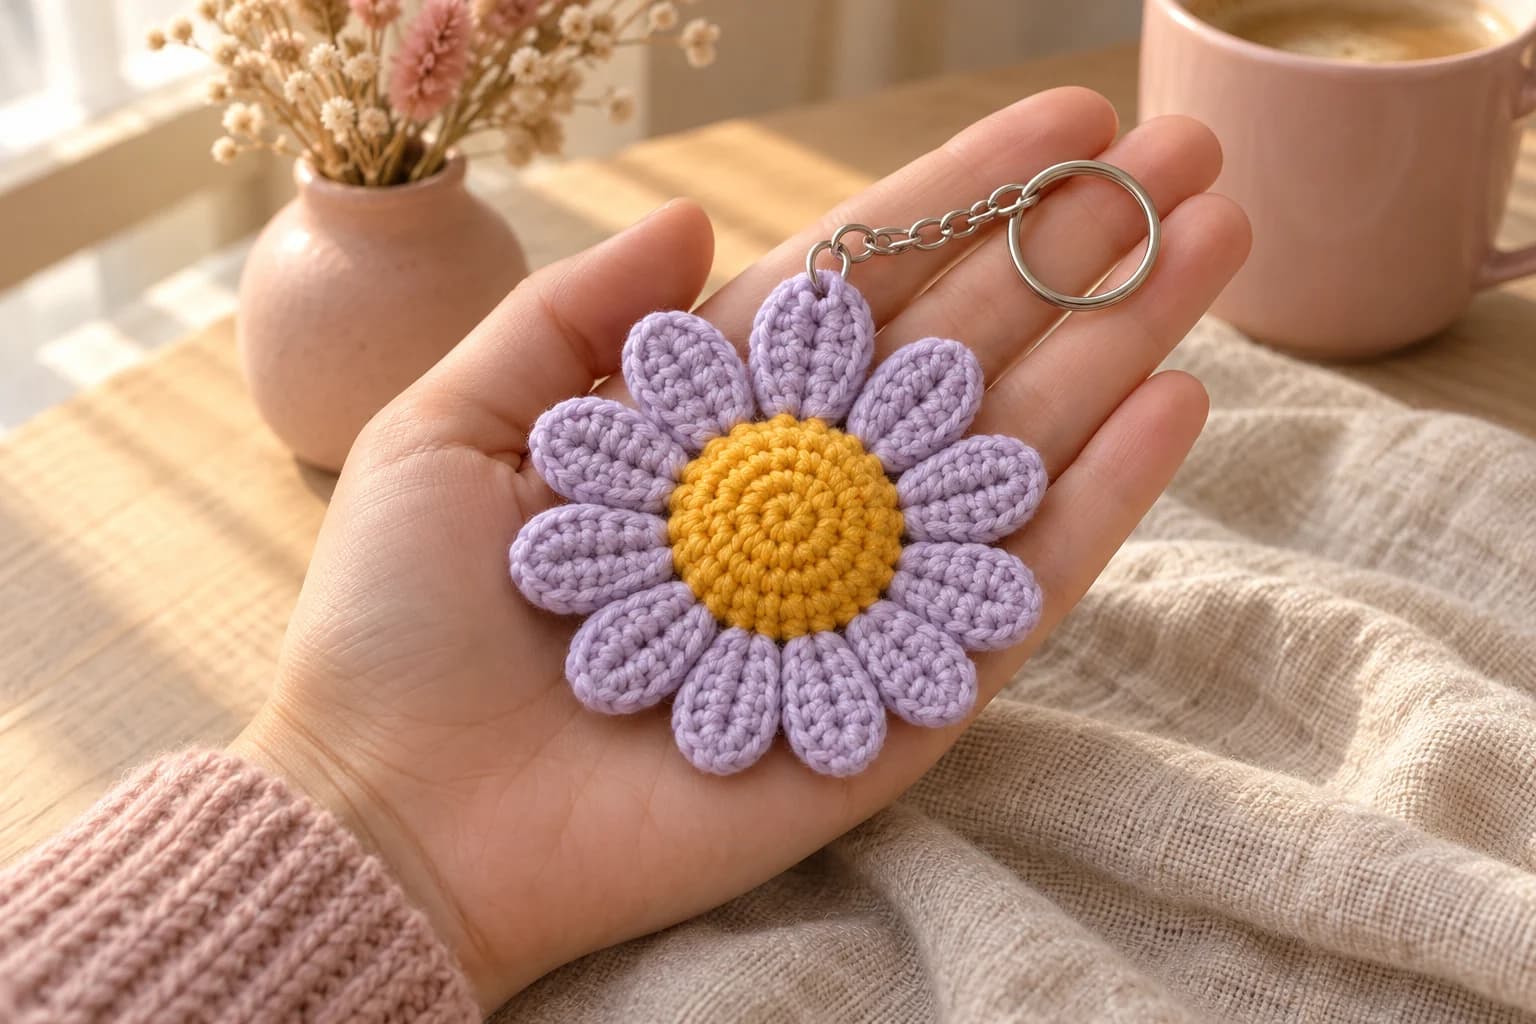
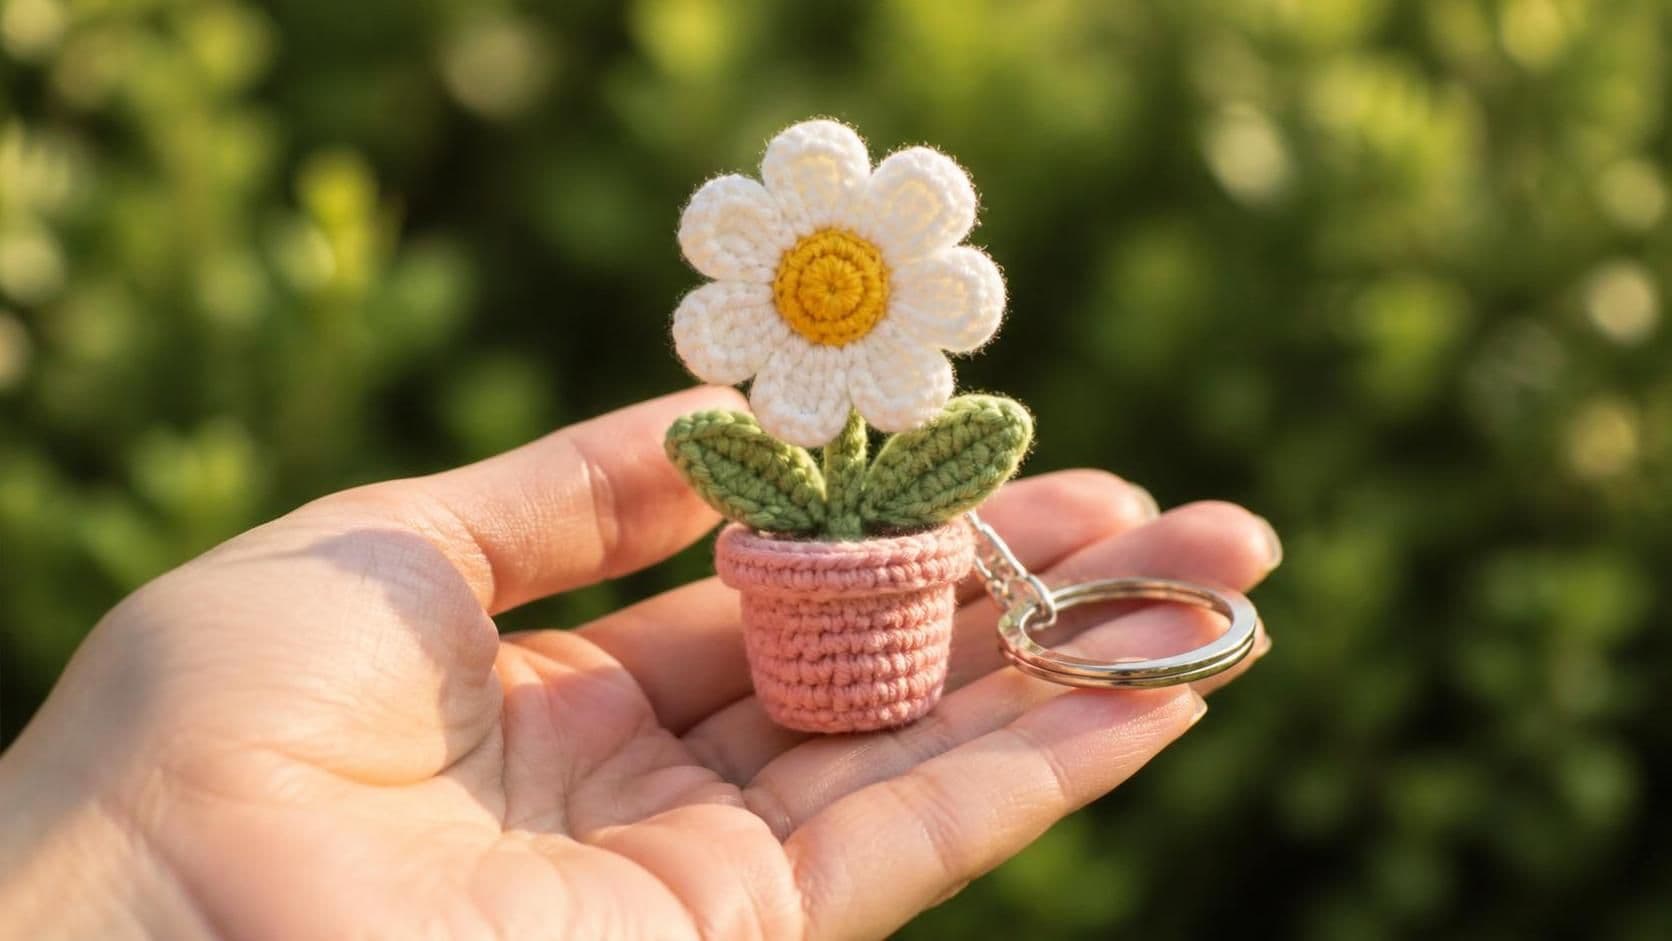
I like a little yellow on a gray morning. This eight-petal crochet daisy keychain is approximately 2–2½ in (5–6.5 cm) across, with a warm yellow middle and tall white stitches gathered into soft, rounded petals. A short silver chain lets the flower hang face forward from the top petal.
The petals grow straight from the center. The slow part is keeping four yarn-overs on the hook while you pull through them, two loops at a time. Settle into that rhythm before you speed up; loose, even loops make a much prettier petal than a tight grip.
| At a glance | |
|---|---|
| Finished size | approximately 2–2½ in (5–6.5 cm) across, excluding hardware; petal tension affects the size |
| Yarn | fingering #1 cotton in golden yellow and white |
| Hook | 2.15 mm |
| Pieces | 1 continuous crocheted flower |
| Time | allow about 1 hour |
| Skill | intermediate: magic ring, increases, joined rounds and triple treble crochet |
Yarn and hardware for the daisy keychain
- Yarn: smooth fingering #1 cotton, approximately 200 m per 50 g, in golden yellow and white. This is the yarn specification for this version. Allow about 2 yd yellow and 8 yd white, including the white reinforcement strand.
- Hook: 2.15 mm throughout.
- Hardware: a silver split key ring with a short chain and a small open jump ring that passes through the reinforced petal tip.
- Small things: a tapestry needle, scissors, two stitch markers and two pairs of flat-nose pliers.
Tension. Use 7 sc per inch (2.5 cm) as the center's working reference, with about 7 sc rows per inch. The yellow center is approximately ¾ in (1.9 cm) across. The full flower size is an estimate: tall stitches vary considerably, so measure across opposite petal tips after shaping.
US abbreviations: MR = magic ring; ch = chain; sl st = slip stitch; sc = single crochet; inc = 2 sc in the same stitch; trtr = triple treble crochet; R = round; st(s) = stitch(es).
Work in joined rounds without turning. Each ch 1 lifts the yarn and does not count as a stitch. Join into the first sc, then work the next round's first sc into that same sc. Keep the joining slip stitches outside the base count. Move a marker into the first sc of each round. Counts appear in parentheses.
Getting the triple treble comfortable
Yarn over 4 times. Insert the hook into the indicated stitch, yarn over and pull up a loop: 6 loops sit on the hook. Yarn over and pull through 2 loops 5 times in total, leaving 1 loop. I keep the wraps close to the hook's shaft so they slide evenly.
Tip. If the last loop of a trtr stretches upward, snug it gently before starting the next stitch. Pulling the whole stitch tight makes the petal stiff.
The pattern — making the yellow daisy center
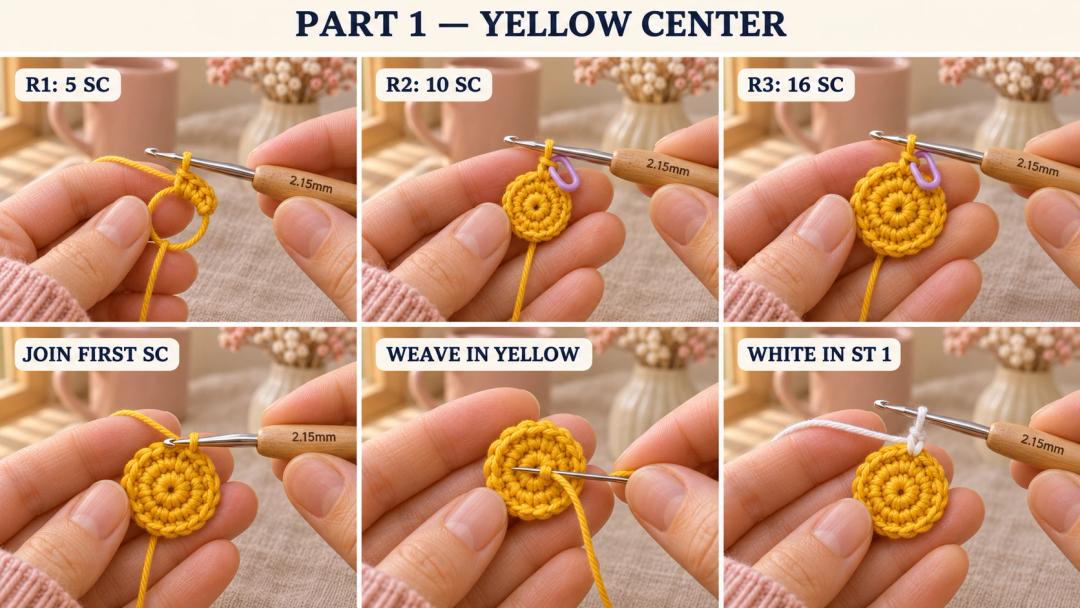
Flower — yellow, then white; 2.15 mm hook; Make 1. The magic ring is the middle of the yellow center. The last round forms the outer petals. Keep the flower unstuffed.
- R1: MR, 5 sc in the ring. (5)
- R2: inc × 5. (10)
- R3: (sc, inc) × 4, inc × 2. (16)
After R1, tighten the ring and sl st to the first sc. Before R2 and R3, ch 1. Join R2 to its first sc. After R3, sl st to its first sc, cut yellow with a 6 in (15 cm) tail, and pull the tail through the loop. Weave both yellow ends into the back of the center, passing through several stitch bases in three directions.
Keep the marker in stitch 1 of R3. This is the first base stitch for the white petals.
Eight white petals, worked around the center
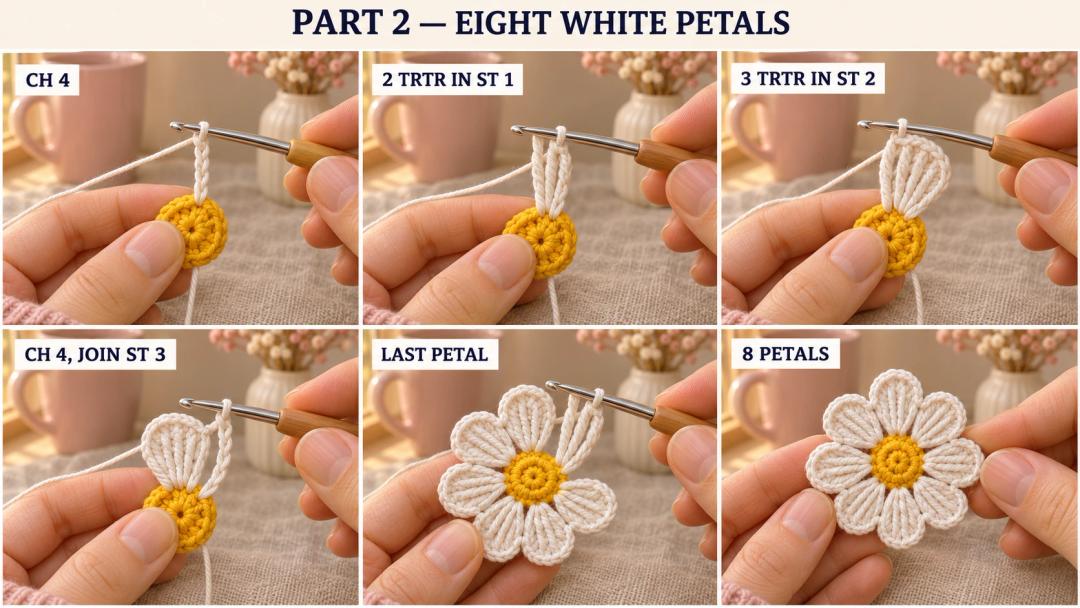
Join white with a sl st into marked stitch 1 of R3, leaving an 8 in (20 cm) starting tail. The joining slip stitch is an anchor. The ch 4 at either side of each petal forms its edge and does not count as a trtr.
- R4: (ch 4, 2 trtr in the current base st, 3 trtr in the next base st, ch 4, sl st in the following base st) × 8. (8 petals)
Here is that repeat slowly:
- From the white anchor in stitch 1, ch 4 and work 2 trtr into stitch 1.
- Work 3 trtr into stitch 2.
- Ch 4 and sl st into stitch 3. Start the next petal from this anchor, working its first 2 trtr into stitch 3.
- Continue around, with each petal's tall stitches in the next pair of base stitches. Work 8 petals in total.
- The eighth petal has 2 trtr in stitch 15 and 3 trtr in stitch 16. After its final ch 4, sl st into the original stitch 1 of R3, beneath the first white anchor.
Put the second marker through the top of the third trtr of the first petal: the first tall stitch worked into stitch 2. This petal becomes the top of the keychain.
Fasten off with an 8 in (20 cm) tail at the valley between the eighth and first petals. Weave both white ends through the backs of the white stitch bases in three directions. Keep the yellow front clear.
Tip. Each petal shares its ending anchor with the next petal's starting point. Work into the yellow base stitch beneath the anchor, rather than into the white slip stitch sitting over it.
Securing the keychain at the top petal
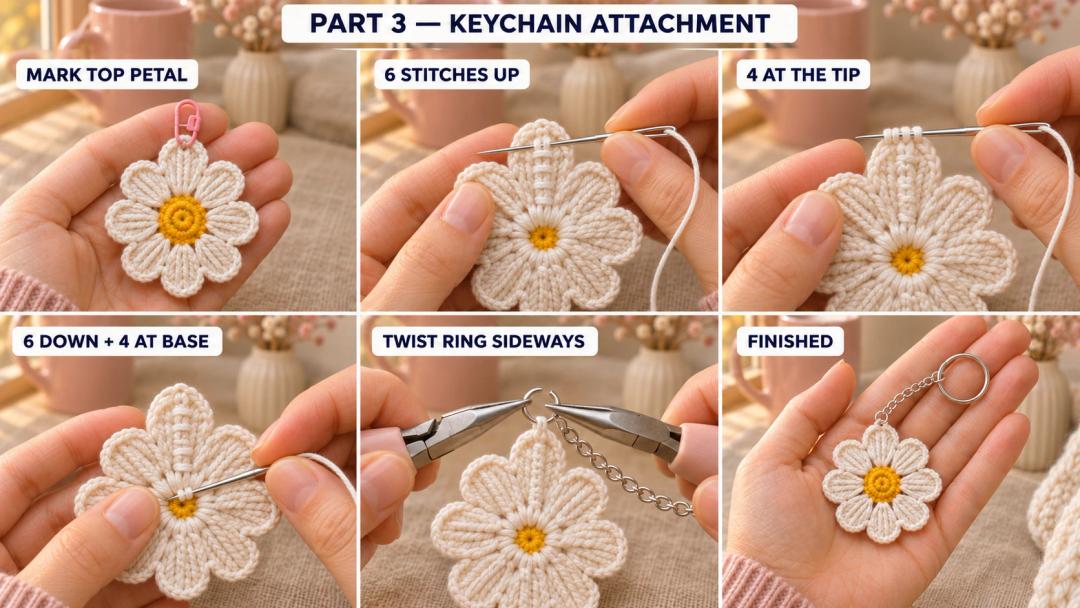
I keep the hanging stitches on the back, where they blend into the white cotton. Lay the daisy front down, with the marked first petal pointing away from you. Cut a 36 in (90 cm) strand of white cotton and thread the needle.
- Leave a 6 in (15 cm) tail at the back of the first petal's base, beside R3 stitches 1 and 2. Weave toward the marked trtr through the backs of the tall stitch posts, taking 6 small stitches up the petal.
- At the marked trtr's top, take 4 small overcasting stitches through its top loops and the neighboring trtr's top loops. Keep the rounded petal edge relaxed.
- Travel back down through the stitch posts with 6 small stitches, then anchor with 4 small stitches through the white bases above R3 stitches 1 and 2. Weave both ends in three directions and trim.
- Open the jump ring sideways with the pliers. Pass it under the reinforced top loops at the marked trtr and through the end link of the short chain. Twist it closed until the ends meet flush.
Hold the flower by its ring. The marked petal points upward and the yellow center faces forward. If the top stretches, remove the hardware and add a second reinforcing pass along the same path before putting the ring back.
Safety. This keychain has metal hardware and isn't a toy for children under 3. Keep the finished keychain away from babies and toddlers.
Shaping the daisy petals and weaving in the ends
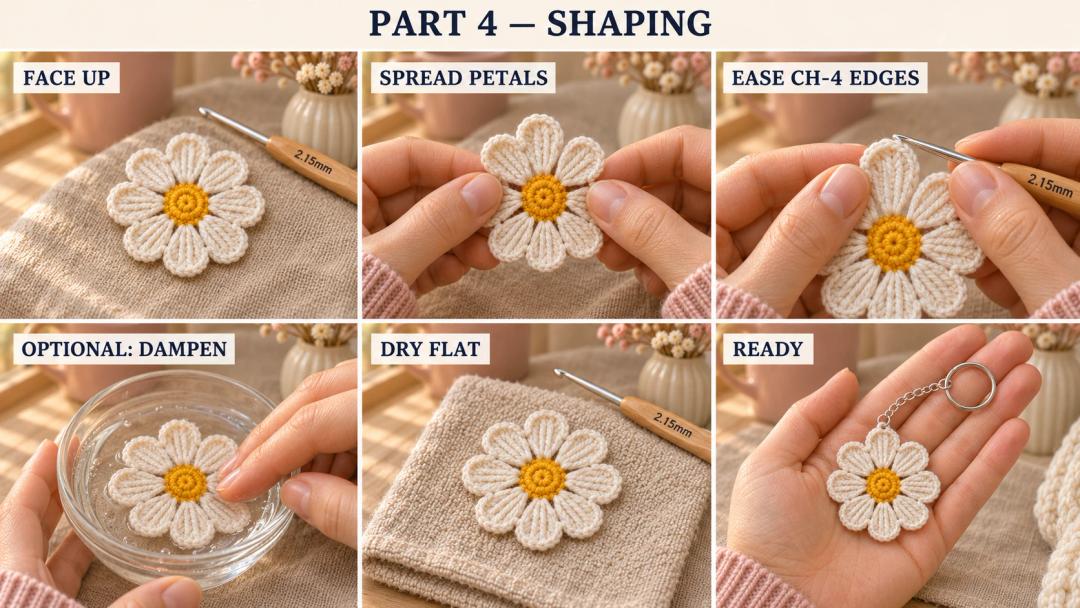
Lay the flower face up, then fan the petals out with your fingertips. Ease each ch-4 edge around its neighboring tall stitches, then round the tips gently. I like the slight ridge where the tall stitches sit side by side; it gives the white petals a little depth.
Optional wet shaping. Skip if you're happy with the shape. Dampen the flower according to the yarn's care label, press out excess water in a towel, and lay it flat. Shape the eight petals with your fingers and let it dry fully before attaching it to your keys.
I like a little daisy on the corner of a zip pouch, too. For that version, leave off the metal hardware and sew the yellow center onto the pouch with matching cotton, keeping the petal tips free.
UK terms: US sc = UK dc; US trtr = UK quadruple treble. Chain and slip stitch stay the same.
Made a little daisy? Tag #wavodecrochet on Pinterest so I can see your flower.