Crochet Keychain Flower Vase

The quick answer
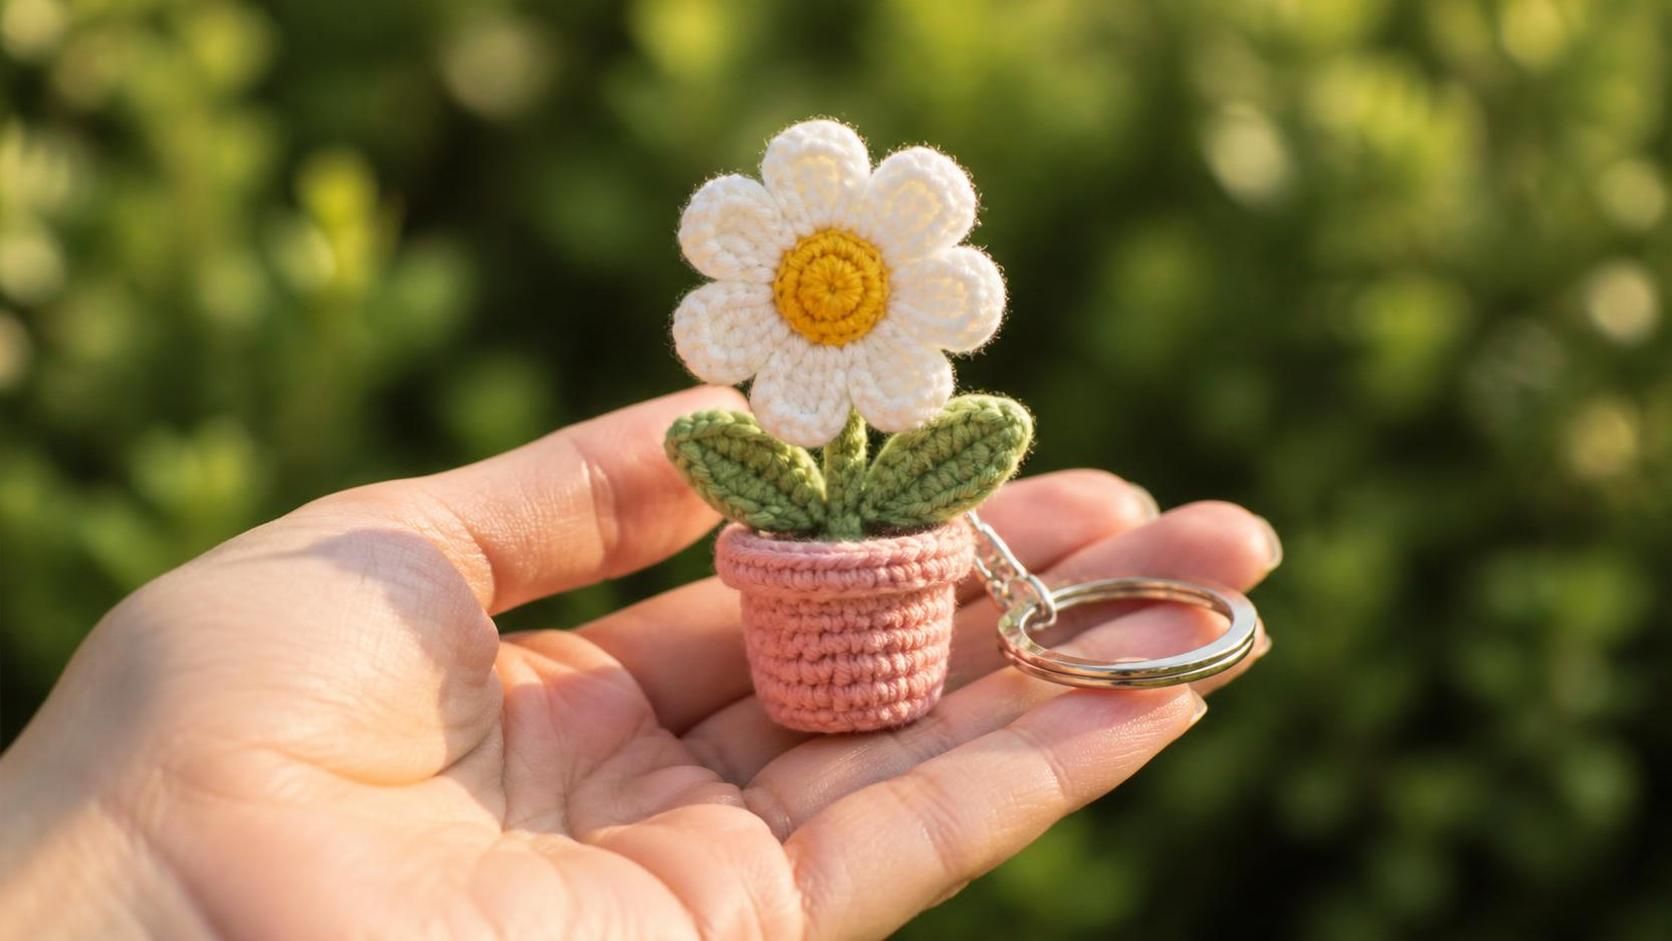
A crochet keychain flower vase is a three-part mini amigurumi: a tiny blush pink pot (2 cm), one white daisy with a yellow center (2.5 cm), and two sage green leaves, mounted on a 25 mm silver split-ring keychain. Cotton DK, 2.5 mm hook, ~45 minutes, uses less than 5 g of yarn total — perfect scrap-yarn project.
Fits on keys, a backpack zipper, or a purse strap. The whole finished piece is under 8 cm tall.
Why this one keychain sells at every market
I have sold a lot of crochet keychains and this daisy-in-a-pot pattern is the one that clears out fastest. It reads as a whole tiny scene rather than a single flower, and the blush pink pot is what makes people pick it up — the color that pairs with anything. Every 20-minute daisy keychain tutorial is a flat medallion; this one is 3D and sits upright in the pot, so it stays visible even when clipped to a bag strap.
The whole thing uses less than 5 g of yarn across four colors — the perfect way to spend down leftover cotton DK. If you have made the crochet lily bouquet before, this uses the same petal-in-the-round technique at 1/6 the scale.
Skill level. Confident beginner. You need magic ring, sc, ch, sl st, and one row of sc-ch petals. No safety eyes, no shaping decreases.
What you will need
- Yarn A (pot): ~2 g of blush pink cotton DK (Paintbox Rose Pink, Ricorumi Powder Pink).
- Yarn B (petals): ~1 g of soft white cotton DK.
- Yarn C (center): ~0.5 g of bright yellow cotton DK.
- Yarn D (leaves + stem): ~1 g of sage green cotton DK.
- Hook: 2.5 mm (US B/C). A finer hook keeps the mini fabric dense.
- Keychain hardware: one 25 mm silver split-ring with attached lobster clasp or small jump ring.
- Notions: tapestry needle, sharp scissors, a pinch of polyfill (basically a match head worth), one tiny scrap of brown felt (~1 × 1 cm) or brown yarn for the "soil".
Gauge: Not critical at this scale. If the pot puckers, drop to a 2.0 mm hook.
The pattern — Part 1: the blush pink pot
I write patterns in US terms. Work in continuous rounds — do not join or turn.
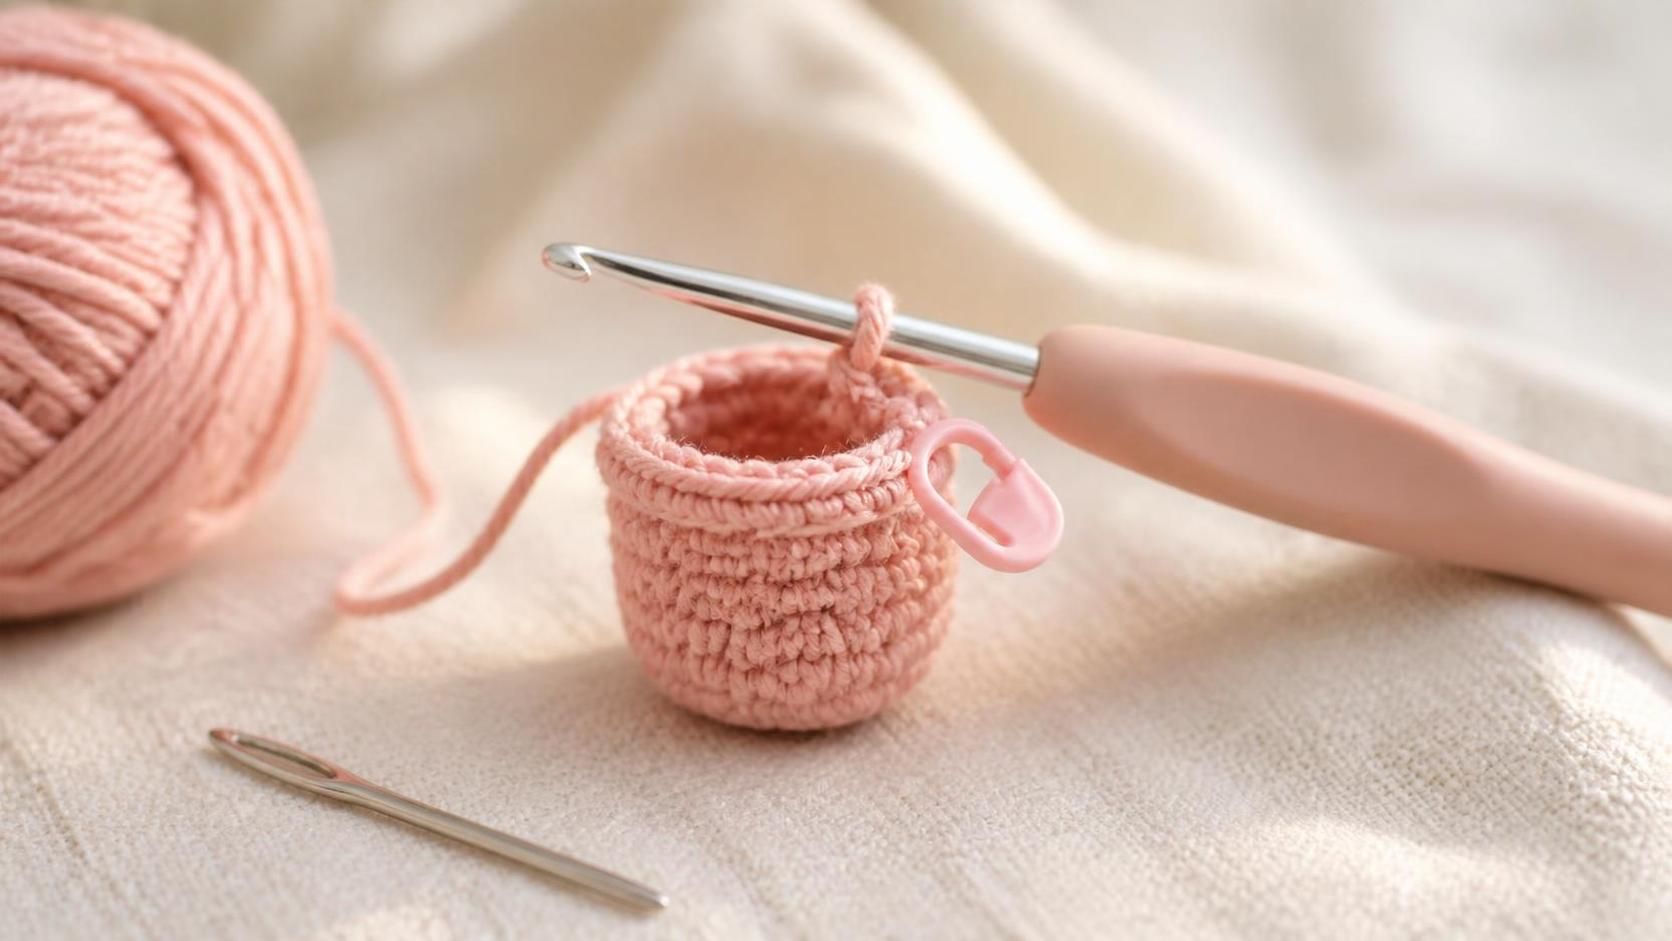
R1: With Yarn A, magic ring, 6 sc into ring. (6)
R2: Inc in each st. (12)
R3: sc in the back loop only of each st. (12) — this ridge marks the base fold and lets the walls stand up.
R4: sc in each st. (12)
R5: sc, inc around. (18) — the pot flares out slightly at the top like a real terracotta pot.
R6: sl st in the front loop only of each st around. (18) — this front-loop slip stitch creates a clean rolled rim.
Fasten off with a 4-inch tail. Stuff the pot lightly with a match-head amount of polyfill so it holds shape but stays hollow enough to receive the stem later.
The pattern — Part 2: the white daisy
Small, flat, and worked in one round with alternating ch-petal-sc pattern. This is the classic 8-petal daisy in miniature.
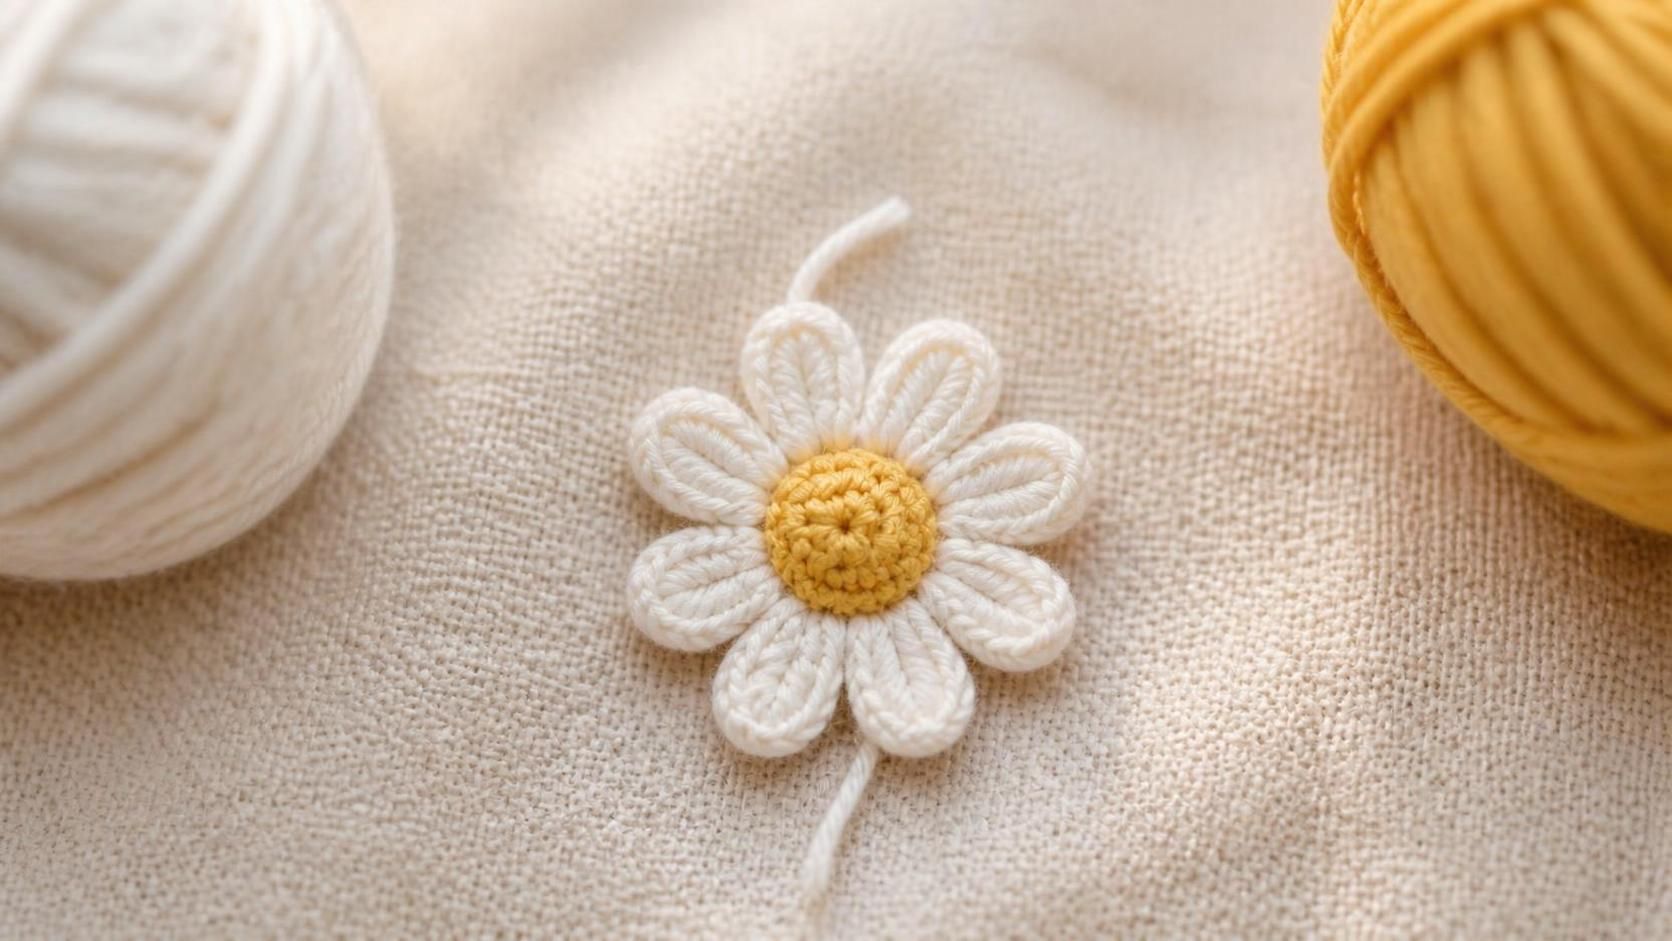
Center: With Yarn C (yellow), magic ring, 8 sc into ring. Sl st to first sc to join. Fasten off leaving a 2-inch tail. (8)
Petals: Attach Yarn B (white) with a sl st into any yellow stitch. Then, in each of the 8 yellow stitches, work:
- (sc, ch 3, sl st in 2nd ch from hook, sl st in next ch, sl st into same yellow st) — that's one petal.
Repeat until you have 8 petals radiating from the yellow center. Sl st to join and fasten off with a 3-inch tail. The petals will curl slightly — that curl is what gives the flower dimension.
The pattern — Part 3: leaves and stem
The stem hides a short length of florist wire (or a straightened paper-clip cut to size) so the flower stays upright above the pot instead of flopping.
One leaf (make 2)
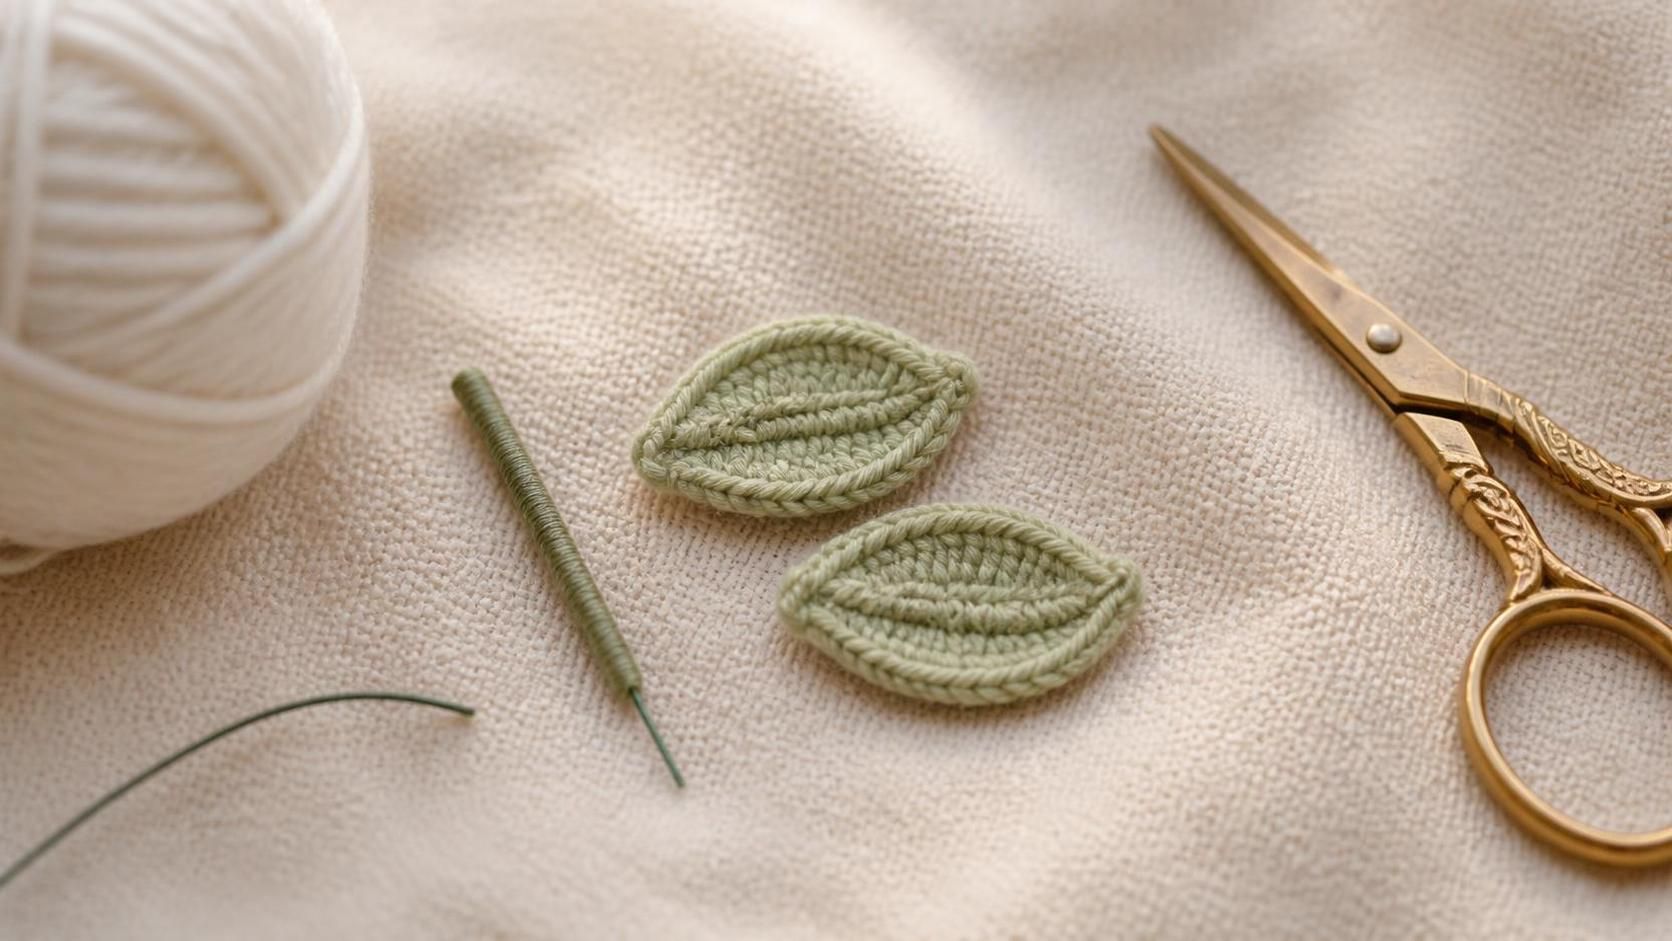
With Yarn D (sage), ch 6.
- Sl st in the 2nd ch from hook, sc, hdc, dc, then 3 sl st into the last ch to turn the corner.
- Working down the other side of the same chain: dc, hdc, sc, sl st.
- Fasten off with a 3-inch tail.
Give each leaf a gentle lengthwise fold down its center — that crease is what makes it look like a real leaf.
The stem
Cut a 3.5 cm piece of thin florist wire (or a straightened paper-clip). Wrap it tightly with sage yarn from top to bottom, spiraling like a barber pole. Anchor both ends with a small stitch. The wrapped stem should be about 2.5 cm long and stiff enough to stand up.
Final assembly — building the scene
This is the moment three tiny pieces become a keychain scene.
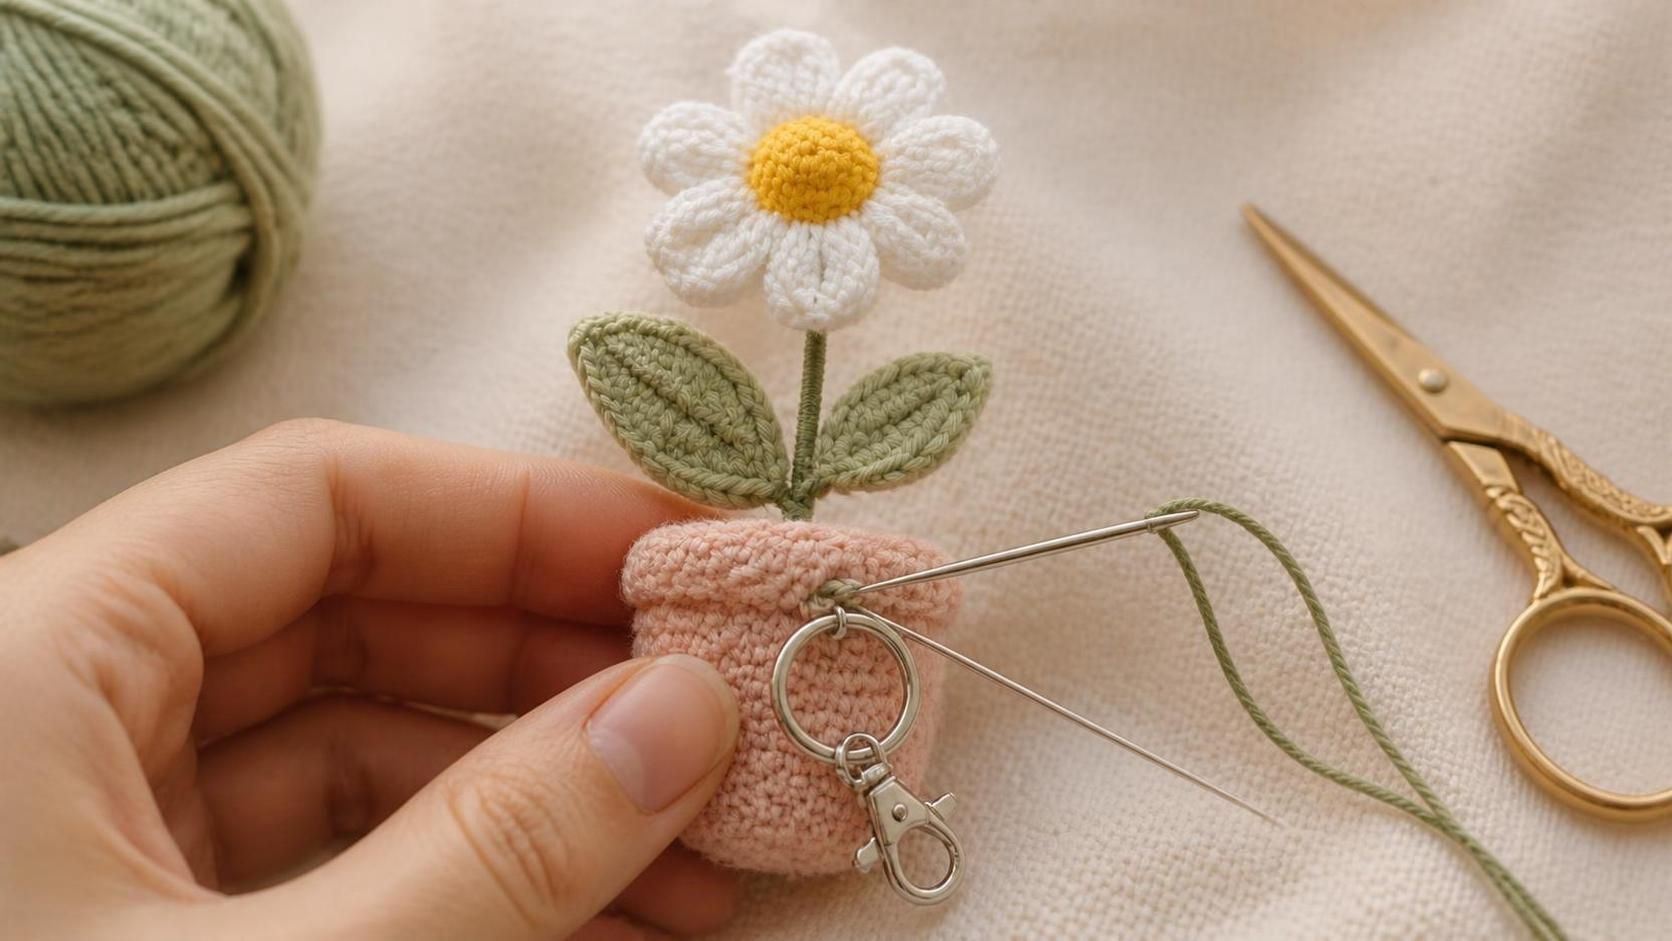
- Attach the flower to the stem. Push the top of the stem gently through the back of the daisy center. Use the daisy's yellow tail to whip-stitch the flower firmly to the stem tip.
- Attach the two leaves. Fold each leaf's base and stitch it to the stem about 5 mm below the flower, opposite one another — one left, one right.
- Cut a 1 × 1 cm square of brown felt (or make a mini brown circle in sc: MR, 6 sc, sl st, fasten off). This is the "soil" that hides the top opening of the pot.
- Plant the stem. Push the bottom of the wrapped stem down into the pot through the soil disc. The soil sits like a lid over the top opening. Stitch the soil down to the pot rim on all sides.
- Attach the keychain ring. With a 5-inch length of Yarn D, thread through the top back of the pot (below the rim), loop it through the keychain split-ring, and knot securely. Weave the tail into the pot.
Adjust the daisy so it faces forward. The whole finished keychain should stand about 7–8 cm tall.
Styling and gift-wrapping
Slip the finished keychain onto a small cardstock backer card printed with "Handmade with love — [your maker name]" for markets or gifting. The card doubles the visual footprint and lets buyers hang the keychain on a display peg. This is the same tag trick I use in the mini amigurumi gift boxes tutorial — cheap, undetectable, transformative.
For a set, make three keychains in three flower colors — white daisy, pink cherry blossom, yellow sunflower — all in the same blush pot. Sells as "the bouquet trio" at market for 3× a single keychain price.
Make it yours — quick variations
| Variation | Change from base pattern |
|---|---|
| Sunflower | Yarn B in bright yellow, Yarn C in dark brown. 12 petals instead of 8. |
| Cherry blossom | Yarn B in pale pink, Yarn C in yellow. Petals shortened (ch 2 instead of ch 3). |
| Rose | Skip the daisy, replace with a coiled rose: ch 20, hdc across, roll into a spiral, tack down. |
| Terracotta pot | Yarn A in rust/terracotta instead of blush pink. Very autumn. |
| Cactus in a pot | Skip flower + leaves entirely. Fill pot with a small green amigurumi sphere with tiny yellow French-knot dots. |
Same 45-minute build time for every variation.
Troubleshooting the three things that go wrong
My flower flops sideways
You skipped the wire in the stem. A pure yarn stem does not have the rigidity to hold a flower vertical — the flower will droop within a day. Wire or straightened paper-clip fixes it in 30 seconds.
The pot rim rolls inward instead of outward
You worked R6 in the back loop instead of the front loop. The front-loop slip stitch is what pushes the rim outward. Frog R6 and redo.
The keychain hardware pulls out
You attached the ring to the yarn instead of stitching it through the pot fabric. The ring loop must catch actual pot stitches, not just the yarn tail. Re-attach with 3 secure whip stitches through the back top of the pot below the rim.
Frequently asked questions
How long does the crochet keychain flower vase take to make?
About 45 minutes for a confident beginner — 15 minutes for the pot, 10 for the daisy, 10 for the two leaves and wrapped stem, 10 for final assembly and keychain attachment. First-time mini amigurumi is closer to 60–75 minutes.
Can I make this without a wire in the stem?
Not if you want the flower to stand upright. Yarn alone flops. Substitutes for florist wire that work: a piece of a straightened paper-clip, a bamboo skewer trimmed to 2.5 cm, or half a hair-grip. Anything rigid, ~2.5 cm long, that a 2.5 mm hook can wrap around.
What yarn is best for a mini crochet keychain?
Cotton DK (light worsted / CYC 3) at 2.5 mm hook. Cotton keeps stitch definition on tiny pieces and does not fuzz. Acrylic DK works but the yellow daisy center tends to look muddy; wool blends pill on a keychain that rides in a pocket. Skip anything bulkier than DK — the scale collapses.
Can I sell finished flower-vase keychains at markets?
Yes — you may sell physical keychains made from this free pattern. Please credit "Pattern by Wavode" on your listing and link back to this page. Reselling the pattern text (free or paid) is not permitted.
How do I stop the daisy petals from unraveling?
Weave the daisy's white yarn tail through the base of every petal before you cut it off. That double-locks each petal foot into the yellow center. If a petal still loosens after use, a tiny dot of Fray Check on the underside cures it permanently.
Made this keychain? Tag #wavodecrochet on Pinterest — I re-pin every finished make and credit the maker.
Pattern by Clara Hartwell for Wavode. Questions? Email me at support@wavode.com.