Poncho Crochet Pattern: Free Beginner Guide (Step-by-Step)

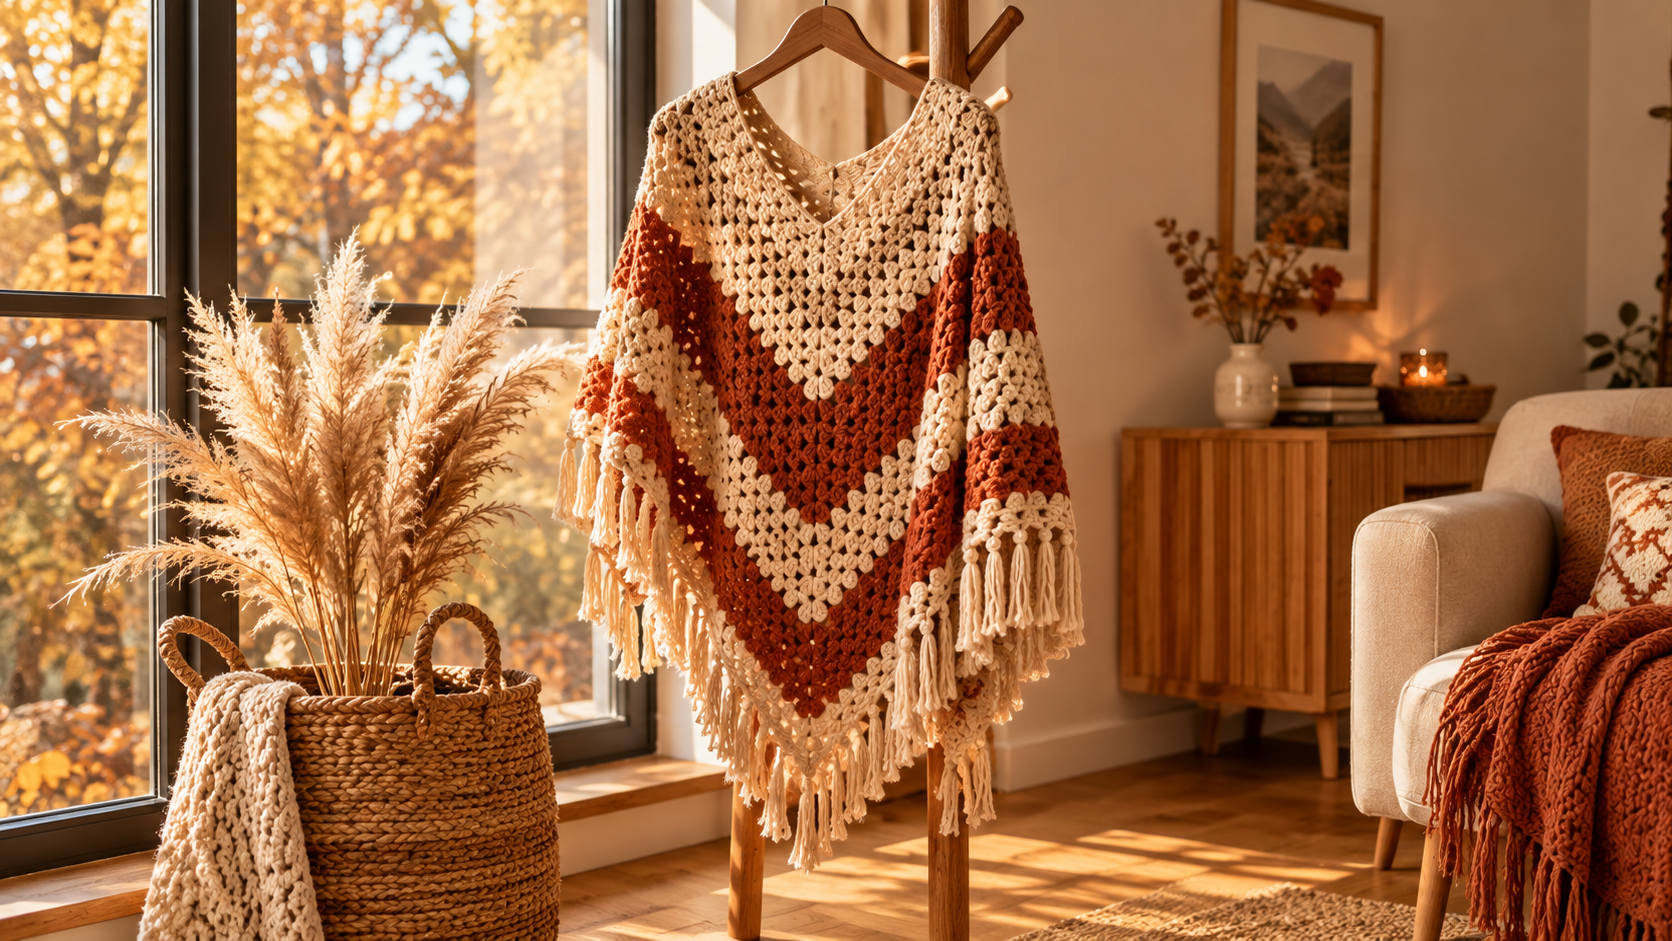
This poncho crochet pattern uses a V-neck granny stripe construction — two triangular panels of granny stitch in cream and terracotta, joined at the shoulders and finished with long tasseled fringe. It takes about 8–12 hours using a 6mm hook and chunky yarn, so most crafters finish one over a cozy autumn weekend.
Key Takeaways
- Construction: two triangular granny stripe panels joined at the shoulders — no armhole shaping.
- Skill level: easy — you only need chain, double crochet, and the classic granny cluster.
- Finished size: adjustable — the triangles grow row by row until you like the length.
- Total yarn: ~600g chunky (weight 5) split between cream and terracotta.
What Is a V-Neck Granny Stripe Poncho?
A V-neck granny stripe poncho is the beginner-friendliest garment in all of crochet. You crochet two triangles from the point outward using the classic granny cluster (3 dc + ch 1), alternating cream and terracotta stripes. Join them at the shoulders and the V-neck forms naturally. No sizing math, no gauge panic.
It's a modern take on the 1970s crochet poncho and it hasn't left slow-fashion Pinterest boards since. Every autumn I make one in a new color combination.
How Long Does a Crochet Poncho Take?
Plan on 8–12 hours from first chain to fringed hem. Each triangle takes about 4–5 hours using chunky yarn and a 6mm hook. Seaming and fringe add another 1–2 hours. First-timers should budget a long weekend — one triangle Saturday, the second Sunday, finishing details on Sunday evening.
If you use bulky (weight 6) or super-bulky (weight 7) yarn with a 9–10mm hook, you can finish in as little as 5 hours. Speed comes at the cost of drape, but for a chunky winter poncho, that trade-off is worth it.
Materials You'll Need
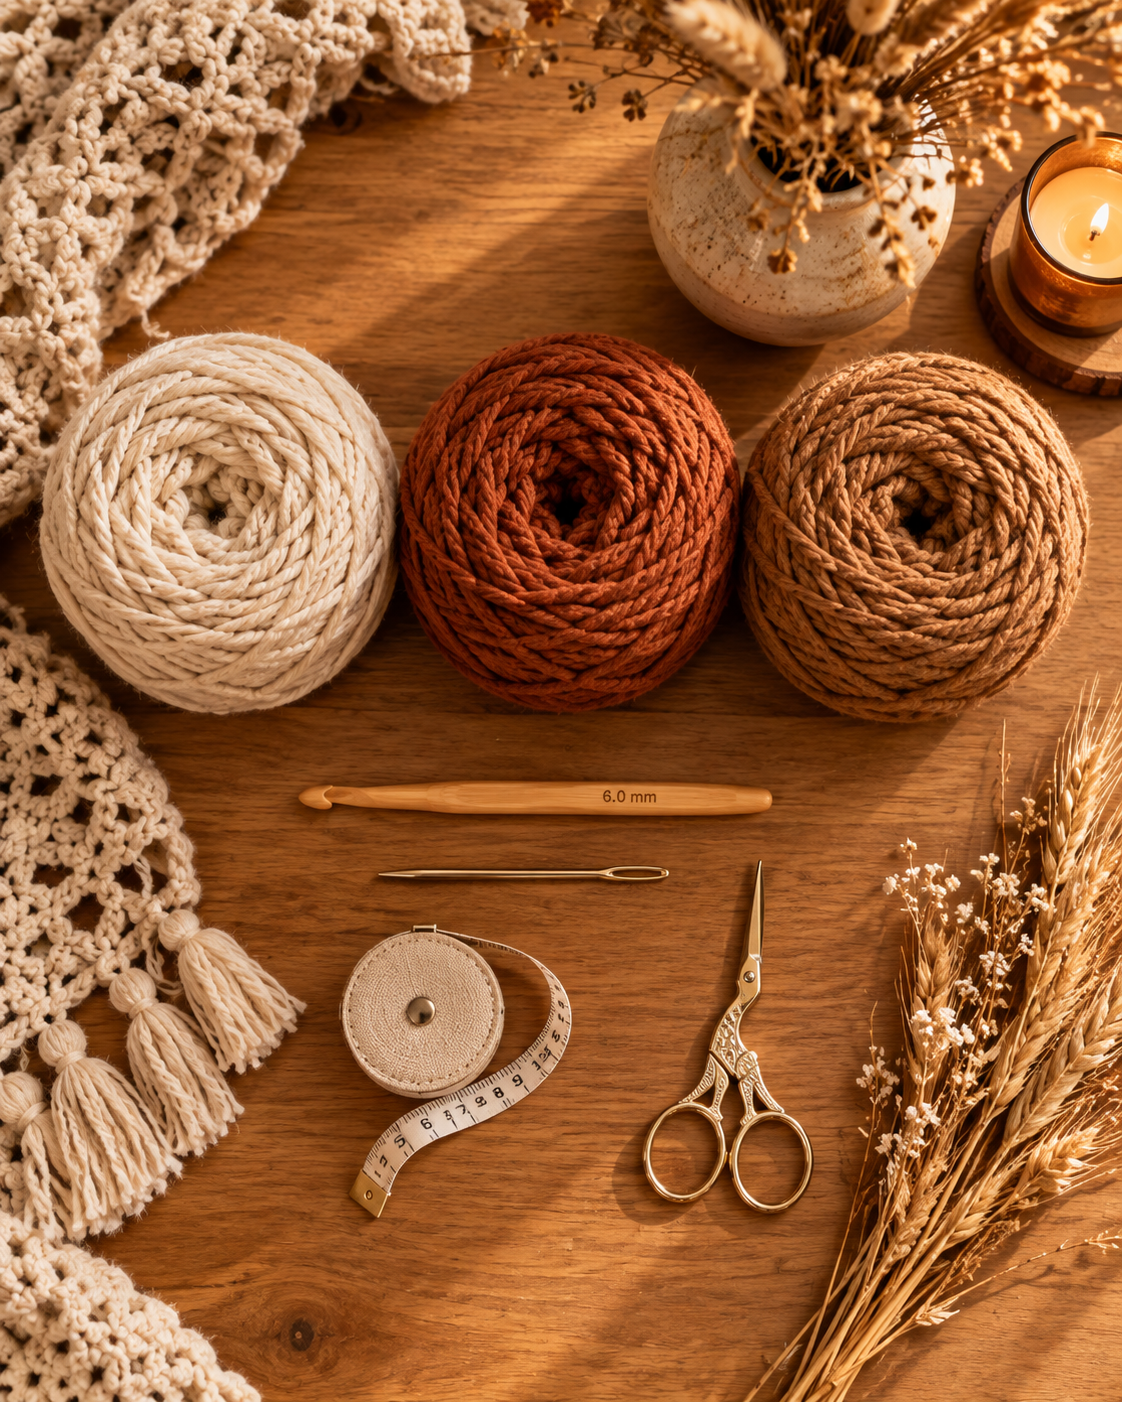
- Yarn: Chunky (5) — ~600g total. Suggested: 400g cream + 200g terracotta for stripes.
- Hook: 6mm (US J/10)
- Tapestry needle for seaming and weaving in ends
- Scissors and a measuring tape
- Optional: stitch markers, cardboard for making fringe tassels
Skill level: Easy · Finished size: Adjustable — grow each triangle until the widest edge reaches from your shoulder to your wrist.
Abbreviations (US Terms)
| ch | chain |
| dc | double crochet |
| sc | single crochet |
| sl st | slip stitch |
| st | stitch |
| sp | space |
How Do You Crochet a V-Neck Granny Stripe Poncho?
You crochet two triangles from the point outward using classic granny clusters, seam them at the shoulders, then add fringe. All abbreviations follow US terms. If you're used to UK terms, see the Craft Yarn Council conversion chart.
Step 1 — Foundation Point
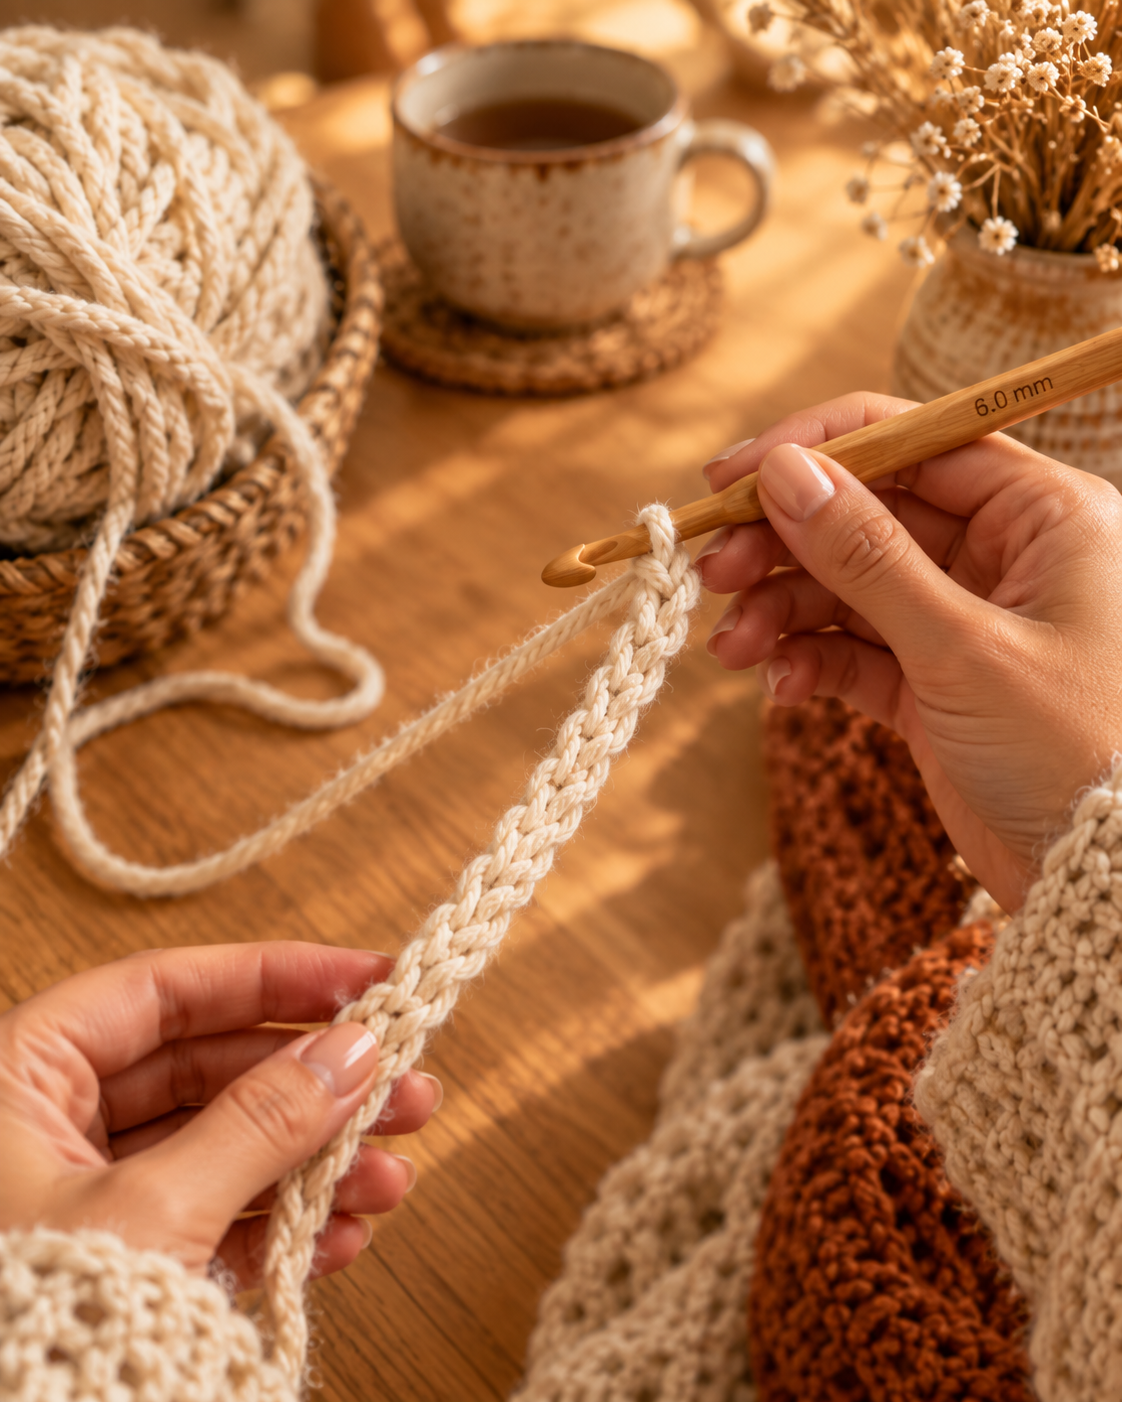
With cream yarn, ch 4, sl st into the first ch to form a ring. Row 1: ch 3 (counts as first dc), work (2 dc, ch 2, 3 dc) into the ring. Turn. That's your first triangle tip — you'll grow outward from here.
Step 2 — Growing the Triangle
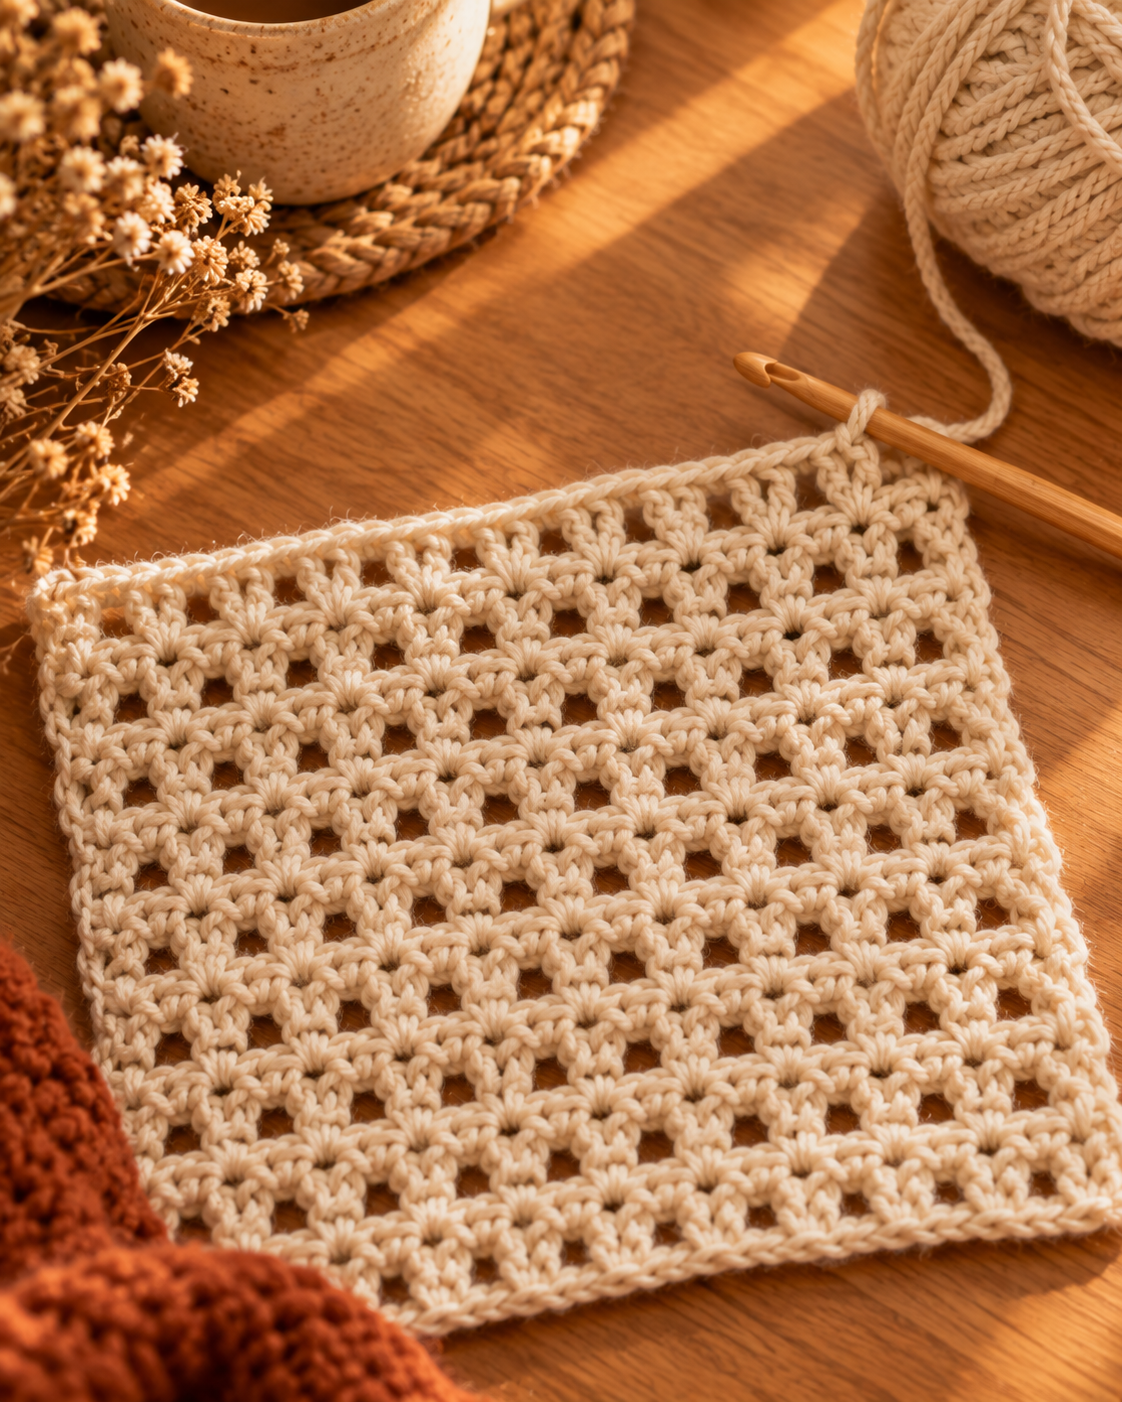
Row 2: ch 3, work 2 dc in the space between the first two dc groups, (3 dc, ch 2, 3 dc) in the ch-2 corner space, then 3 dc in the next space. Turn. Row 3 and beyond: keep adding one new 3-dc cluster in each side space, and always work (3 dc, ch 2, 3 dc) in the center corner. The triangle grows by one cluster on each side per row.
Step 3 — Adding the Terracotta Stripes
At the end of any row, drop cream and join terracotta. I alternate 6 rows cream / 2 rows terracotta / 2 rows cream / 2 rows terracotta, but do whatever your eye likes. Change color on the very last yarn-over of the previous row for crisp edges.
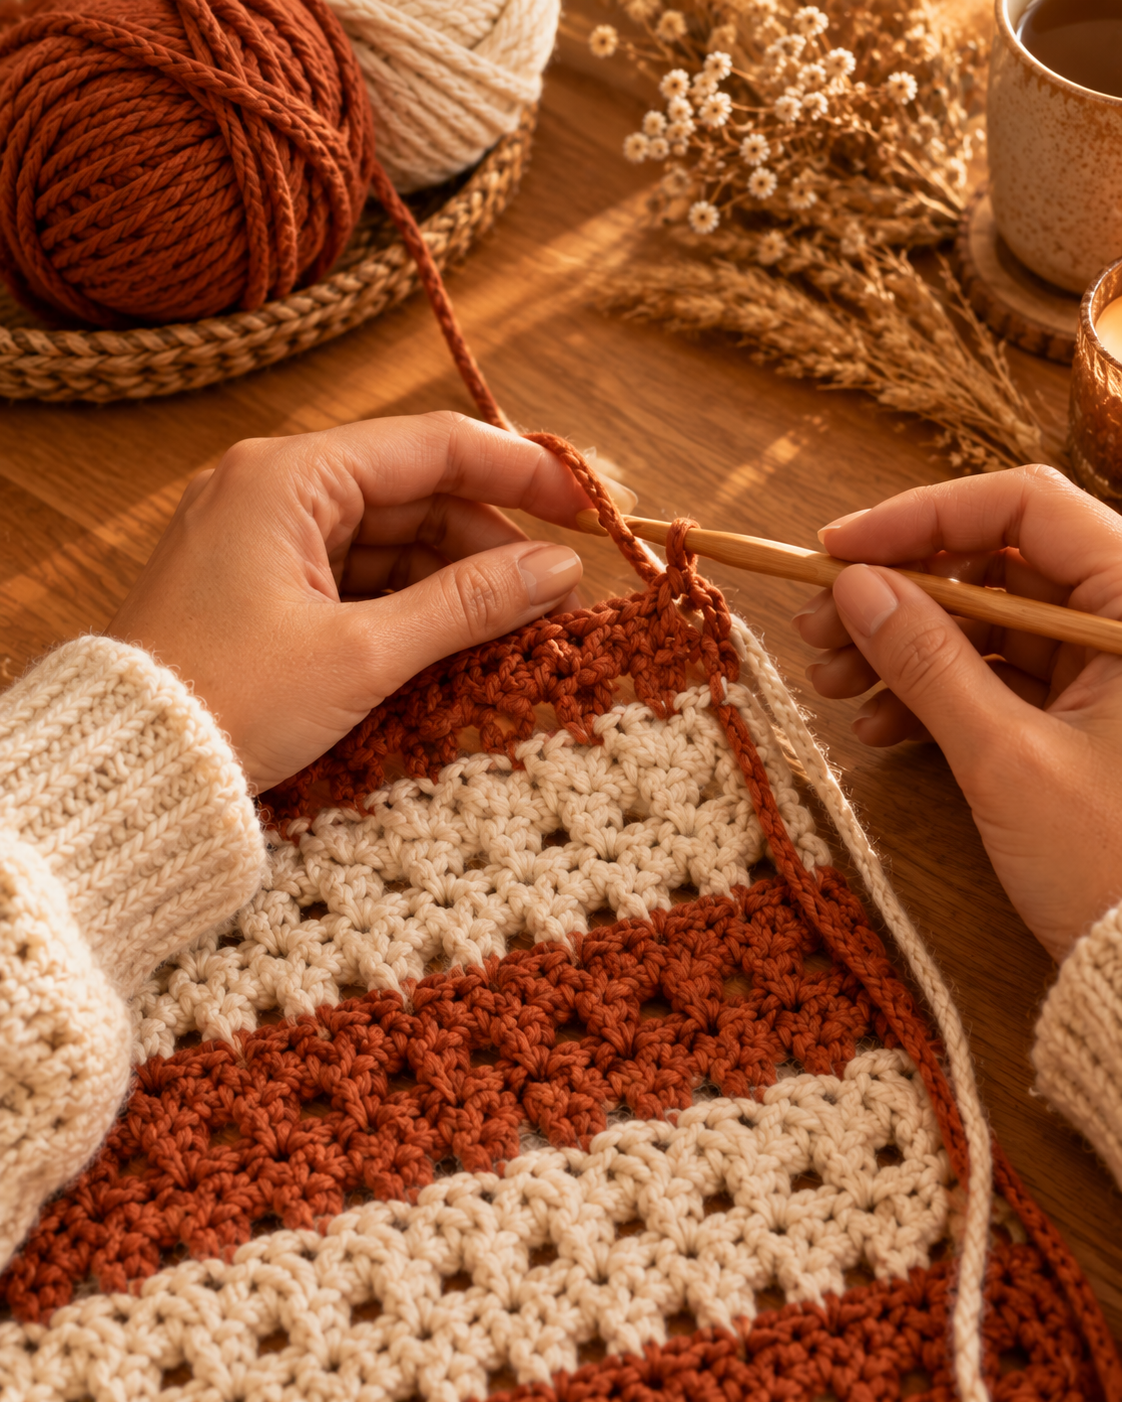
Step 4 — Make a Second Identical Triangle
Repeat steps 1–3 to make a second triangle. Match your row count and color sequence exactly — asymmetry looks like a mistake, not a design choice. When both triangles are the same size (wide enough to reach from shoulder to wrist), stop.
Step 5 — Seam the Shoulders
Lay the two triangles side by side with their long edges facing each other. Whip-stitch along the top 15–20 cm of each long edge using a tapestry needle and cream yarn. The unseamed middle becomes your V-neck opening. Try it on and adjust the seam length if the neck feels too tight or too loose.
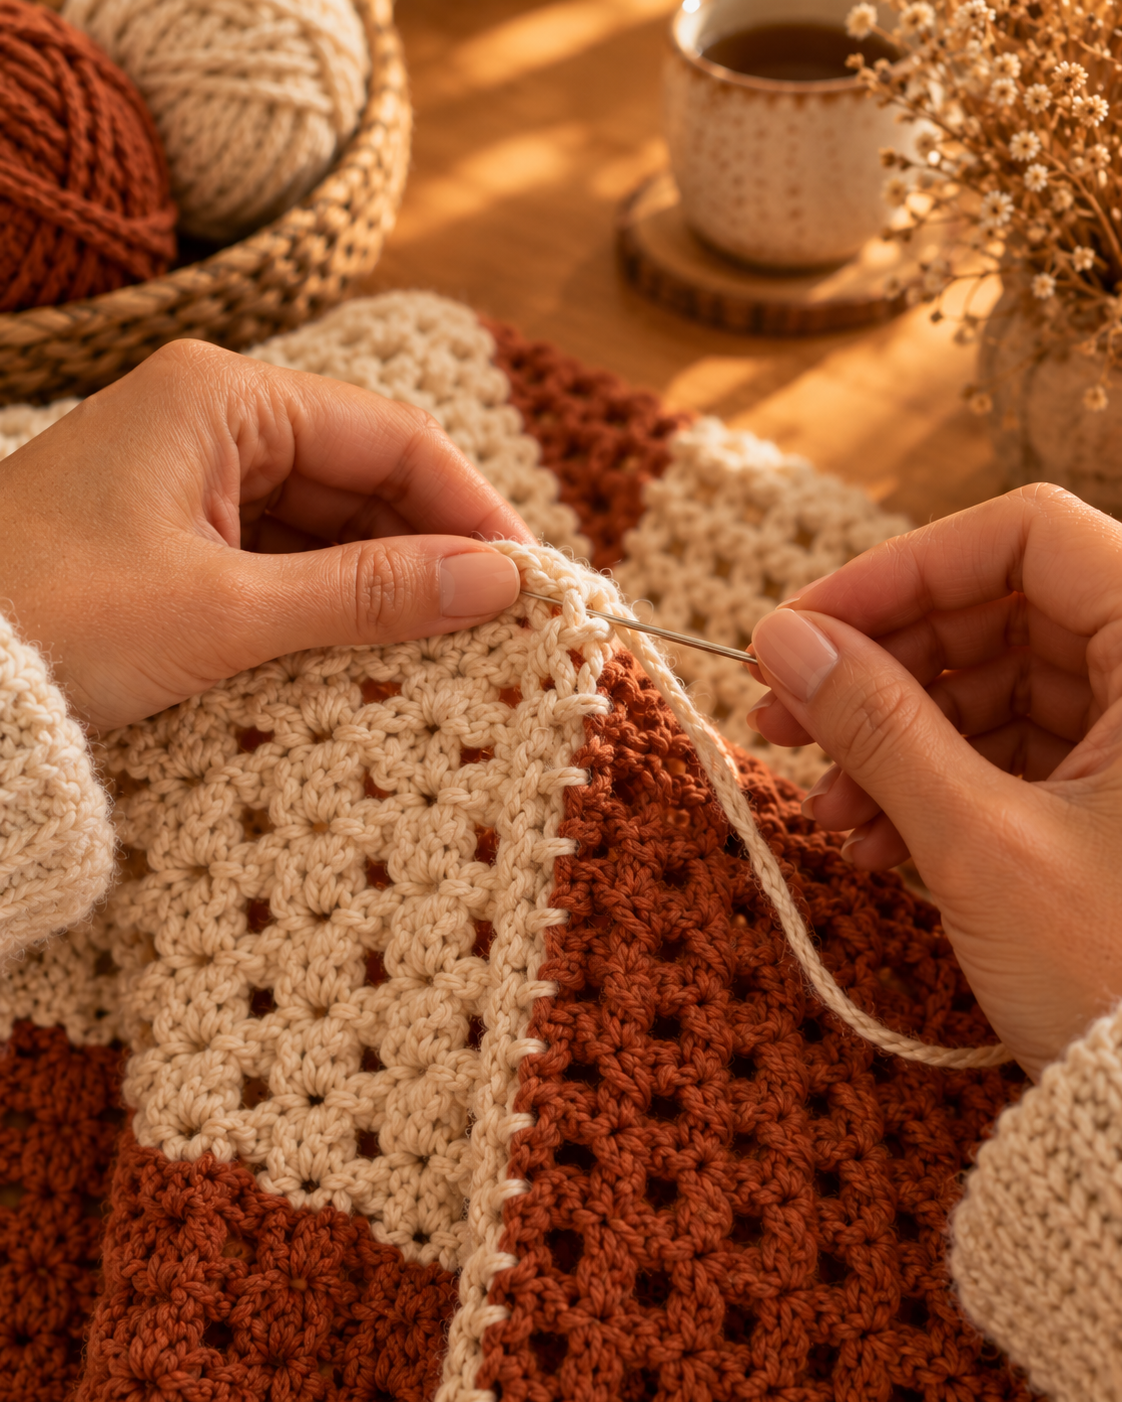
Step 6 — Add the Fringe
Cut 30 cm lengths of yarn — 3 strands per fringe knot. Fold each bundle in half, use your hook to pull the loop through the bottom edge, then pull the tails through the loop and cinch tight. Space fringe every 2 stitches along both bottom edges of the triangles. Trim to length.
Step 7 — Style and Wear
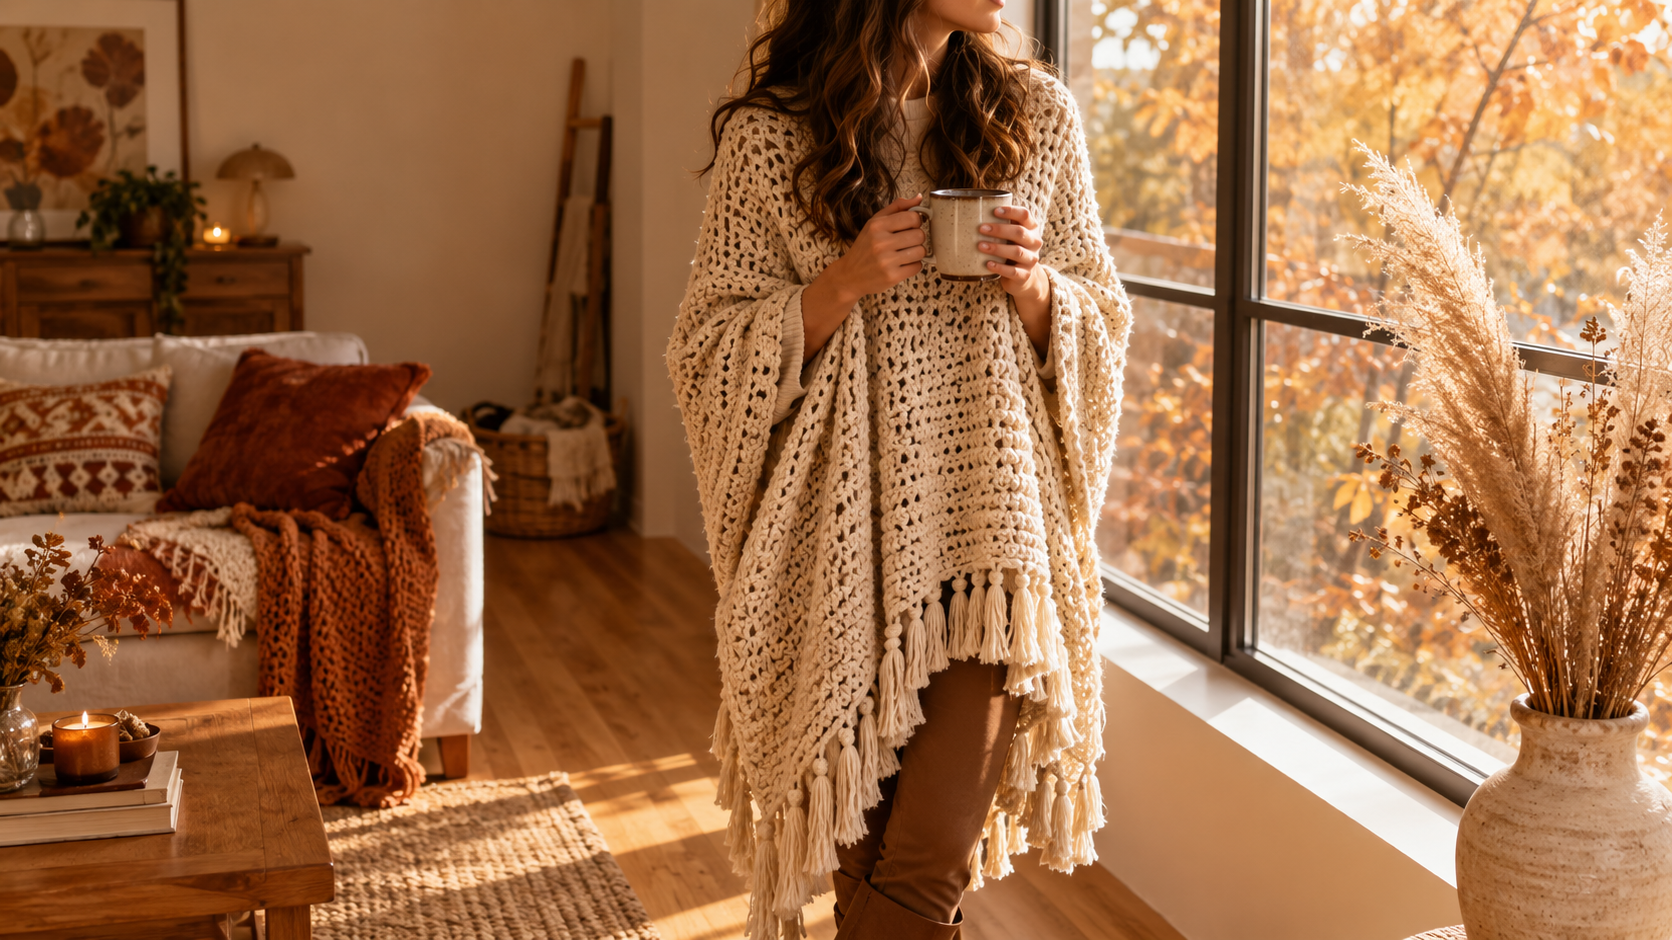
Wet-block the finished poncho for the best drape: dampen with cool water, lay flat, gently stretch to shape, and let dry overnight. Then throw it over a plain tee with boots and jeans — instant autumn outfit.
Which Yarn Is Best for a Crochet Poncho?
Chunky (weight 5) wool or wool-blend yarn is ideal. Wool gives beautiful drape and warmth without being scratchy. Cotton makes a beautiful summer poncho but weighs the garment down for winter wear. Pure acrylic works and washes easily, but photographs shinier and reads less "artisan" than natural fibers.
For the sample shown, I used a wool-alpaca blend from a local yarn store. If you want an accessible online option, Lion Brand Wool-Ease Thick & Quick is a reliable go-to.
How Do You Adjust the Poncho Size?
Just keep crocheting until it fits. Try the triangle on as you go — hold the wide edge along your arm from shoulder to wrist. When it reaches the length you want, stop and mirror it in the second triangle. That's the beauty of the granny stripe construction — no math required, no gauge crisis mid-project.
For petite frames, stop earlier. For plus-size or oversized fit, grow the triangles a few extra rows. For kids' sizes, use worsted (weight 4) yarn and a 5mm hook — same technique, smaller scale.
Frequently Asked Questions
How much yarn do I need for a crochet poncho?
About 600g of chunky (weight 5) yarn for an adult-sized poncho. Split it as 400g main color plus 200g accent for stripes, or use 600g of a single color. Always buy one extra ball — chunky yarn eats faster than you expect, and dye-lot matches are hard to find later.
What size hook is best for this pattern?
A 6mm (US J/10) hook is the standard match for chunky-weight yarn and gives good drape. If you want a denser, warmer fabric, drop to 5.5mm. For an airier, more open-weave summer poncho, go up to 6.5mm or 7mm.
Can I skip the stripes and make it a solid color?
Yes — the granny stripe construction works identically in one color. A solid cream poncho reads more minimalist; add stripes for a boho, retro feel. If you're new to color changes, start with a single color and add stripes on your second poncho.
Is a V-neck granny stripe poncho beginner-friendly?
Yes, this is one of the easiest wearable garments in all of crochet. If you can chain and double crochet, you can make this poncho. The classic granny cluster is just "3 dc in a space" — repeated. The only "advanced" skill is seaming, and a simple whip stitch works perfectly.
How do I stop the poncho from stretching over time?
Wet-block it correctly the first time, and hand-wash rather than machine-wash. Store it folded, not on a hanger — hanging stretches the shoulders. If you use pure wool, it holds its shape better than acrylic, which relaxes over months of wear.
What to Make Next
Once you've made your first poncho, the granny stripe formula opens up a whole wardrobe. Try the same construction with worsted yarn for a lightweight spring capelet, or scale up with super-bulky for a chunky winter wrap. Same technique, whole new outfit.
Happy crocheting.