Crochet Amigurumi Acorns: Free Kawaii Pattern (Step-by-Step)

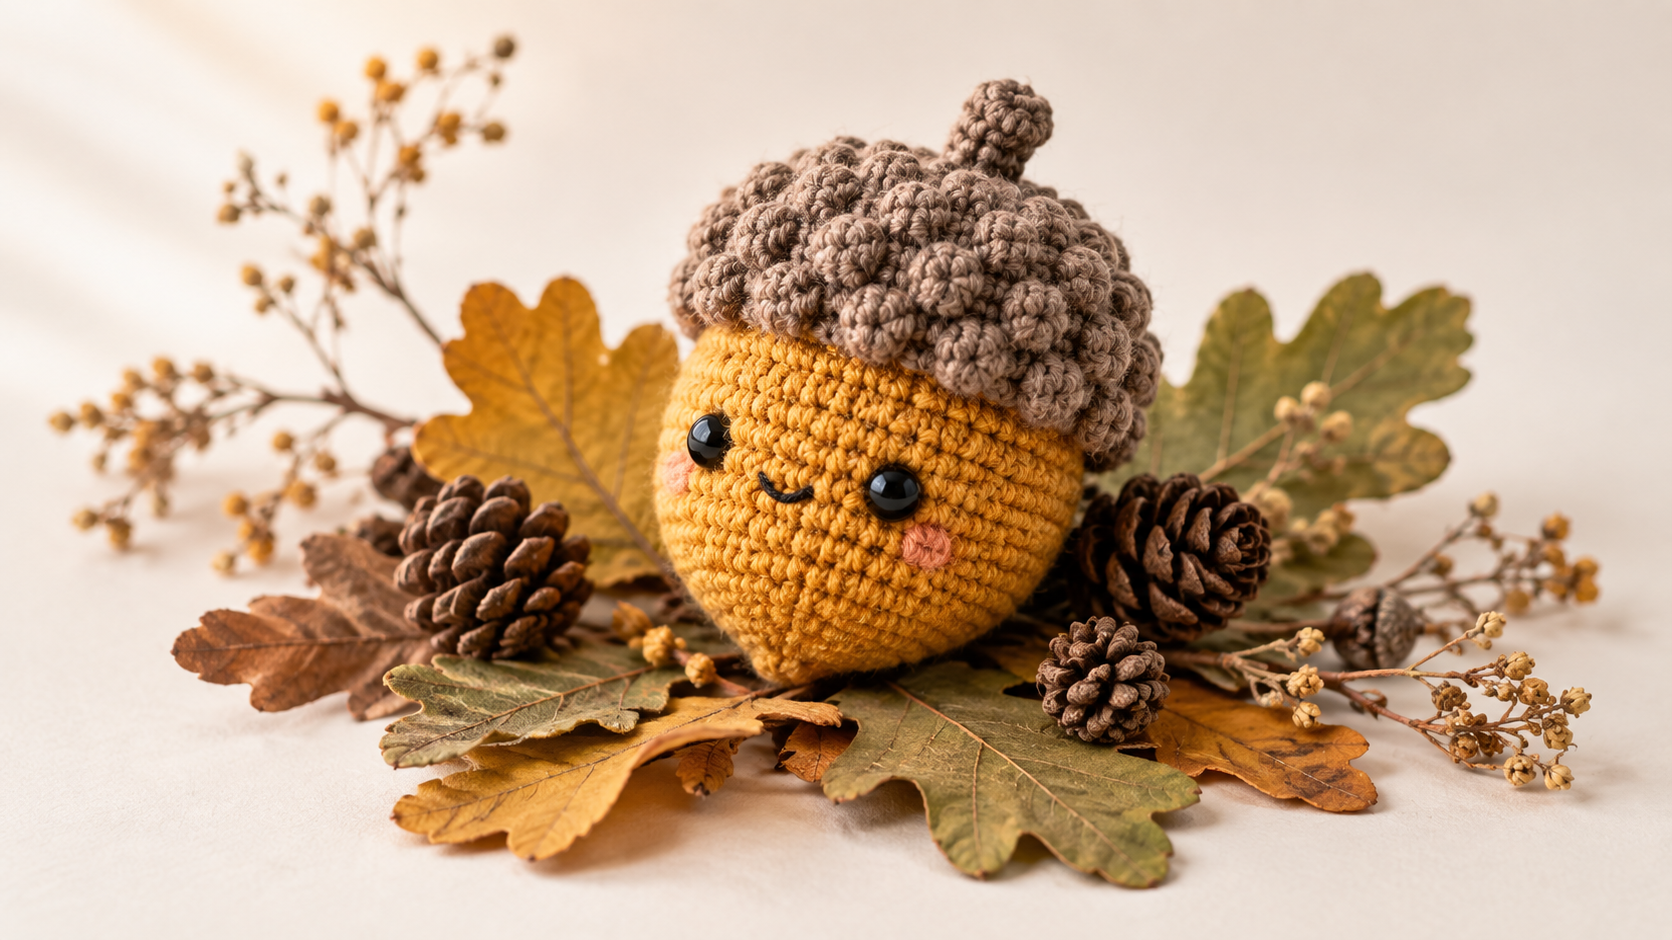
A crochet amigurumi acorn takes about 90 minutes to make using scrap amounts of mustard, taupe and sage-green cotton yarn plus a 3mm hook. Most crafters bang out a set of three in a single autumn evening — they're the perfect scrap-buster project for the season.
Key Takeaways
- Finished size: ~7 cm tall — small enough for a bowl or vase display.
- Skill level: easy — single crochet, magic ring, bobble stitch for the cap.
- Total yarn: less than 20g of each color — pure scrap-yarn project.
- Time: 60–90 minutes per acorn, a set of three in one cozy evening.
What Is an Amigurumi Acorn?
An amigurumi acorn is a small crocheted decoration shaped like a real acorn — a round mustard-gold body topped with a textured brown cap and a little curled stem. "Amigurumi" is Japanese for knitted or crocheted stuffed toys, and the technique swept the crochet world in the late 2000s and never left.
Acorns are one of the friendliest amigurumi projects for beginners because there's almost no shaping — the body is a simple round ball, and the cap is a shallow dome. If you can make a magic ring, you can make this.
How Long Does a Crochet Acorn Take?
One acorn takes 60–90 minutes from start to finish. The body (~30 min) and cap (~30 min) both work up in the round in a single sitting. Attaching the safety eyes, stuffing, and stitching the cap on adds another 15–20 minutes. Making the oak leaf is optional and adds about 10 minutes.
A set of three acorns in different sizes takes roughly 3–4 hours total. Perfect for a Saturday afternoon with a podcast.
Materials You'll Need
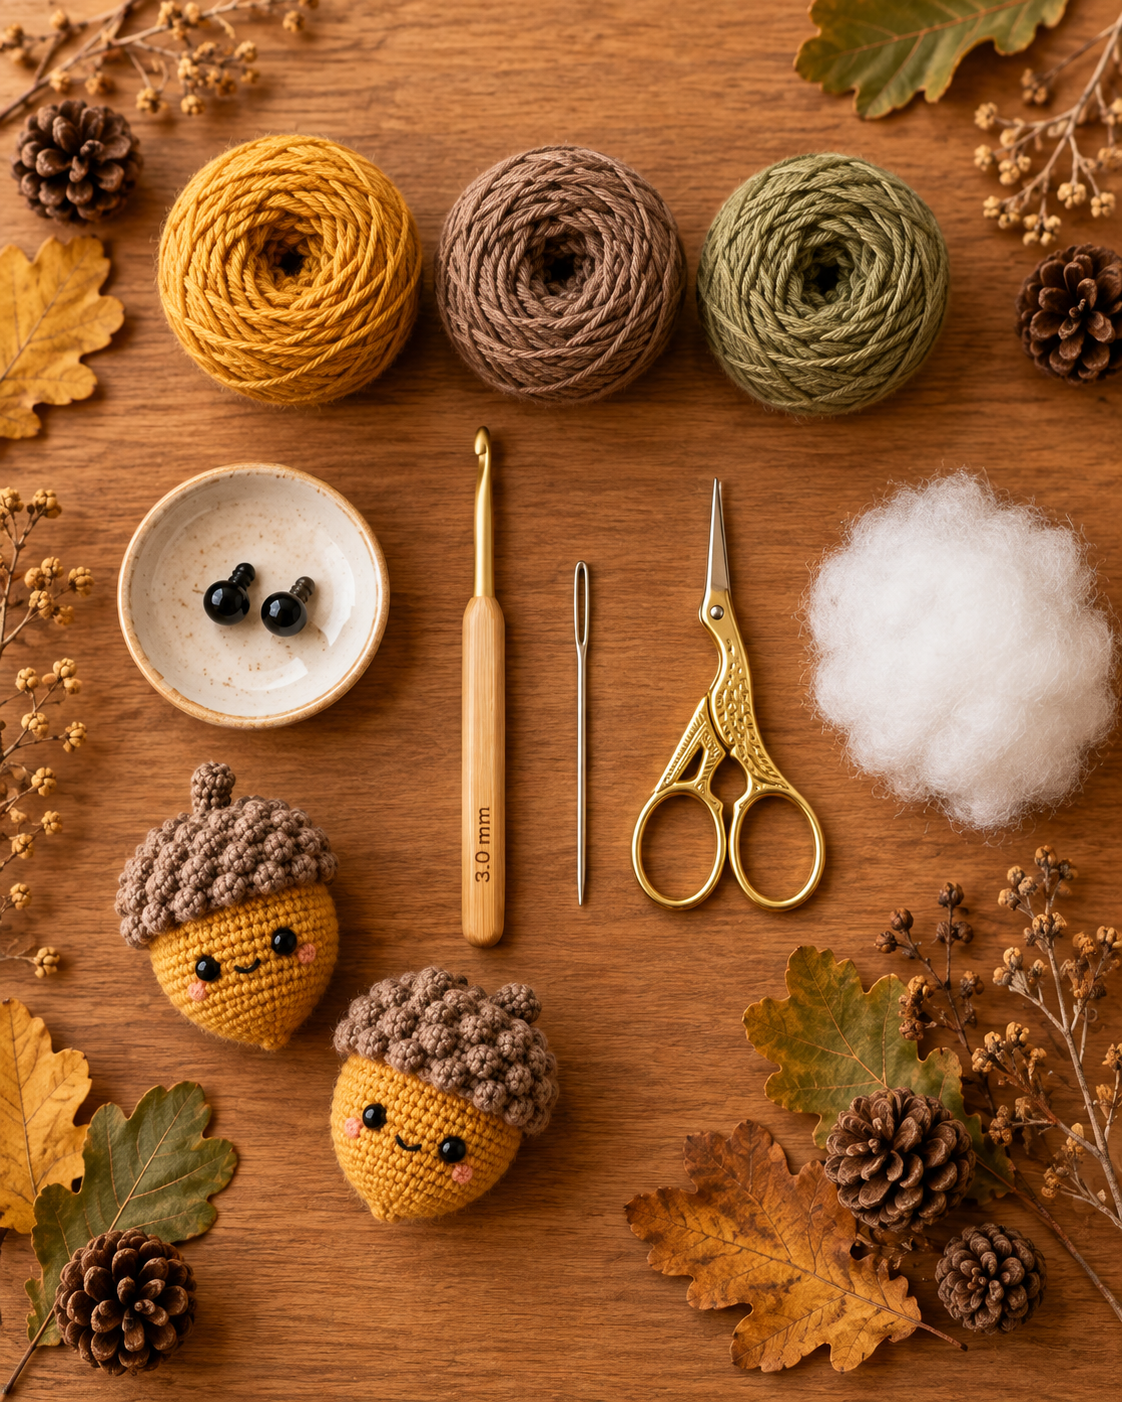
- Yarn: Worsted-weight (4) cotton in mustard yellow (~15g), warm taupe brown (~10g), sage green (~5g for leaves)
- Hook: 3mm (US C/2 or D/3)
- Two 8mm black safety eyes per acorn
- Polyester fiberfill for stuffing
- Tapestry needle and scissors
- Optional: stitch marker, pink embroidery floss for blush cheeks
Skill level: Easy · Finished size: ~7 cm tall
Abbreviations (US Terms)
| ch | chain |
| sc | single crochet |
| inc | increase (2 sc in same stitch) |
| dec | decrease (invisible sc2tog) |
| bo | bobble stitch (5-dc cluster) |
| sl st | slip stitch |
How Do You Crochet an Amigurumi Acorn?
You crochet it in three main parts — the mustard body, the taupe textured cap, and an optional sage oak leaf — then stitch them all together. All abbreviations follow US terms. If you're used to UK terms, see the Craft Yarn Council conversion chart.
Step 1 — Magic Ring for the Body
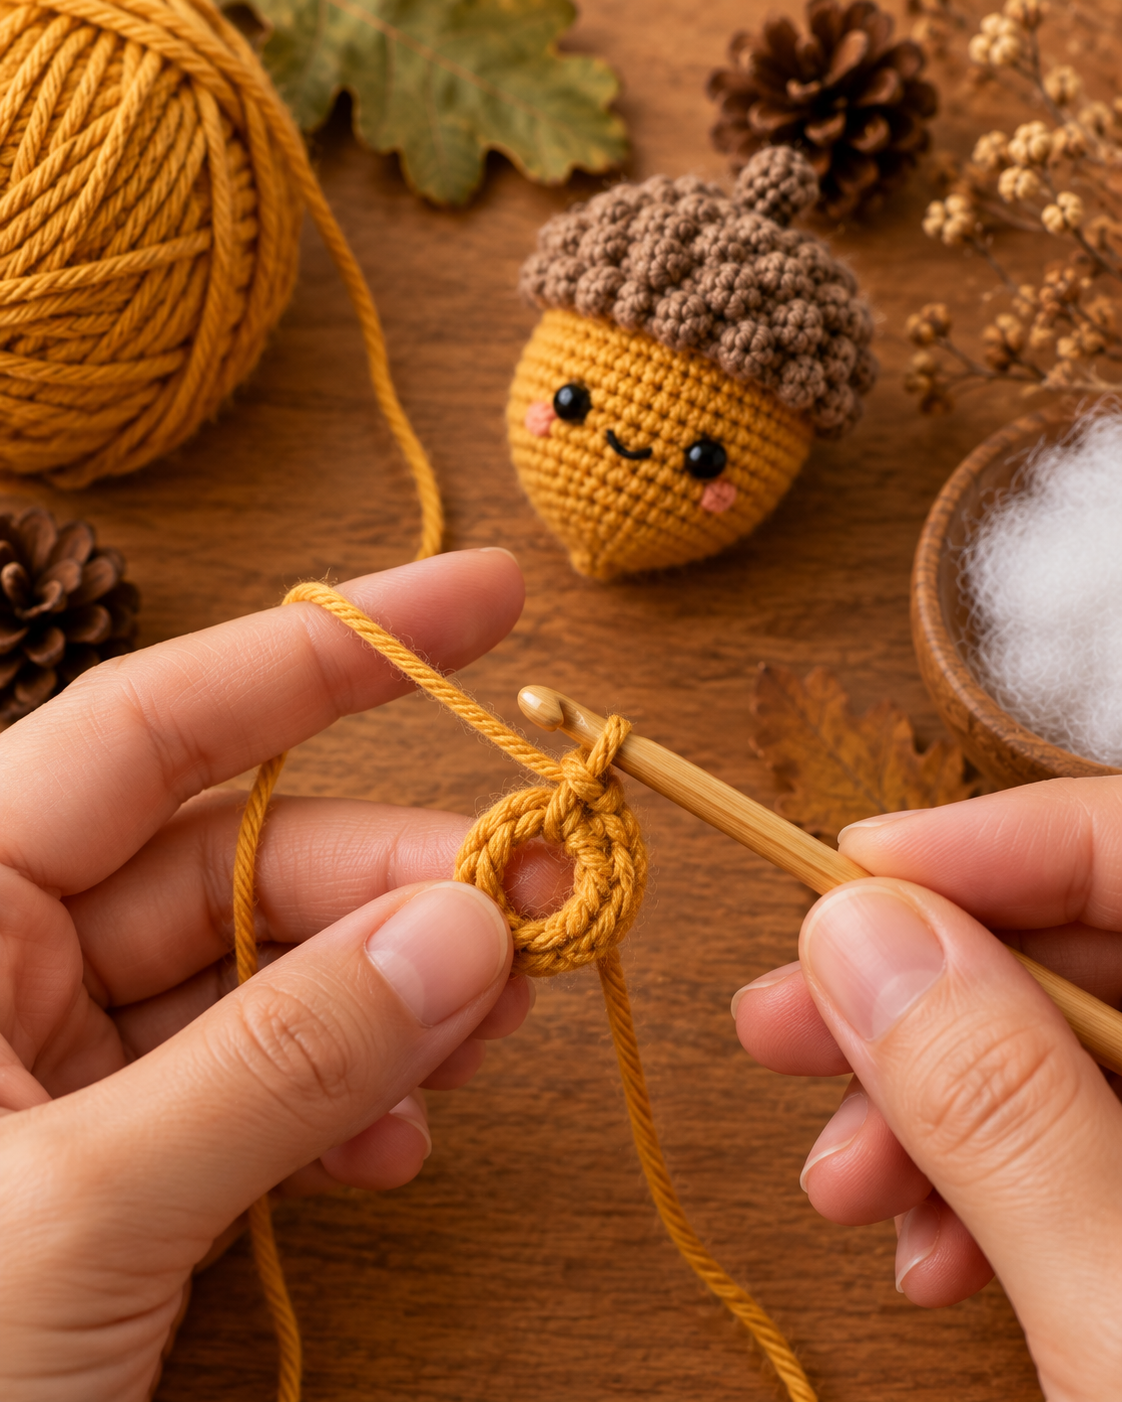
With mustard yarn, magic ring, 6 sc into ring (6). Round 2: inc in each st (12). Round 3: sc, inc, repeat around (18). Round 4: sc 2, inc, repeat (24). Round 5: sc 3, inc, repeat (30). Use a stitch marker on the first stitch of each round — amigurumi is worked in a continuous spiral.
Step 2 — Grow the Body and Level Out
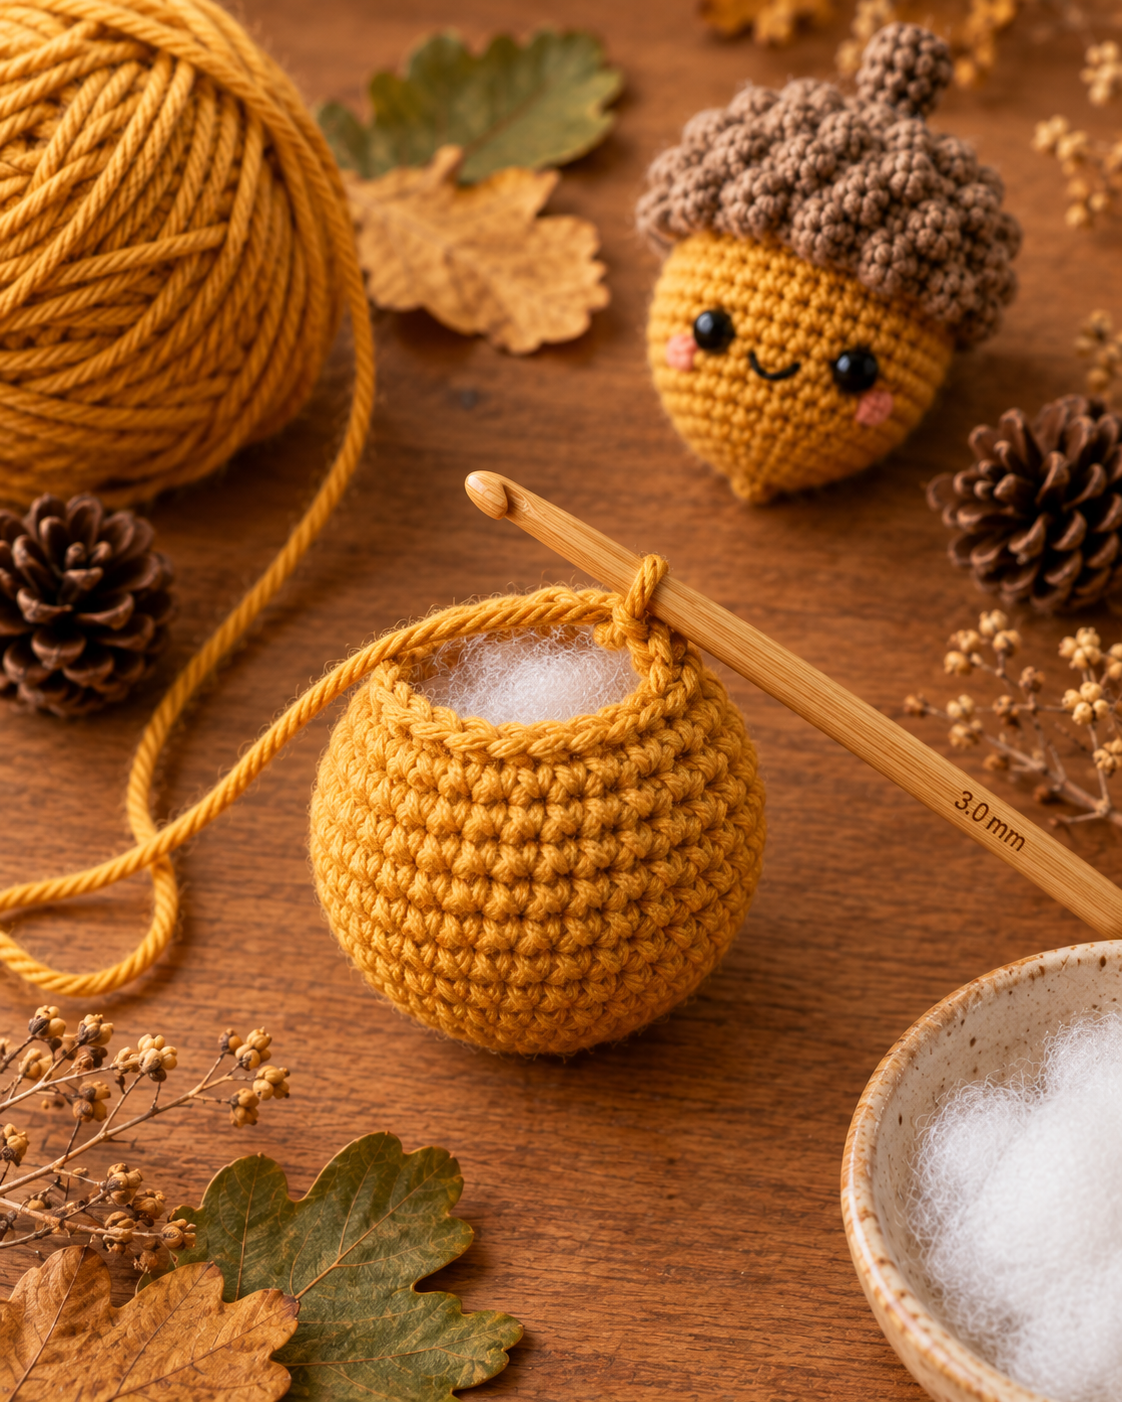
Rounds 6–10: sc in each st around (30). This gives the acorn its round belly. Then start decreasing to close the top: Round 11: sc 3, dec, repeat (24). Round 12: sc 2, dec, repeat (18).
Step 3 — Attach the Safety Eyes
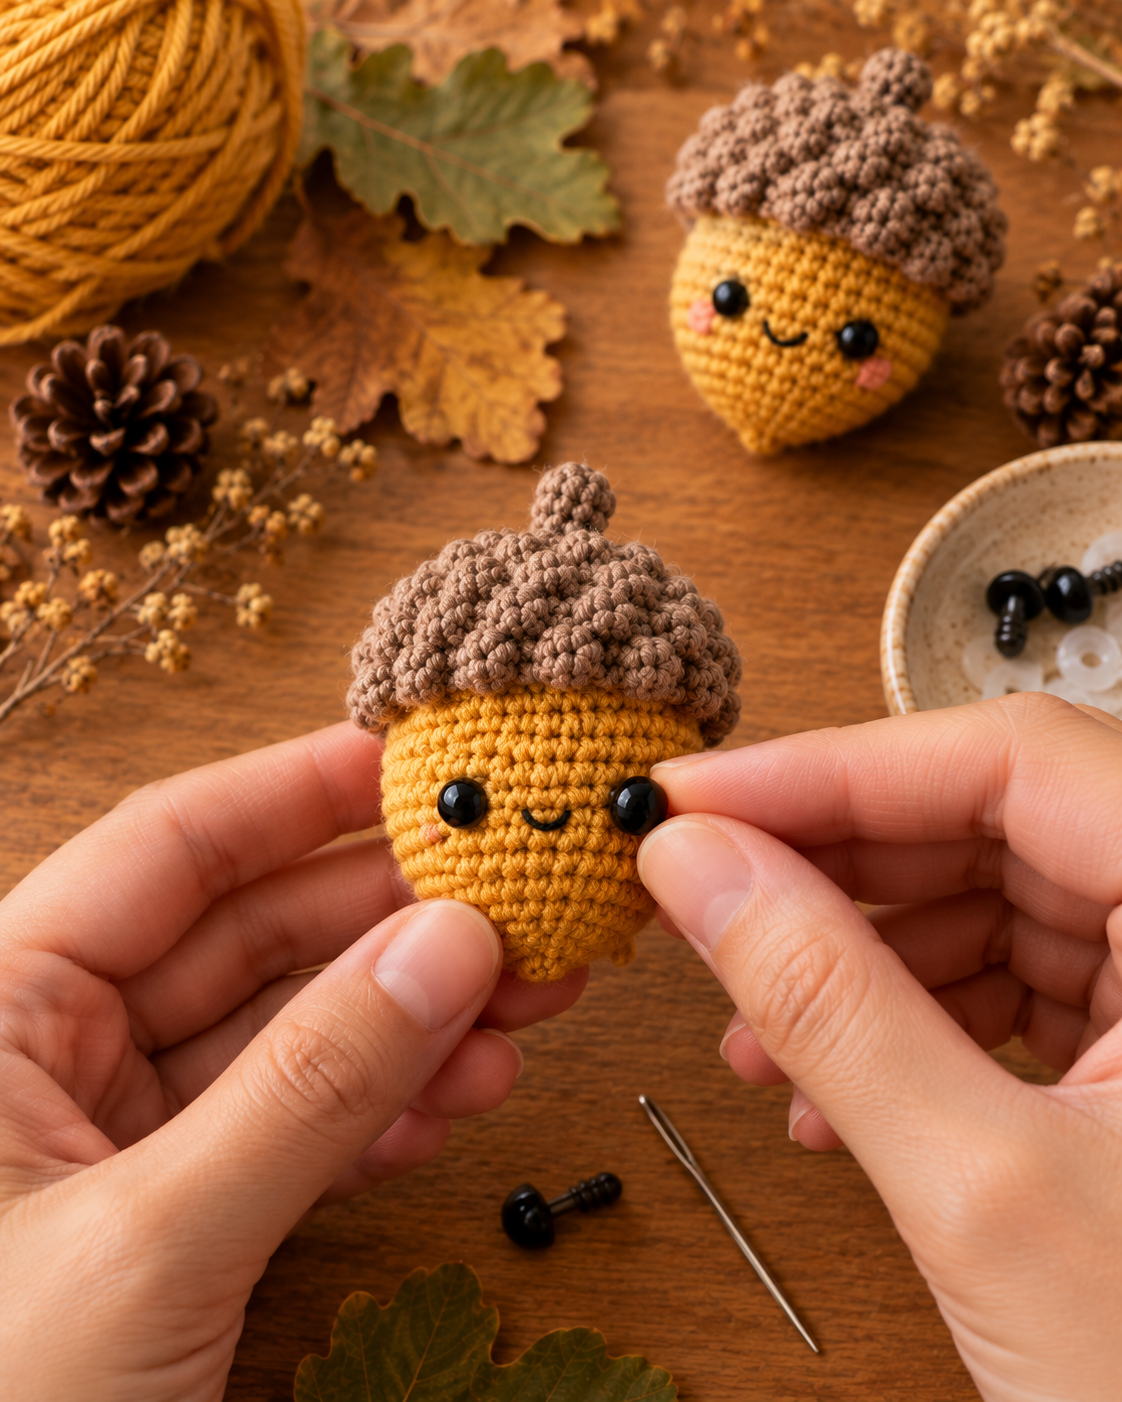
Between rounds 8 and 9, insert two 8mm black safety eyes about 4 stitches apart on the front of the acorn. Lock the backs. This step is easier BEFORE fully closing the body — once the top is closed, you cannot reach in to fix eye placement. Embroider a small smile with black thread between the eyes.
Step 4 — Stuff and Close the Body
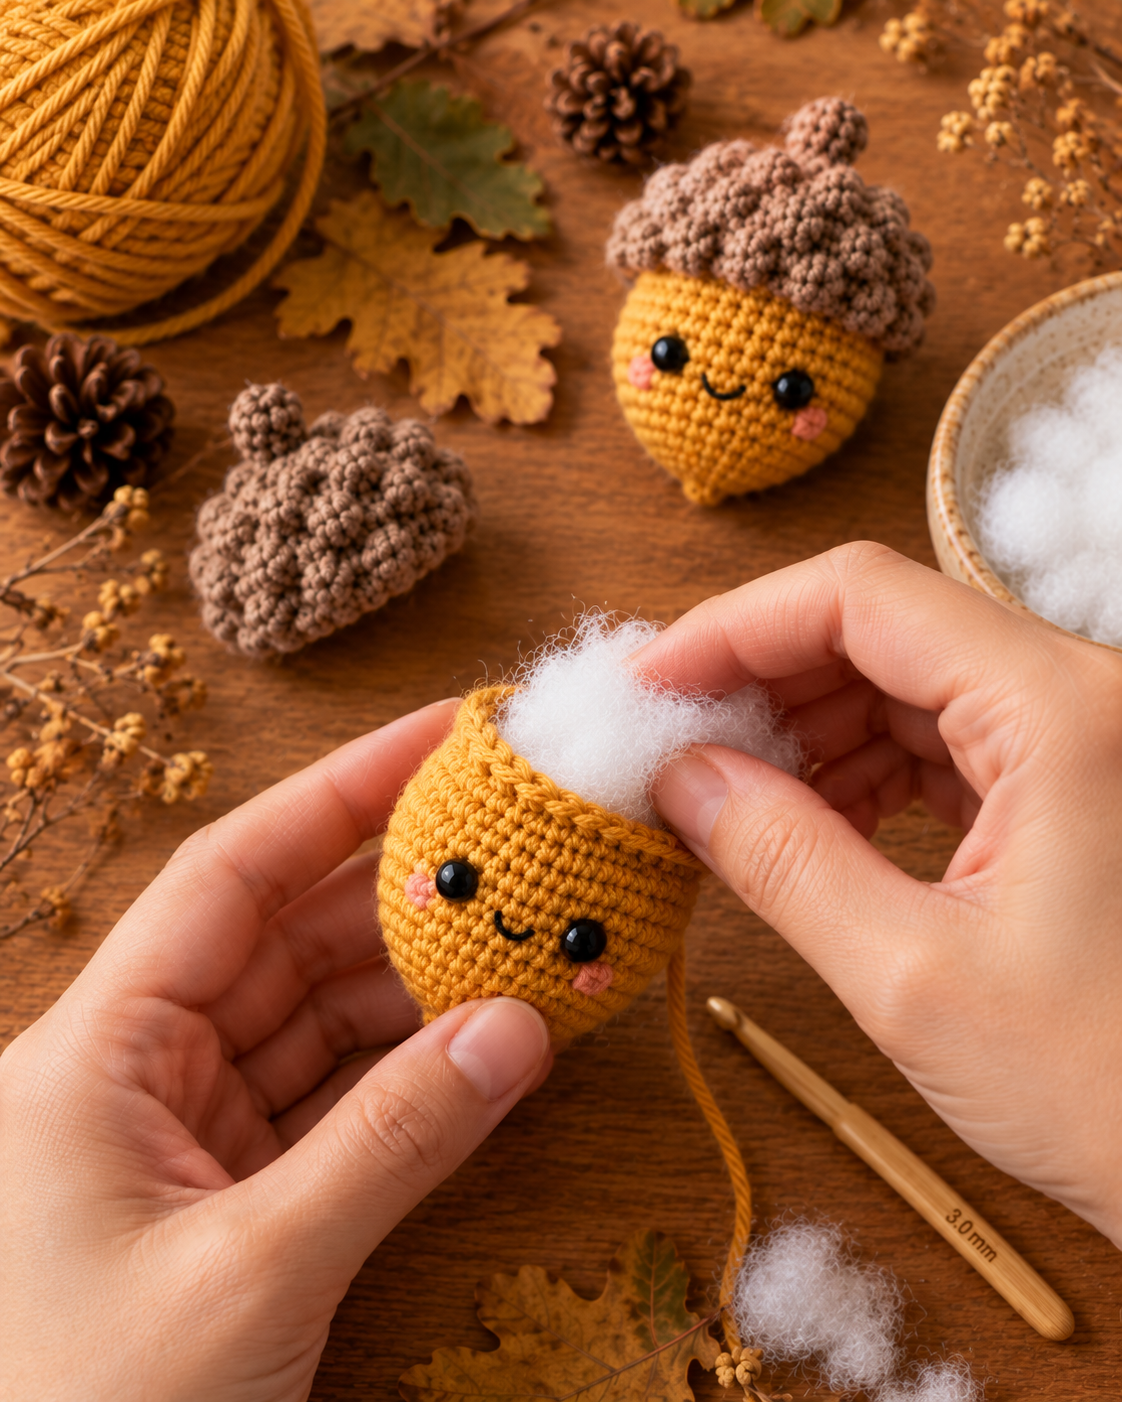
Stuff the body firmly with polyester fiberfill before finishing the last rounds. Round 13: sc, dec, repeat (12). Round 14: dec around (6). Fasten off, weave the tail through the front loops of the remaining 6 stitches, pull tight to close. Weave the end into the body.
Step 5 — Crochet the Bobble-Stitch Cap
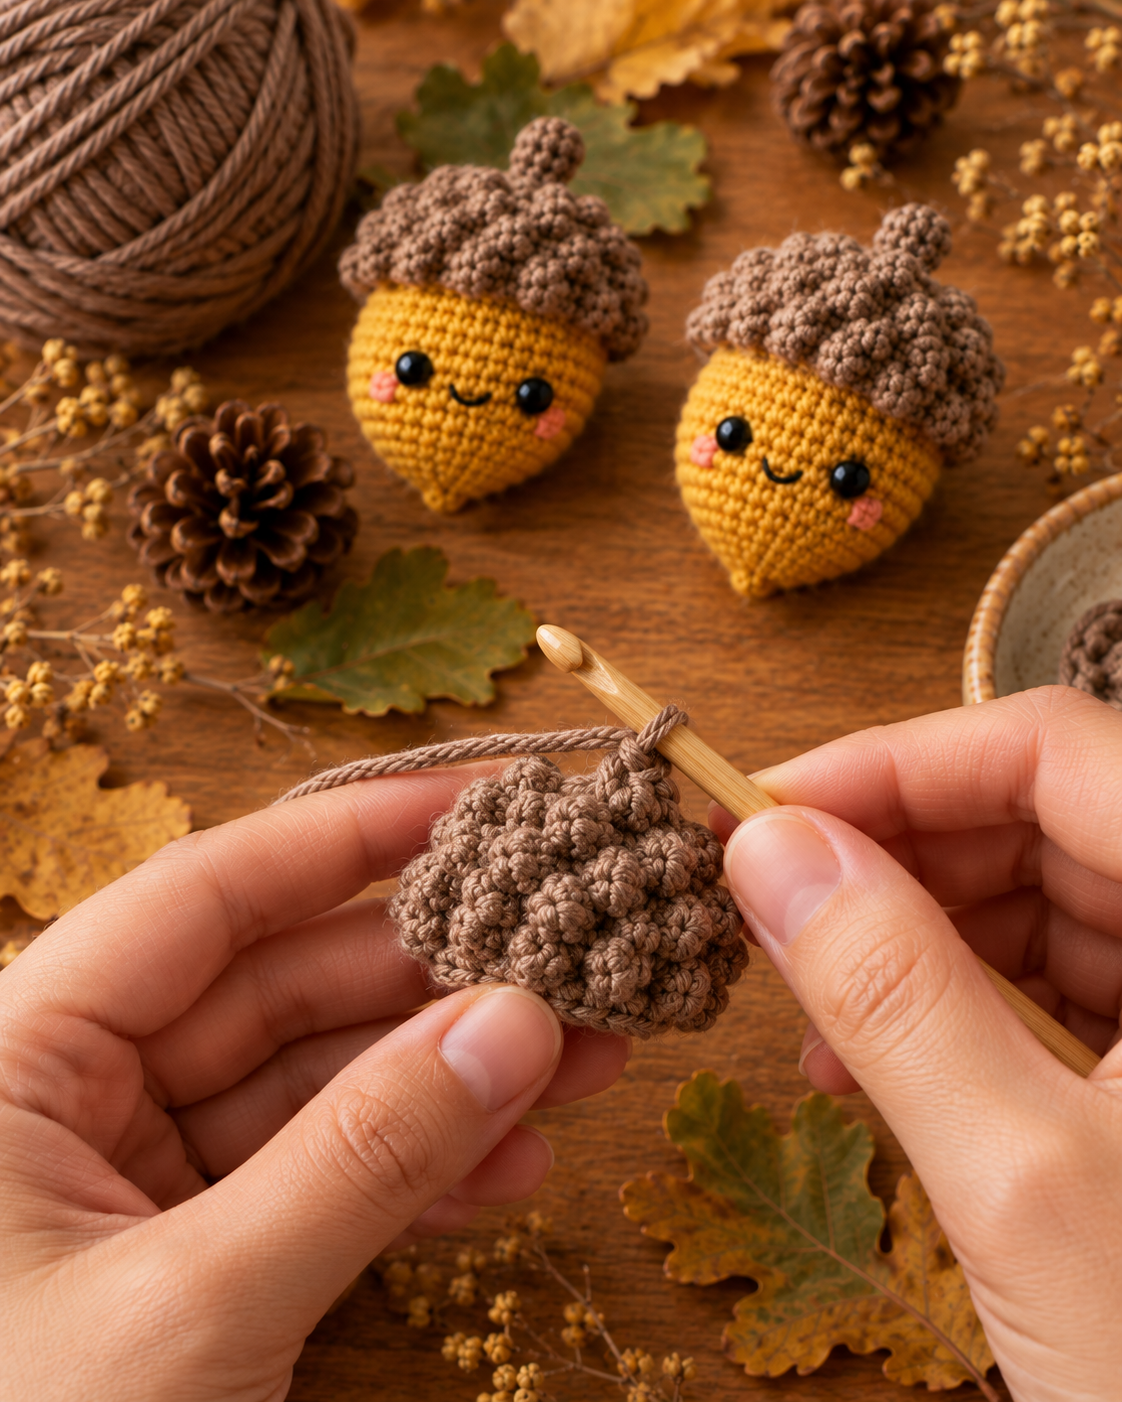
With taupe yarn, magic ring, 6 sc (6). Round 2: inc in each st (12). Round 3: sc, inc, repeat (18). Round 4: sc, bo, repeat around — this is the textured round that gives the cap its acorn-like bumpy surface. Round 5: sc around (18). Add a small chain-4 stem at the top center. Fasten off, leaving a long tail for sewing.
Step 6 — Optional Oak Leaf
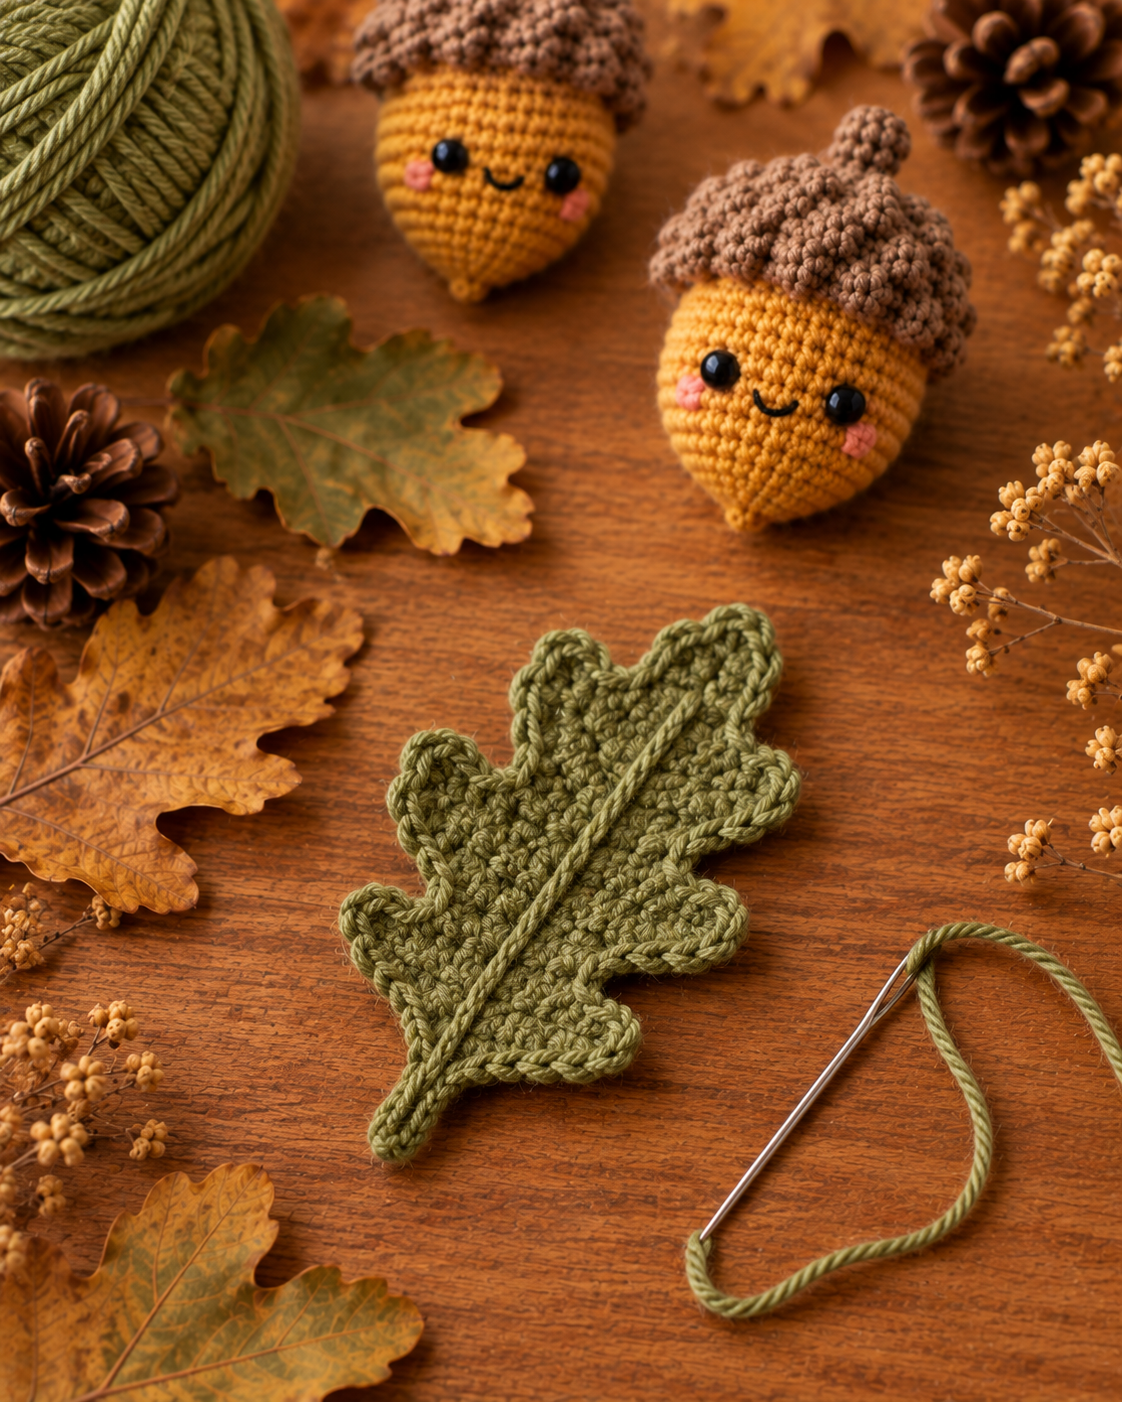
With sage green yarn: ch 10. Sc-hdc-dc-hdc-sc down the chain, working small pointed lobes as you go. Ch 1, turn, work back up the other side with the same pattern to mirror the lobes. Fasten off. Fold the leaf slightly to give it three-dimensional shape.
Step 7 — Assemble
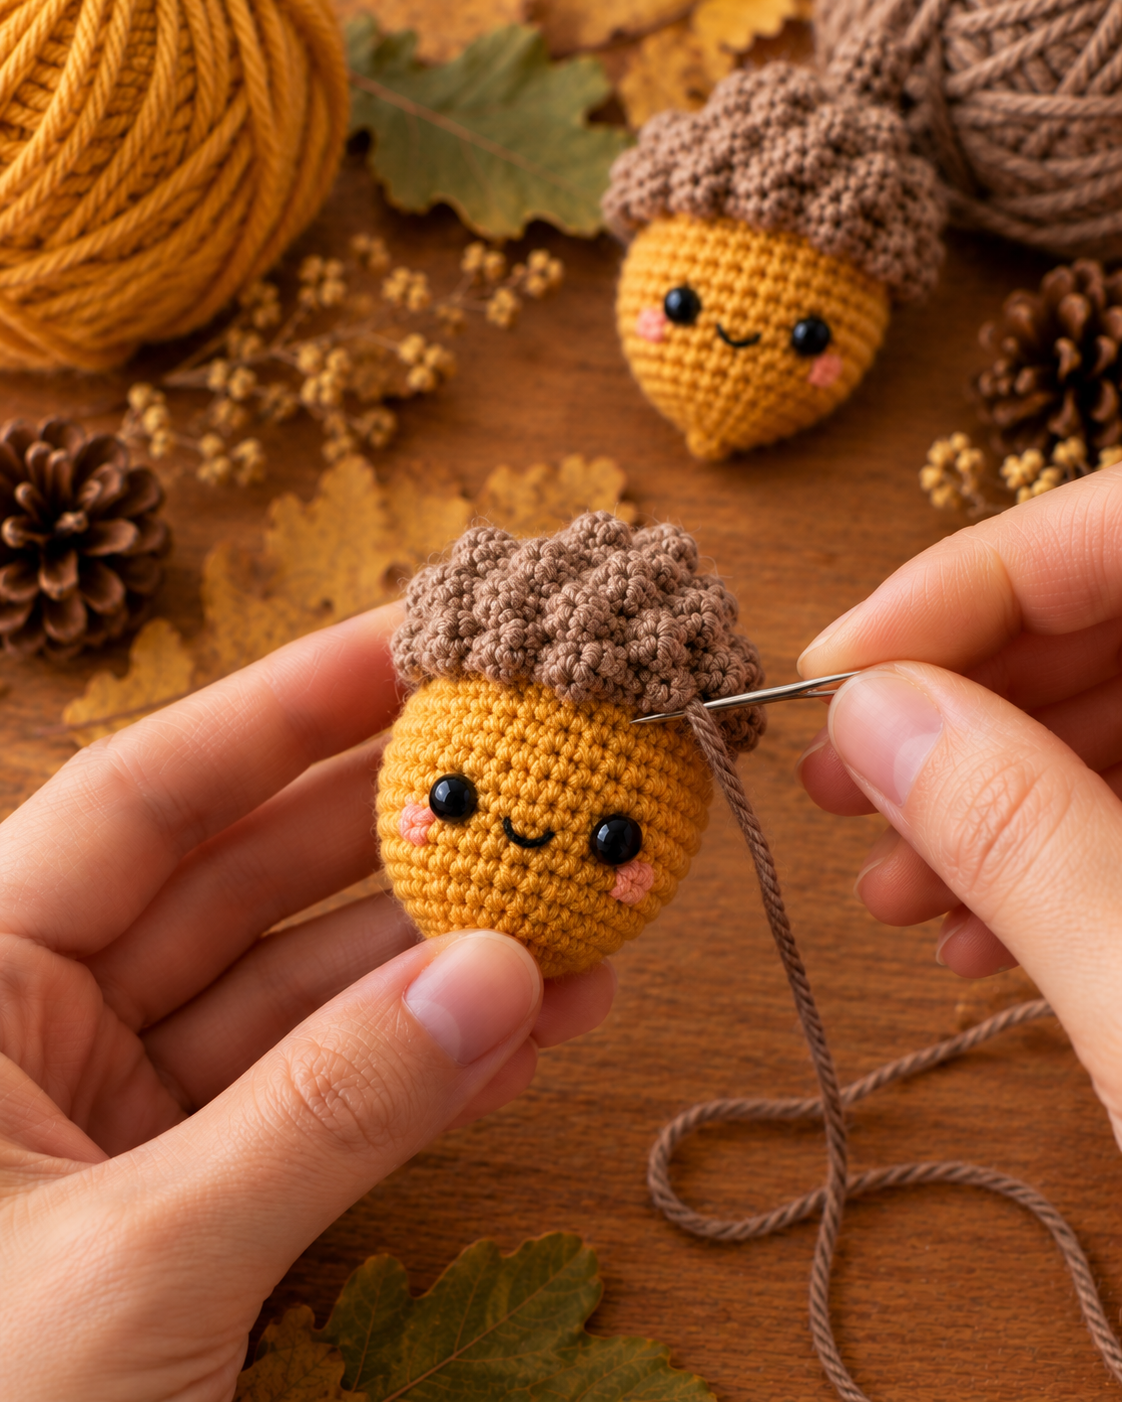
Place the cap on top of the body and pin it centered above the safety eyes. Using the long taupe tail and a tapestry needle, whip-stitch the cap edge to the body all the way around. Attach the oak leaf at the very top of the cap so it drapes to one side.
Step 8 — Make a Set
Repeat in different sizes or colors for a cluster. I like to make a set of three: one classic mustard, one deep rust, one soft cream. Arrange them in a small bowl or scatter them on a mantel with real oak leaves for peak-autumn styling.
Which Yarn Is Best for Amigurumi Acorns?
Cotton yarn is the top choice for amigurumi acorns. Cotton has almost no stretch, which keeps the stitches tight and stops fiberfill from peeking through. It also holds the acorn shape without sagging over time. For the cap especially, cotton makes those bobble stitches pop.
Acrylic works fine and is more forgiving for beginners — it's stretchier so mistakes hide better. For a rustic natural look, try a cotton-linen blend. Avoid fluffy or fuzzy yarns; the safety-eye face gets lost in the halo.
How Do You Fix Loose or Gappy Stitches?
Nine times out of ten, the fix is a smaller hook. If your stitches are loose enough that fiberfill shows through, drop from a 3mm to a 2.5mm hook. That single change transforms sloppy amigurumi into gallery-quality pieces.
The other fix is switching to the "invisible decrease" method for the closing rounds — it hides the taper and prevents holes at the top of the body. See a tutorial from Amigurumi Today for the exact technique.
Frequently Asked Questions
How much yarn do I need for one acorn?
About 15g of mustard yarn for the body, 10g of taupe for the cap, and 5g of sage green if you're making the oak leaf. That's essentially scrap-bag territory — three acorns won't even finish a full 50g skein of the main color. Perfect scrap-yarn project.
Are amigurumi acorns safe for babies or kids?
If you're making them for children under 3, skip the safety eyes and embroider the face with black yarn instead — safety eyes are a choking hazard. Also stuff extra firmly so the acorn holds shape after being squeezed and dropped hundreds of times.
Can I make the acorns bigger?
Yes — scale up by using chunky yarn (weight 5) with a 5mm hook and 12mm safety eyes. Each round grows proportionally. A large acorn works well as a stand-alone accent piece; small ones scatter better as a set. Same pattern, just different scale.
Do I need a stitch marker?
Yes — mark the first stitch of each round with a scrap of contrast yarn or a plastic stitch marker. Amigurumi is worked in a continuous spiral, not joined rounds, so it's easy to lose count. Missing one stitch throws the increases off and creates a lopsided ball.
What can I do with finished amigurumi acorns?
Autumn décor is the obvious answer — bowl fillers, mantel accents, wreath embellishments, table centerpieces. They also make lovely small gifts for a hostess, teacher, or coworker. String a few together with jute twine for a rustic autumn garland.
What to Make Next
Once you've mastered the acorn, the amigurumi world opens up. Try scaling the same shape into a mini pumpkin (just add ridges), or make a matching pinecone using the bobble-stitch technique from the acorn cap. Same 3mm hook, same afternoon, whole autumn décor set.
Happy crocheting.