Crochet Mushroom Keychain

The quick answer
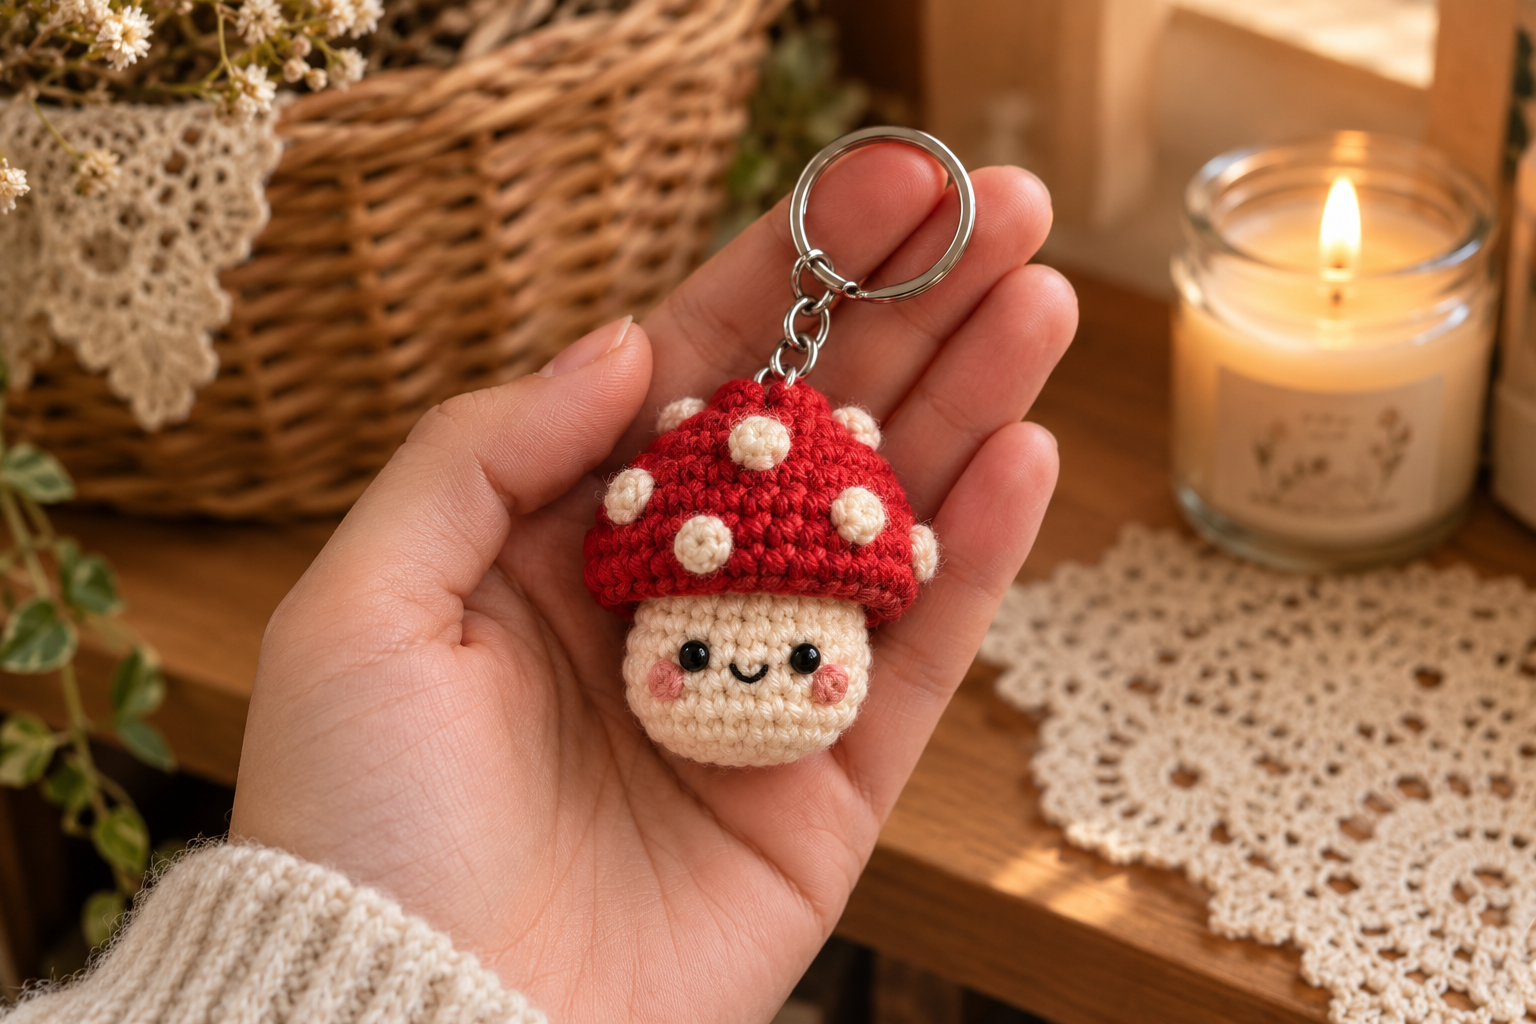
The mini crochet mushroom keychain is a two-piece kawaii amigurumi (~5 cm tall): a bright red cap dotted with cream bobble spots, a cream round body with two black safety eyes, an embroidered smile and pink blush cheeks, mounted on a 25 mm silver split-ring. Cotton DK, 2.5 mm hook, ~45 minutes, ~10 g of yarn total.
Fits on keys, bag zippers, backpack pulls. The kawaii charm that outsells every other amigurumi on Etsy in 2026.
Why every crochet Etsy shop sells a mushroom keychain right now
Mushroom amigurumi hit peak Pinterest in late 2025 and never came back down — the amanita silhouette (red cap, white spots) is instantly recognizable, works in any color palette, and photographs like a dream on any surface. Roundup site Sarah Maker now lists gnomes and mushrooms as the two most-searched fall amigurumi patterns of 2026 (Sarah Maker, "30 Free Crochet Mushroom Patterns," retrieved 2026-09-13).
The kawaii version — smiley face, blush cheeks — is what makes it work for keychains specifically. Adults buy them for themselves; kids beg for them at market tables. If you have made my acorn keychain or owl keychain, you already know every stitch this pattern uses — plus one new technique: the tiny bobble stitch for the spots.
Skill level. Confident beginner. You need magic ring, sc, inc, invisible dec, one bobble stitch, and simple embroidery. No color changes mid-round, no complicated shaping.
What you will need
- Yarn A (body): ~4 g of soft cream or light beige cotton DK (Paintbox Cotton DK in Vanilla Cream, Ricorumi in Ecru).
- Yarn B (cap): ~5 g of bright true red cotton DK (Ricorumi in Red, Paintbox in Rose Red).
- Yarn C (spots + accents): ~1 g of the same cream as Yarn A — a small ball is enough for 6-7 bobble spots.
- Yarn D (mouth): a scrap of black embroidery floss or fingering yarn.
- Yarn E (cheeks): a scrap of dusty pink for the blush embroidery.
- Hook: 2.5 mm (US B/C). Denser fabric = crisper features.
- Safety eyes: 2 × 6 mm solid black.
- Fiberfill: one small pinch of polyester stuffing.
- Keychain hardware: one 25 mm silver split-ring with attached small chain and lobster clasp.
- Notions: locking stitch marker, tapestry needle, sharp scissors.
Gauge: Not critical, but tight is better. Loose stitches make the bobble spots sink.
The pattern — Part 1: the cream mushroom body
I write patterns in US terms. Work in continuous rounds — do not join or turn. Use a locking stitch marker in the first stitch of each round and move it up as you go. This is worked as one piece from base to top.
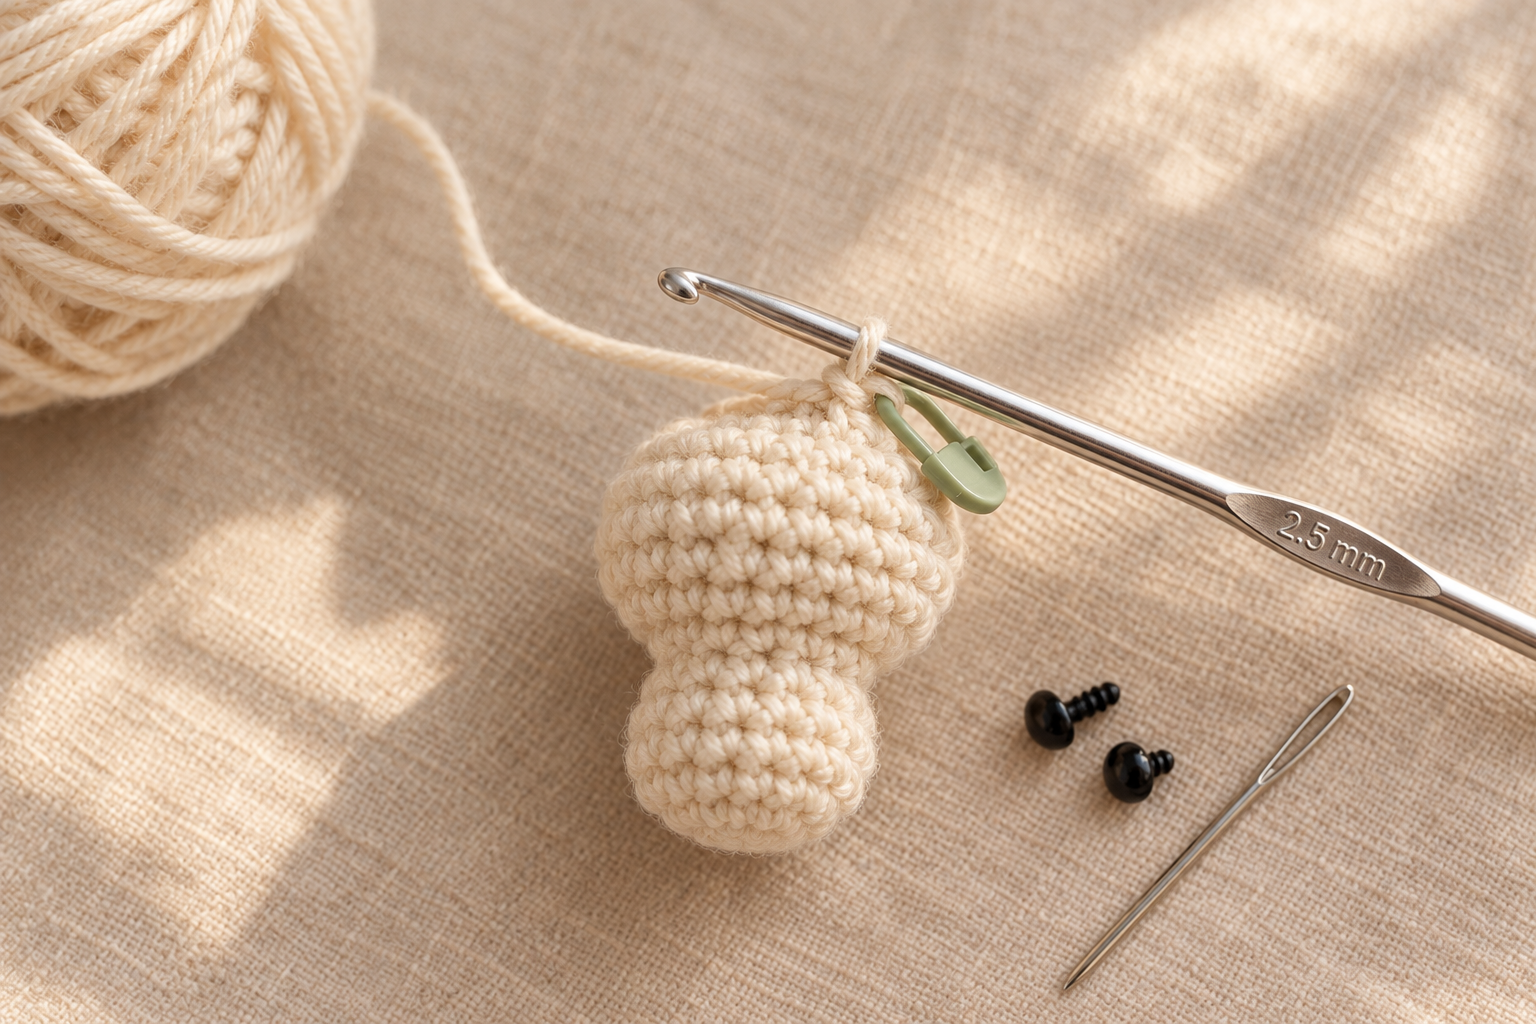
R1: With Yarn A, magic ring, 6 sc into ring. (6)
R2: Inc in each st. (12)
R3: sc, inc around. (18)
R4–R7: sc in each st around. (18 for 4 rounds)
Insert the 6 mm safety eyes between rounds 5 and 6, spaced 4 stitches apart. This tight spacing is what gives the kawaii close-set-eyes look — spread them further and the mushroom starts looking scared instead of cute.
R8: sc, dec around. (12)
Start stuffing firmly. Do not overstuff — the body should stay round, not egg-shaped.
R9: dec around. (6)
Fasten off with a 4-inch tail. Thread through the last 6 stitches and pull tight to close the crown. Weave the tail into the body.
The pattern — Part 2: the red spotted cap
This is the whole personality of the mushroom. The bobble spots are what turn a red bowl into an amanita.
The base cap
R1: With Yarn B (red), magic ring, 6 sc into ring. (6)
R2: Inc in each st. (12)
R3: sc, inc around. (18)
R4: 2 sc, inc around. (24)
R5: sc in each st around. (24)
R6: sc 3, BOBBLE with Yarn C, sc 3, BOBBLE, sc 3, BOBBLE, sc 3, BOBBLE, sc 3, BOBBLE, sc 3, BOBBLE. (24, 6 bobble spots)
R7: sc in each st around (both loops). (24)
R8: BLO — sc in each st around. (24)
R9: sc 4, dec, repeat around. (20) — starts curving the cap edge inward
Fasten off leaving a 12-inch tail. You now have a spotted red cap.
How to work the bobble spot
At the bobble position: drop Yarn B (leave loose behind), pick up Yarn C. Yarn over, insert hook into next stitch, yarn over, pull up loop (3 loops on hook). Yarn over, pull through 2 loops. Do this 3 times total in the same stitch (7 loops on hook). Yarn over, pull through all 7 loops. Drop Yarn C, pick up Yarn B. Continue.
The spot pops forward — that's the amanita dot.
The pattern — Part 3: the kawaii face
The face is what turns this from a mushroom into a cute mushroom.
- The smile. With Yarn D (black), embroider a small "u"-shape (like a happy mouth) between the two safety eyes, one round below the eye line. Two tiny stitches, secure inside.
- The blush cheeks. With Yarn E (dusty pink), embroider a small circle (2-3 satin stitches) on each side of the smile, just below and beside each eye. This is the whole "kawaii" trick — without cheeks, the mushroom looks empty.
That's it. Do not add eyebrows. Do not add a tongue. The minimal face is what makes it read as kawaii.
Final assembly
- Attach the cap. Place the red cap over the top of the cream body — it should cover the closed crown and sit just above the eyes so the eyes peek out from under the brim. Whip-stitch the cap edge to the body all the way around using the long red tail. Keep the stitches on the cap side so they hide in the texture.
- Attach the keychain ring. Thread a fresh 5-inch length of Yarn B through the very top center of the cap, loop through the keychain split-ring, and knot tight against the top of the cap. Weave the tails down through the cap and into the body.
- Fluff and check. Fluff the body with your fingers around the eye line. The finished mushroom should stand on its own base with the cap tilted slightly forward.
Adjust so the mushroom hangs upright when the keychain is held from above. The finished piece stands about 5 cm tall on a 25 mm ring.
Watch me make one
If reading rounds makes your eyes cross, the same pattern in video form is 20 minutes and worth every second. This 2025 tutorial matches the round counts above almost exactly — cotton DK, 2.5 mm hook, magic ring start, bobble spots included.
▶ Watch: Beginner-Friendly Crochet Mushroom Keychain (YouTube, 2025)
Styling and gift-wrapping
Slip the finished mushroom onto a small kraft-card tag printed with "Handmade with love — [your maker name]." The tag doubles the peg-display footprint and lifts the price from a $6 charm to an $8 gift. This is the same tag trick I use for my owl keychain and acorn keychain.
For a set, make three mushrooms in three cap colors — classic red amanita, a soft sage green "forest mushroom," and a dusty pink "sakura mushroom" — and sell as "the fungi trio" at market for 2.5× a single keychain price.
Make it yours — quick variations
| Variation | Change from base pattern |
|---|---|
| Sage forest mushroom | Cap in muted sage green, cream body, no spots. Very cottagecore. |
| Sakura mushroom | Cap in dusty pink with cream spots. Cream body. Kids love it. |
| Brown chanterelle | Cap in warm caramel, no spots, cream body. Realistic style. |
| Purple amanita | Cap in muted lilac with cream spots. Fantasy vibes. |
| Sad mushroom | Same pattern, but embroider a small "n" curve instead of a smile. Sells on Etsy as a "gloomy shroom." |
Same 45-minute build time for every variation. Pair the mushroom with my no-increase pumpkin and acorn keychain for a full autumn set.
Troubleshooting the three things that go wrong
My bobble spots are flat
You did not do all three yarn-overs in the same stitch. A proper bobble takes 3 half-double repetitions in the same stitch before you close it. Fewer repetitions = flat spot. Frog the round and try again.
The cap looks like a beret, not a mushroom cap
You skipped the R8 BLO round or the R9 decrease. Those two rounds are what curl the cap edge inward and give it the classic amanita silhouette. Recount and redo.
The face looks empty
You skipped the blush cheeks. The kawaii look needs three elements — eyes + smile + cheeks. Two out of three reads as "cheap emoji." All three reads as "adorable."
Frequently asked questions
How long does the crochet mushroom keychain take to make?
About 45 minutes for a confident beginner — 15 minutes for the body, 20 minutes for the cap (bobbles slow it down), 5 for the face embroidery, 5 for assembly and keychain attachment. First-time mushroom crocheters need closer to 90 minutes.
What is the best yarn for a crochet mushroom keychain?
Cotton DK (CYC 3) at 2.5 mm hook. Cotton keeps stitch definition on the tight bobble spots and does not fuzz. Wool works but the bobbles read softer. Skip anything bulkier than DK — the scale collapses and the amanita silhouette disappears.
Do I need to use safety eyes?
No — you can substitute two 6 mm black felt circles glued into place after the body is closed, or embroider two small black French knots. Safety eyes give the crispest kawaii look; felt is the safest choice for keychains that will be handled by young kids.
Can I sell finished mushroom keychains at markets?
Yes — you may sell physical keychains made from this free pattern at craft fairs, Etsy, or gifting. Please credit "Pattern by Wavode" on your listing and link back to this page. Reselling the pattern text (free or paid) is not permitted.
How many bobble spots should I put on the cap?
Six is the sweet spot — evenly spaced around round 6 as written above. Fewer than 5 and the cap looks empty; more than 8 and the spots crowd each other and lose the amanita look. Stick to 6.
Made this mushroom? Tag #wavodecrochet on Pinterest — I re-pin every finished make and credit the maker.
Pattern by Clara Hartwell for Wavode. Questions? Email me at support@wavode.com.