Rosebud Baby Booties

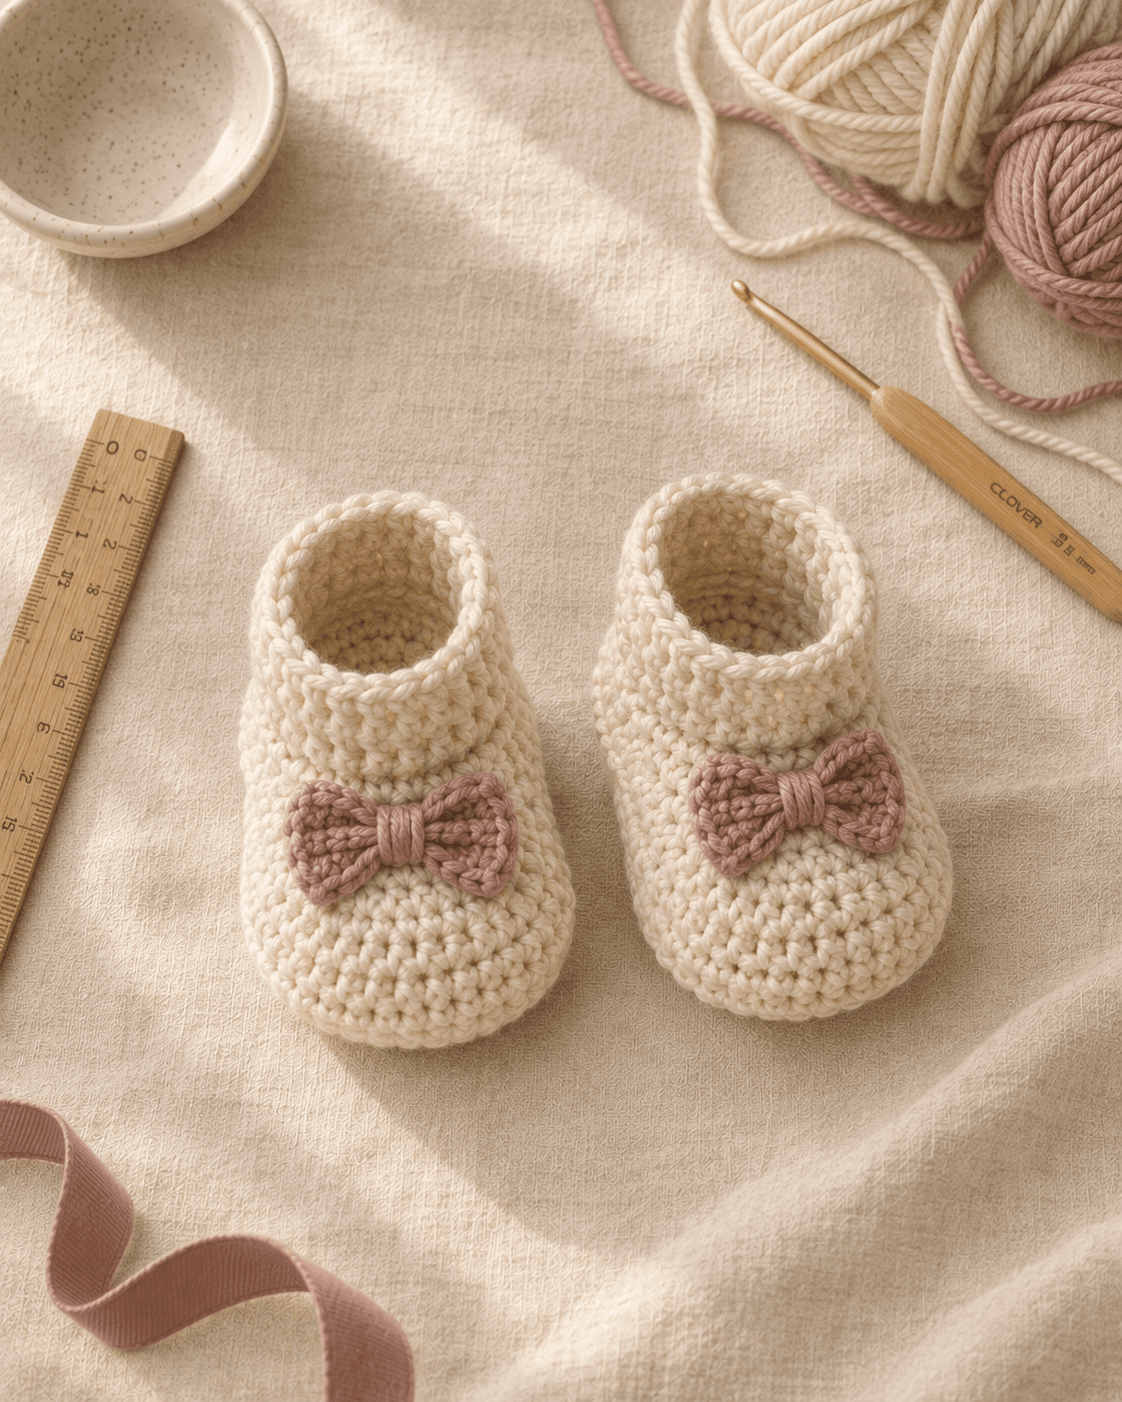
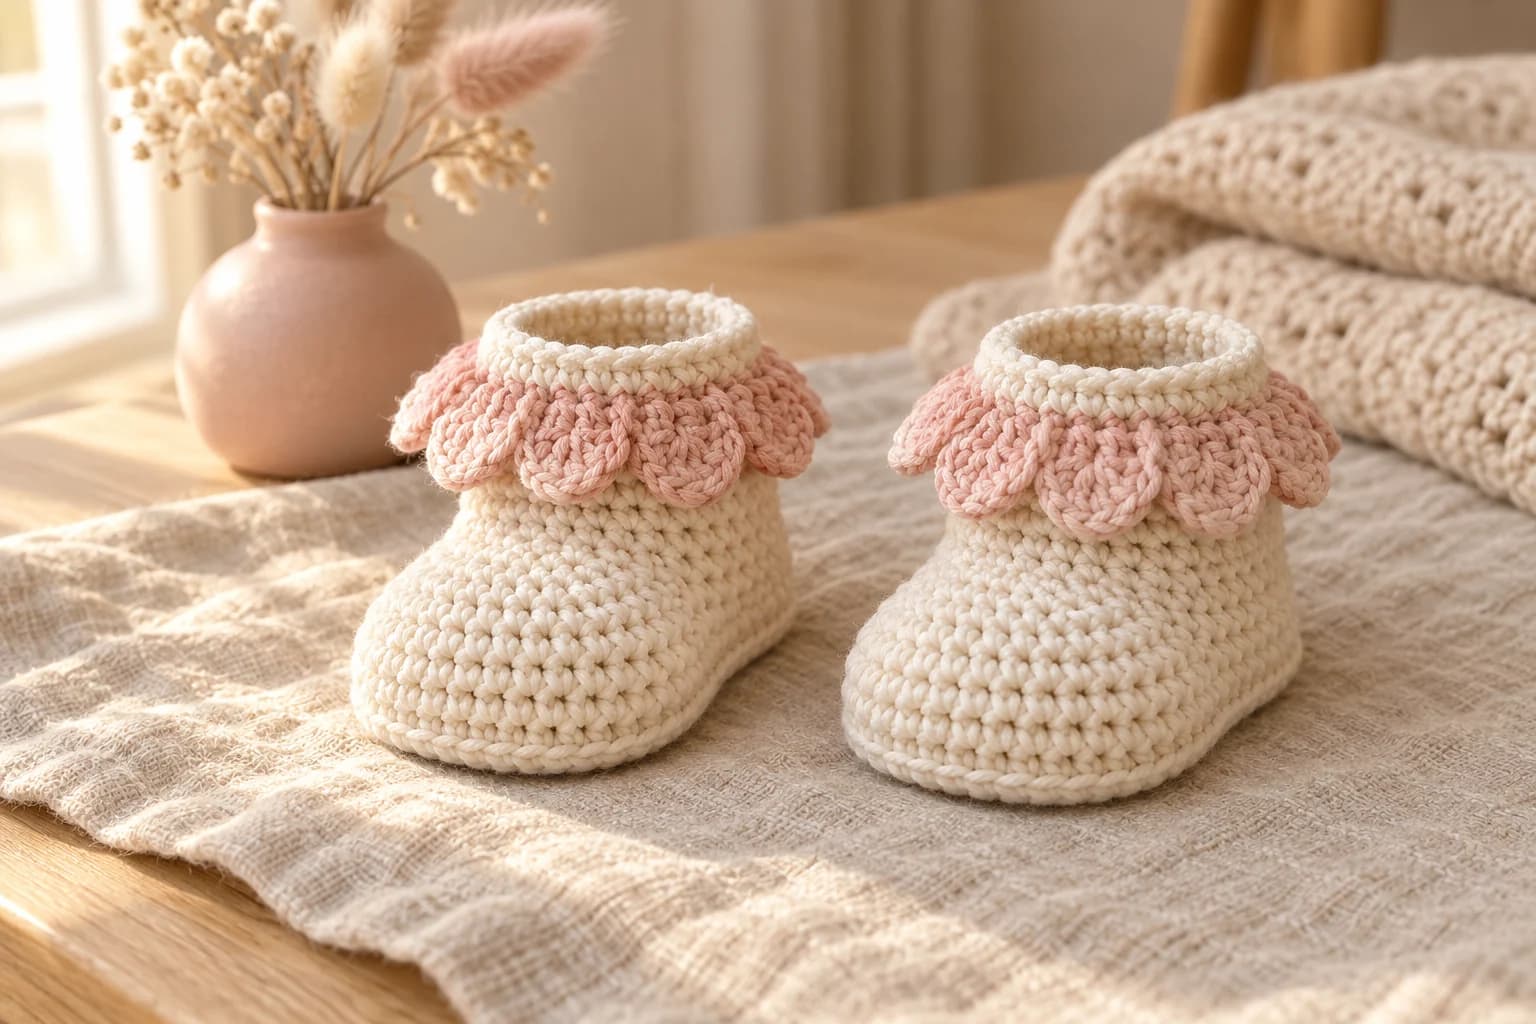
I like the little bow to be the first thing peeking out of a baby gift box. These Rosebud baby booties have cream cotton shoes and gathered mauve bows, with soles about 3½, 4 or 4½ in (9, 10 or 11.5 cm) long. The shoe grows from an oval sole into a rounded toe, then a plain ankle edge.
I start with the baby's foot measurement. Each size has its own written rounds, so you can follow one set from the sole to the opening. The bow is the same little rectangle for every pair.
| At a glance | |
|---|---|
| Finished sole | Small 3½ in (9 cm); medium 4 in (10 cm); large 4½ in (11.5 cm), approximately |
| Yarn | Worsted #4 cotton in cream and mauve |
| Hook | 4 mm |
| Pieces | 4: a pair of shoes with a bow on each |
| Time | Allow one or two evenings |
| Skill | Advanced beginner: oval increases, joined rounds, decreases and sewing |
Choosing a Rosebud size for newborn to about 12 months
Age is only a starting point. Measure heel to longest toe, then use the foot-length column. The sole leaves a little space beyond the toes; the finished opening must also slip over the foot comfortably.
| Size | Age guide only | Foot length up to | Finished sole, approximately |
|---|---|---|---|
| Small | 0–3 months | 3¼ in (8.3 cm) | 3½ × 1⅓ in (9 × 3.4 cm) |
| Medium | 3–6 months | 3¾ in (9.5 cm) | 4 × 1¾ in (10 × 4.5 cm) |
| Large | 6–12 months | 4¼ in (10.8 cm) | 4½ × 2¼ in (11.5 × 5.7 cm) |
Cotton, hook and the Rosebud swatch
- Yarn: worsted #4, 100% cotton, about 93 yd (85 m) per 50 g, such as Paintbox Yarns Cotton Aran. Allow about 40 (55, 75) yd cream and 7 yd mauve for the small (medium, large) pair.
- Hook: 4 mm throughout.
- Notions: a tapestry needle, scissors, measuring tape, two stitch markers and sewing pins. For shaping, a clean towel.
- Keep the shoe unstuffed. Shape it gently with your fingers.
Tension: about 4 sc per inch (2.5 cm), with about 4½ rounds per inch in the compact single-crochet fabric. The swatch target is 16 sc and 18 rows to 4 in (10 cm). Measure it unstretched after washing gently and drying flat. The sole measurements in the size table are your next check. Compare its width with the baby's foot as well as checking the length. If the sole comes out too long or wide, use a smaller hook; if too small, use a larger hook and check again before making the upper.
Stitches, in US terms: chain (ch), single crochet (sc), increase (inc, 2 sc in the same stitch), decrease (dec, sc2tog), slip stitch (sl st), back loop only (BLO), stitch (st) and round (R).
Every shoe round ends with a sl st into the first actual sc. Except for the first sole round, ch 1 before the written stitches; sole R1 works straight into the ch-11 foundation. The starting chain and joining slip stitch do not count. Keep the right side facing you and mark the first actual sc. The count in parentheses is the number made.
Making the cream Rosebud shoes in your chosen size
Cream cotton, 4 mm hook, Make 2 shoes in ONE size below. Follow only the small, medium or large instructions. The starting chain runs along the sole. Its rounded ends become the heel and toe; the last upper round becomes the ankle opening.
For each sole, make the starting chain loosely enough that the distance between the centers of ch 2 and ch 11 is about 2¼ in (5.7 cm). Measure that short spine before R1; remake the chain if it is noticeably different. Keep the main fabric at the swatch tension above. Measure the finished sole again before making the upper.
Small sole — 0–3 month guide
Leave a 6 in (15 cm) starting tail and ch 11. The first sc is near the heel. At the far end, rotate the chain to work back along its other side; keep the same face up.
- R1: sc in the 2nd ch from the hook, sc 8, 3 sc in the last ch, then along the other side of the chain sc 8, 2 sc in the same ch as the first sc. (22)
- R2: inc, sc 8, inc × 3, sc 8, inc × 2. (28)
- R3: sc, inc, sc 8, (sc, inc) × 3, sc 8, (sc, inc) × 2. (34)
Sl st into the first sc and fasten off with a 6 in (15 cm) tail. The sole has 34 sts. Weave both ends into the wrong side in two directions. It should lie flat and measure about 3½ × 1⅓ in (9 × 3.4 cm).
Small upper — 0–3 month guide
Use the heel-and-toe marking instructions below before starting. Join cream with a slip stitch immediately after the heel marker, leaving a 6 in (15 cm) tail; ch 1. That attachment slip stitch does not count. Start R1 in the same sole stitch. Work the first round in the back loops to turn the edge upward.
- R1: in BLO, sc around. (34)
- R2: sc around. (34)
- R3: sc 11, dec × 6, sc 11. (28)
- R4: sc 8, dec × 6, sc 8. (22)
- R5: sc 8, dec × 3, sc 8. (19)
Move the toe marker into the middle decrease of R5, st 10.
- R6: sc around. (19)
Fasten off with a 6 in (15 cm) tail. Weave both upper tails along the inside in two directions. Leave the ankle opening open.
Medium sole — 3–6 month guide
Leave a 6 in (15 cm) starting tail and ch 11. Work back along the other side of the chain as for the small sole.
- R1: sc in the 2nd ch from the hook, sc 8, 3 sc in the last ch, then along the other side of the chain sc 8, 2 sc in the same ch as the first sc. (22)
- R2: inc, sc 8, inc × 3, sc 8, inc × 2. (28)
- R3: sc, inc, sc 8, (sc, inc) × 3, sc 8, (sc, inc) × 2. (34)
- R4: sc 2, inc, sc 8, (sc 2, inc) × 3, sc 8, (sc 2, inc) × 2. (40)
Sl st into the first sc and fasten off with a 6 in (15 cm) tail. Weave both ends into the wrong side in two directions. The 40-st sole should lie flat and measure about 4 × 1¾ in (10 × 4.5 cm).
Medium upper — 3–6 month guide
Mark heel and toe as described below. Join cream with a slip stitch immediately after the heel marker, leaving a 6 in (15 cm) tail; ch 1. Start R1 in that same sole stitch.
- R1: in BLO, sc around. (40)
- R2–R3: sc around. (40) 2 rounds.
- R4: sc 14, dec × 6, sc 14. (34)
- R5: sc 11, dec × 6, sc 11. (28)
- R6: sc 11, dec × 3, sc 11. (25)
Move the toe marker into the middle decrease of R6, st 13.
- R7: sc around. (25)
Fasten off with a 6 in (15 cm) tail. Weave both upper tails along the inside in two directions. Leave the ankle opening open.
Large sole — 6–12 month guide
Leave a 6 in (15 cm) starting tail and ch 11. Work back along the other side of the chain as for the small sole.
- R1: sc in the 2nd ch from the hook, sc 8, 3 sc in the last ch, then along the other side of the chain sc 8, 2 sc in the same ch as the first sc. (22)
- R2: inc, sc 8, inc × 3, sc 8, inc × 2. (28)
- R3: sc, inc, sc 8, (sc, inc) × 3, sc 8, (sc, inc) × 2. (34)
- R4: sc 2, inc, sc 8, (sc 2, inc) × 3, sc 8, (sc 2, inc) × 2. (40)
- R5: sc 3, inc, sc 8, (sc 3, inc) × 3, sc 8, (sc 3, inc) × 2. (46)
Sl st into the first sc and fasten off with a 6 in (15 cm) tail. Weave both ends into the wrong side in two directions. The 46-st sole should lie flat and measure about 4½ × 2¼ in (11.5 × 5.7 cm).
Large upper — 6–12 month guide
Mark heel and toe as described below. Join cream with a slip stitch immediately after the heel marker, leaving a 6 in (15 cm) tail; ch 1. Start R1 in that same sole stitch.
- R1: in BLO, sc around. (46)
- R2–R4: sc around. (46) 3 rounds.
- R5: sc 17, dec × 6, sc 17. (40)
- R6: sc 14, dec × 6, sc 14. (34)
- R7: sc 14, dec × 3, sc 14. (31)
Move the toe marker into the middle decrease of R7, st 16.
- R8: sc around. (31)
Fasten off with a 6 in (15 cm) tail. Weave both upper tails along the inside in two directions. Leave the ankle opening open.
Marking the heel and toe before the upper
Lay the finished sole flat, with the starting-chain ridge running lengthwise. Fold it gently along that ridge, bringing the two long sides together. The fold runs from heel to toe. At each rounded end, choose a gap between stitches closest to the fold; the gaps must sit opposite one another, with 17, 20 or 23 stitches along either side for the small, medium or large sole.
Remove the sole's first-stitch marker and reuse it for the heel gap; use the other marker for the toe gap. Open the sole flat again. Start the upper immediately after the heel gap. After making its first actual sc, move the heel marker into that sc and use it as the first-stitch marker on later rounds. Keep the toe marker at the front as the side rounds grow. On each of the first two decrease rounds, move it into the gap between the middle two decreases. On the final decrease round, move it into the middle decrease itself, as noted in the size instructions.
Tip. Check the toe from above before finishing the upper. The decreases should sit evenly around the toe marker, with the plain heel section at the back.
A gathered mauve bow for each Rosebud toe
Mauve cotton, 4 mm hook, Make 2 bows. Each is a flat rectangle. Leave a 6 in (15 cm) starting tail and ch 7.
- R1: sc in the 2nd ch from the hook and in each remaining ch. (6)
- R2–R3: ch 1, turn, sc 6. (6) 2 rows.
Fasten off with a 36 in (91 cm) tail at the side of the rectangle. Weave the short starting tail into the back. The rectangle is about 1½ × ⅔ in (3.8 × 1.7 cm) before gathering.
Pinch the rectangle between your thumb and finger, right in the middle, so the ends fan out like little wings. Wrap the long tail around that pinch 6 times, knot it at the back and keep the rest for sewing.
Sewing the bows onto the Rosebud booties
Keep the ankle opening facing up and the toe marker at the front. Set a bow across the toe, its wrapped center over the marked stitch of the last decrease round: small R5 st 10, medium R6 st 13 or large R7 st 16.
Spread the wings to the left and right, then pin the bow in place. Sew the wrapped middle into the marked stitch and its two neighbors with 10 small stitches, keeping the needle clear of the inside opening. Tack each wing with 3 more stitches, about 2 stitches to either side of the center. Weave the mauve end into the inside in two directions, then remove the marker.
Feel inside with a fingertip. Smooth away any loose loop a toe could catch. Repeat for the other shoe.
Safety. These are soft indoor booties for babies who aren't walking yet. Check the sewn bows and all ends before each wear; repair a loose bow before using the pair again. The plain shoe is another option if you prefer to leave the bow off. Keep buttons, beads and long ties off this design.
Washing and gifting a cream-and-mauve pair
Gently hand-wash in cool water with mild soap, following the yarn label. Press the shoes in a towel and dry them flat, easing the toes into shape with your fingers. Let them dry completely before putting them away.
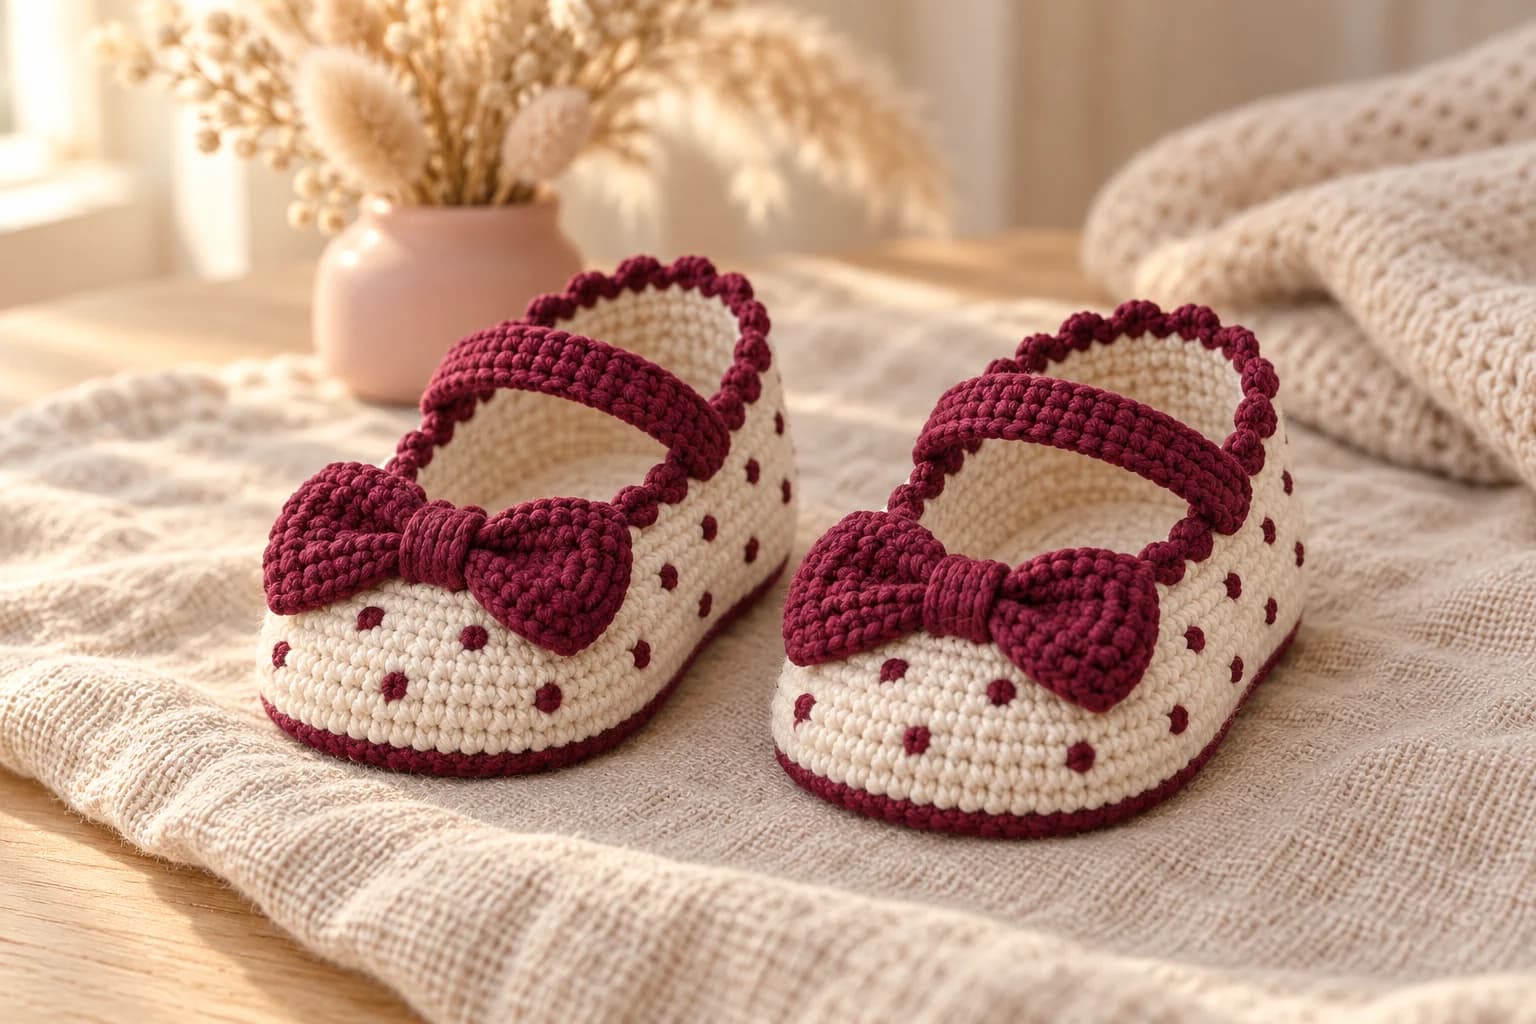
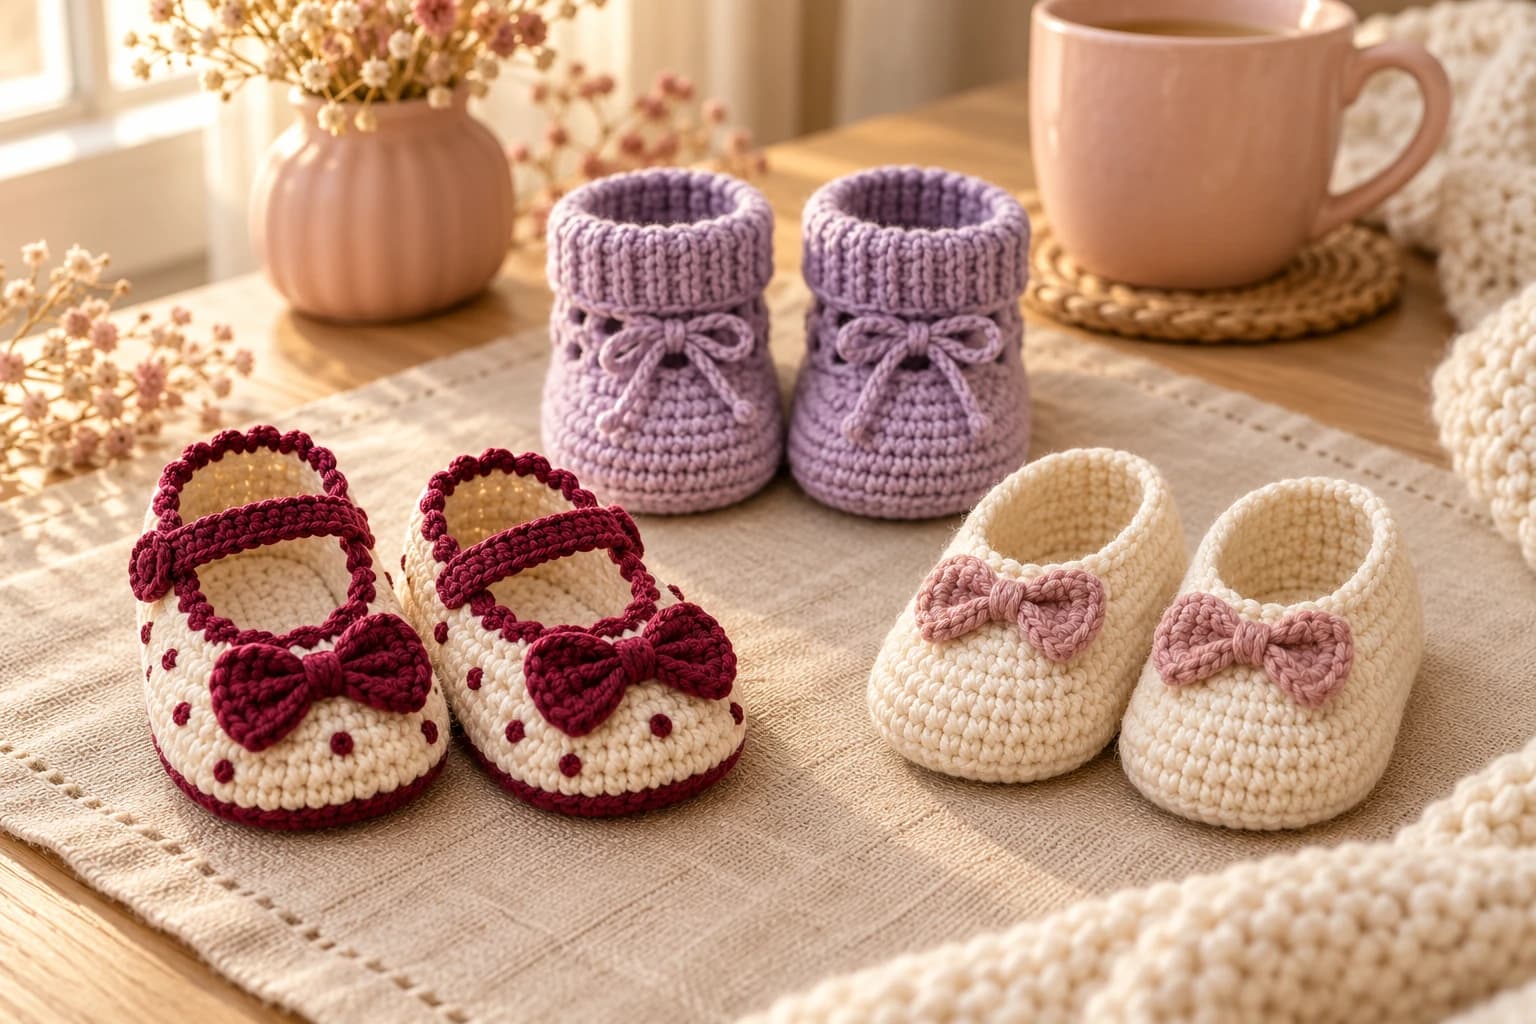
I like a shallow box with the bows facing up and a little card stating the sole length. For another silhouette, my Mary Jane baby shoes add a strap and burgundy scallops.
Using UK terms? US sc = UK dc; sl st is the same in both.
Made a pair of Rosebuds? Tag #wavodecrochet on Pinterest so I can see your colors.