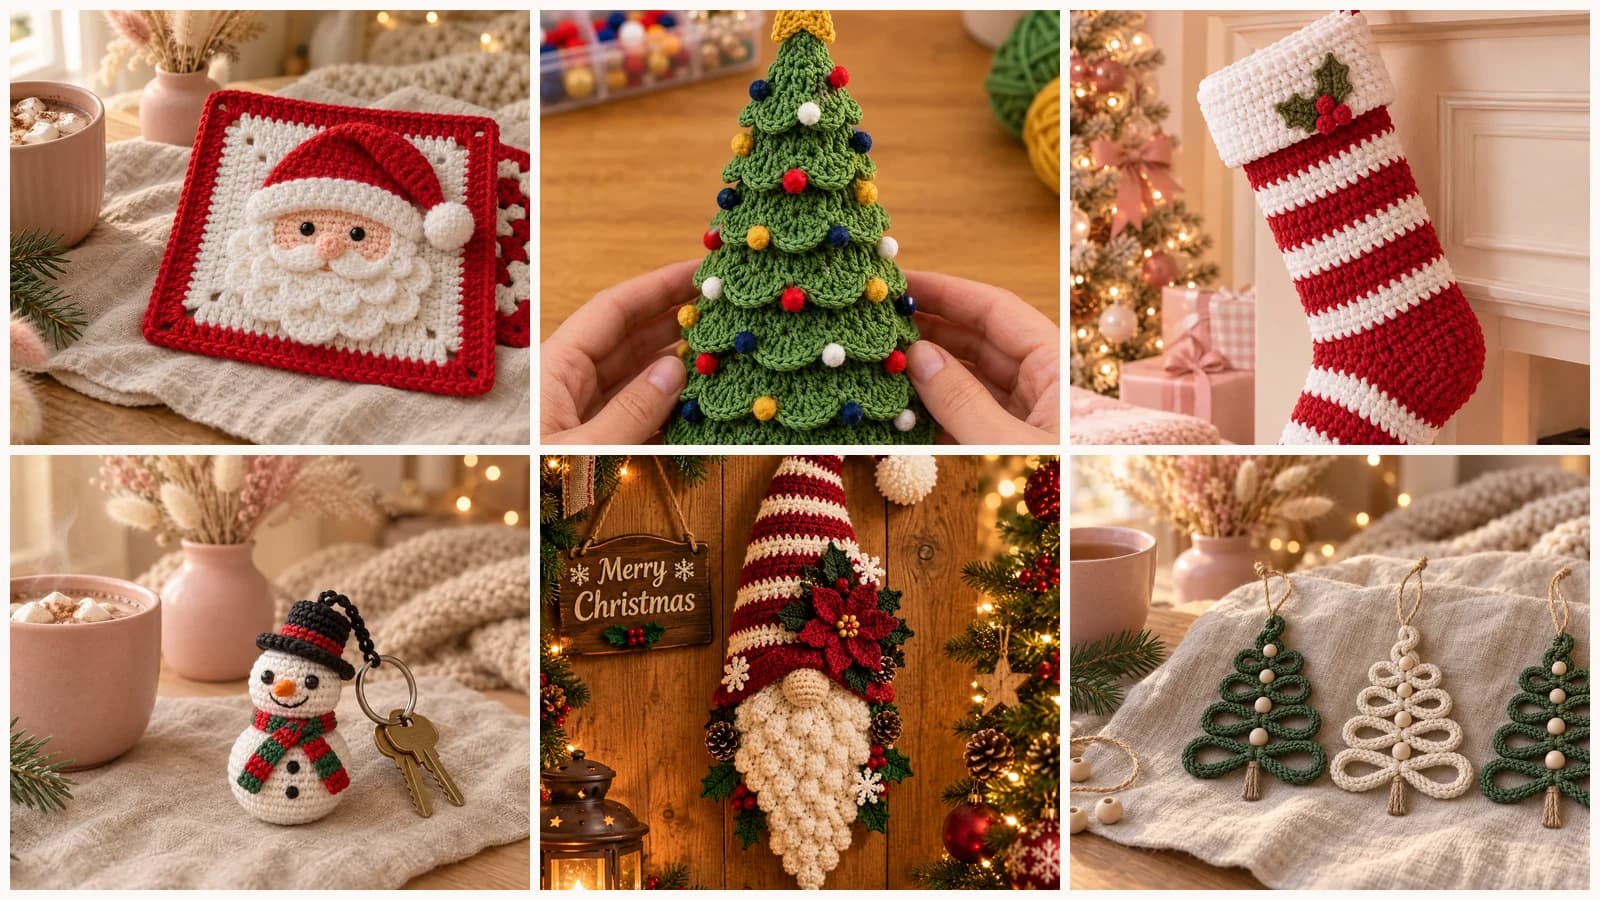
Beaded Crochet Christmas Ornament

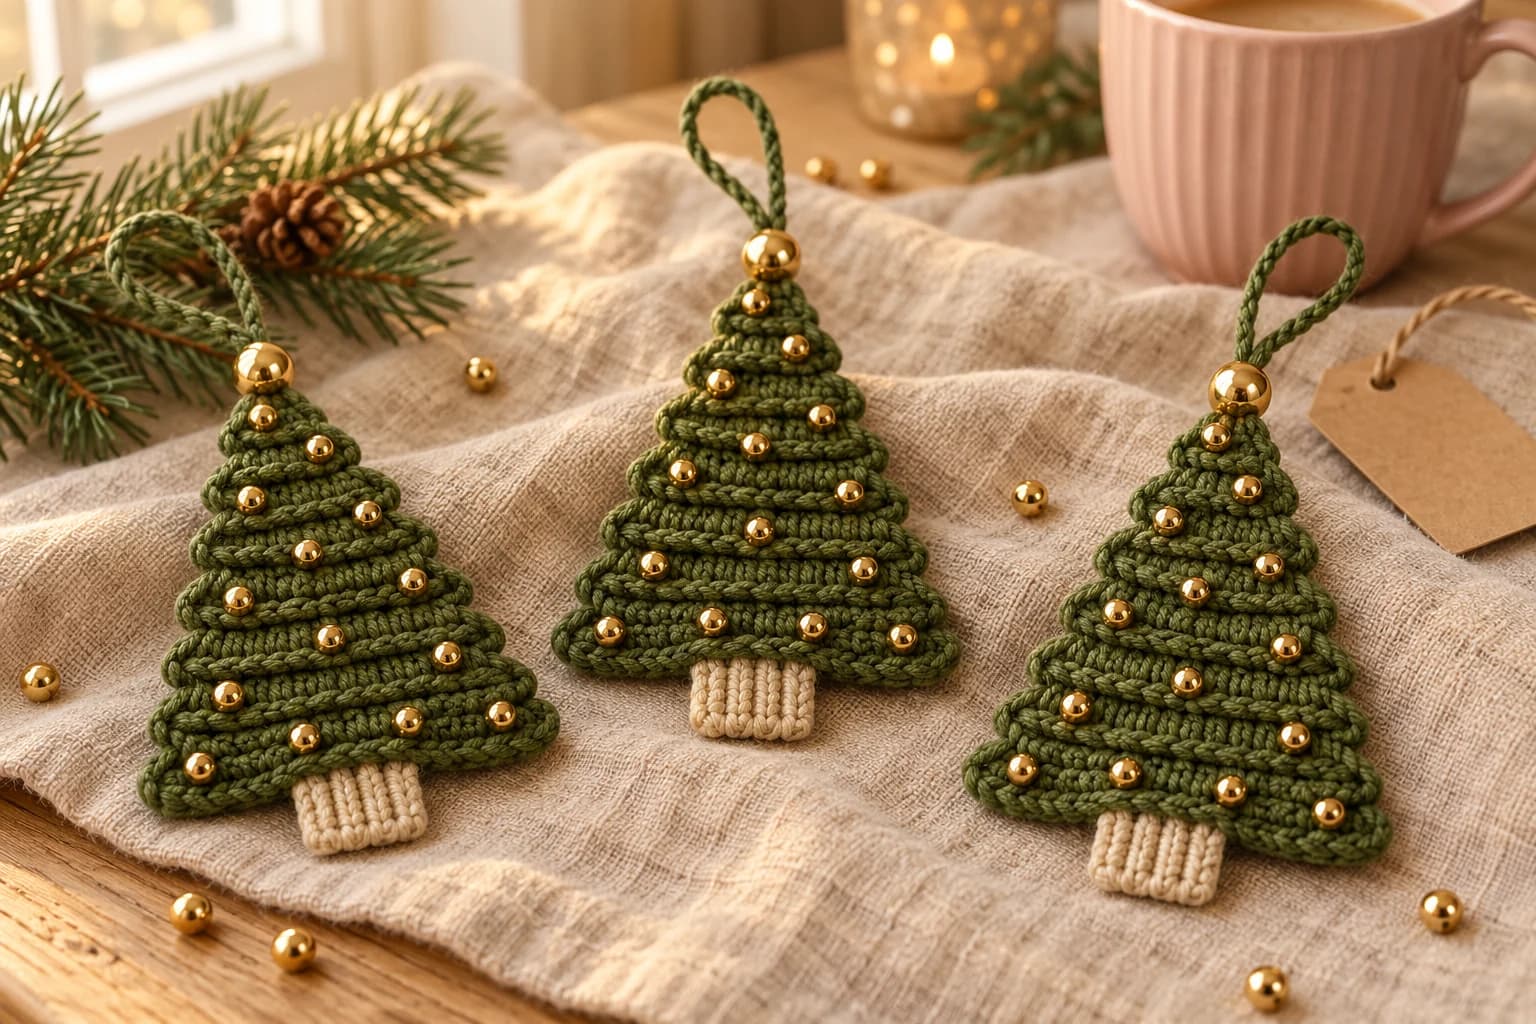
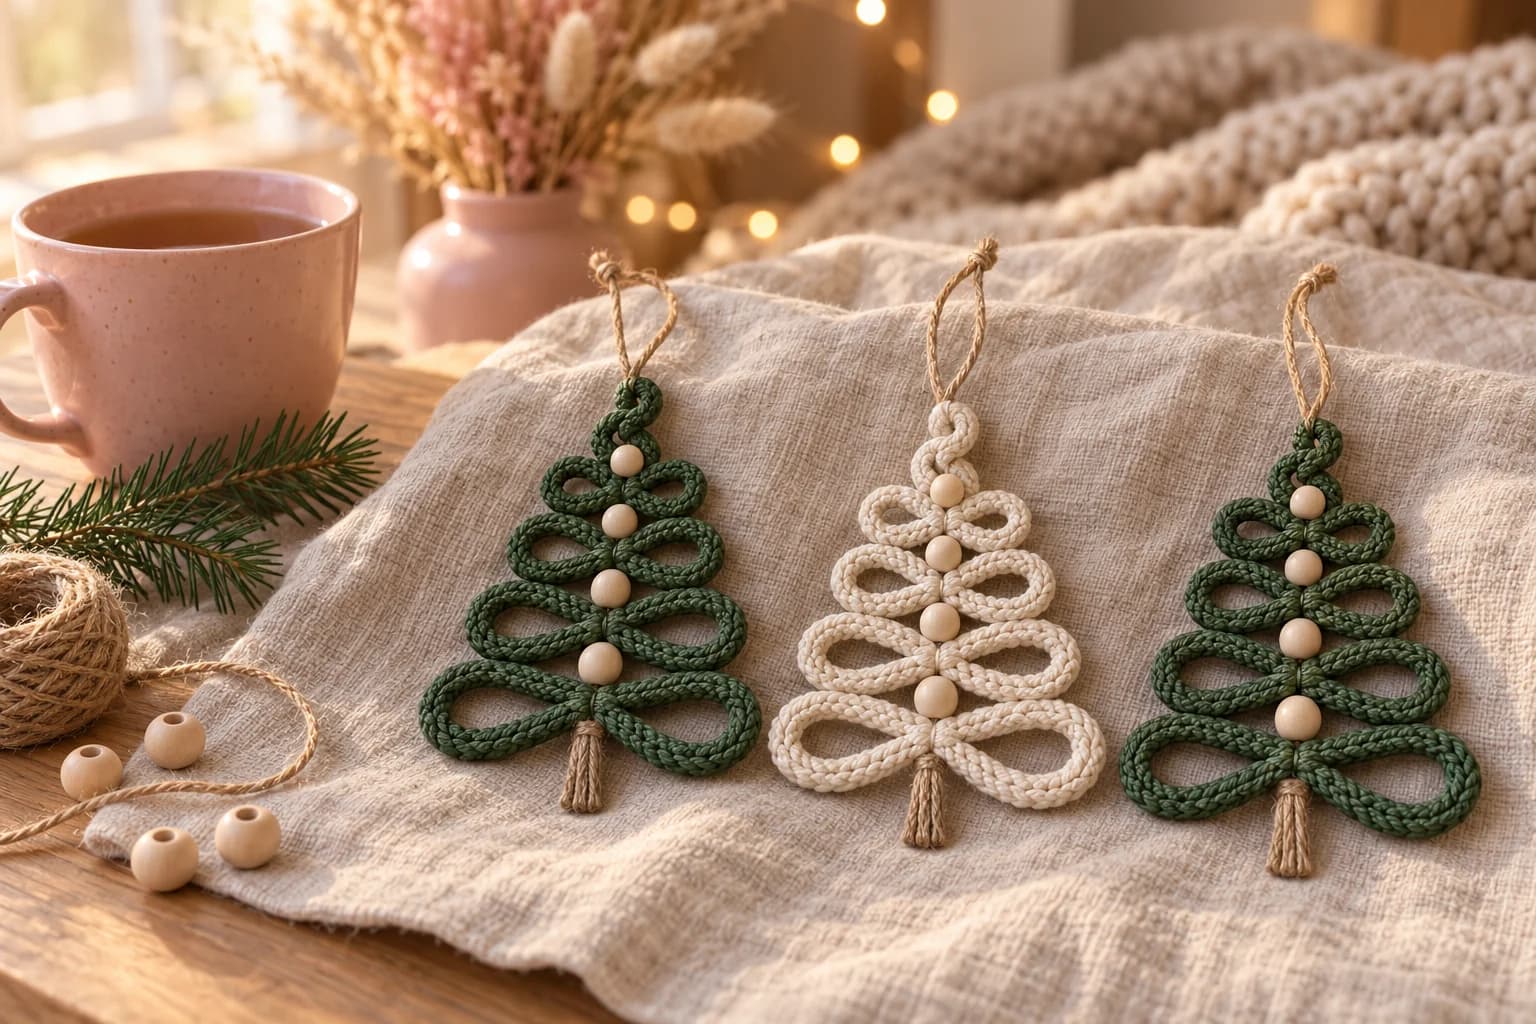
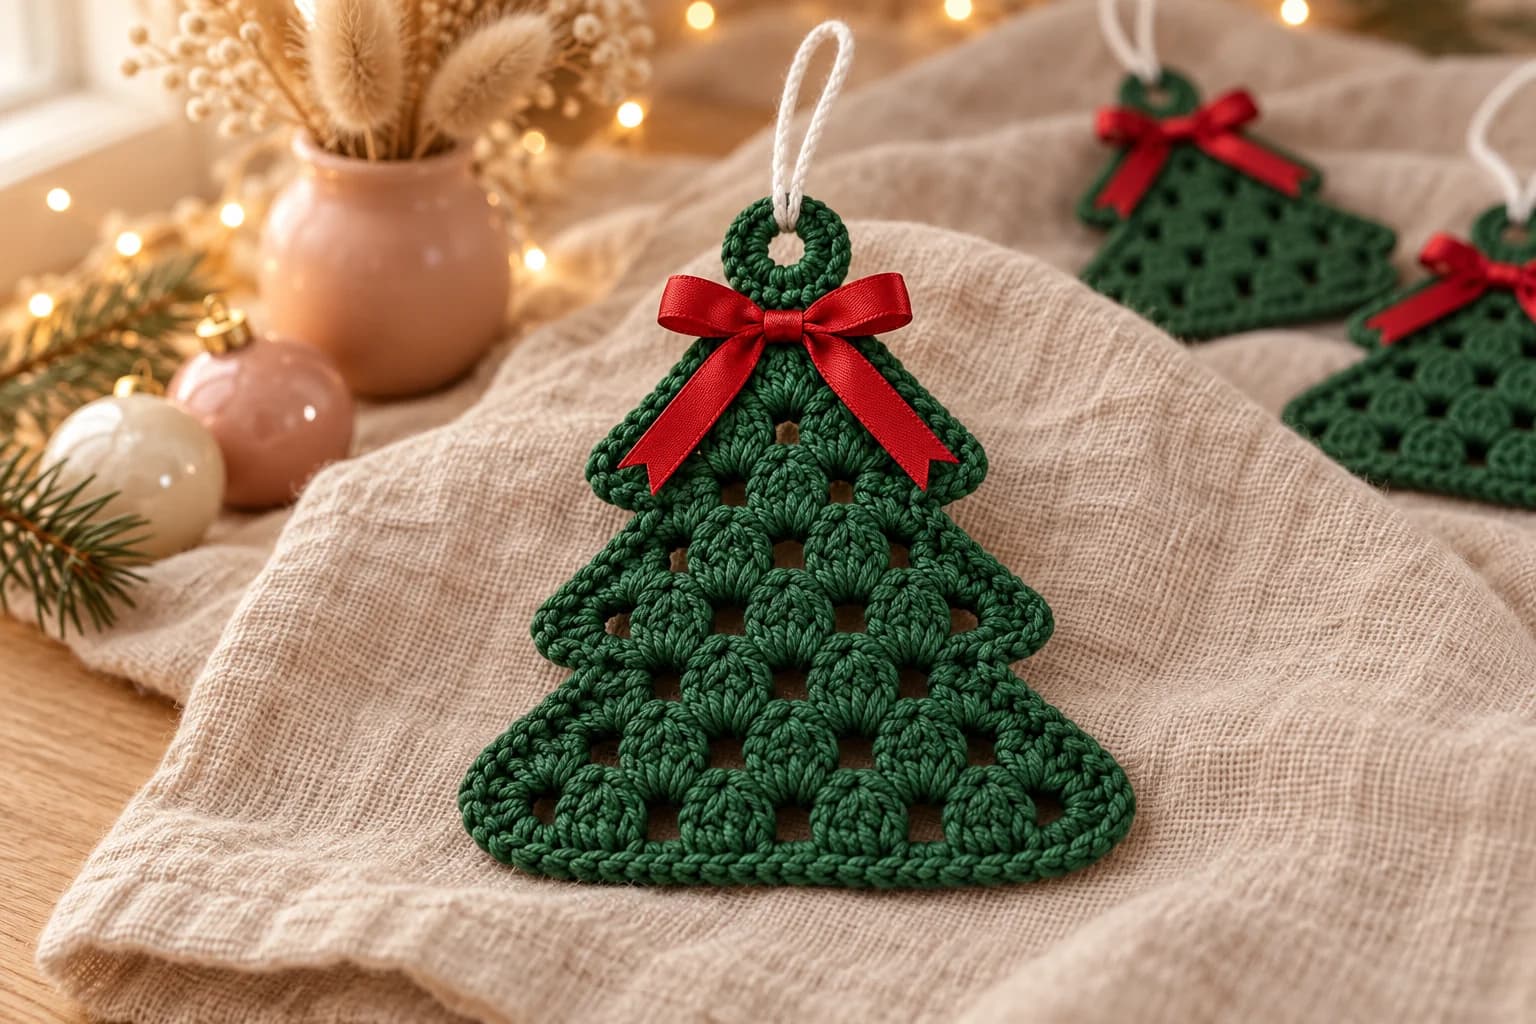
I make a little pile of these every year to tie onto presents, and the ones that don't make it into a gift bag end up on the tree. It's a flat green triangle with nine ridged tiers, a ribbed cream trunk, small gold beads along the tiers and one big bead at the tip. It's single crochet in rows, nothing else, and it takes about an hour.
| At a glance | |
|---|---|
| Finished size | about 3 in (7.5 cm) wide and 4½ in (11.5 cm) tall, plus the loop |
| Yarn | worsted #4 cotton, about 11 yd green and 2 yd cream |
| Hook | 4 mm (US G/6) |
| Pieces | 2: the tree and the trunk |
| Time | about 1 hour |
| Skill | easy: chain, sc, sc2tog, sc3tog, back loop only |
Why every row goes in the back loop
The tiers aren't added on. Every row of the tree is worked in the back loop only, on both the front and the back of the work. That leaves the front loops of the row below standing up as a ridge, and the ridges stack into tiers, like branches. Each row leaves its ridge on the opposite side from the row before, so you get one ridge for every 2 rows on each side. The 18 rows of the tree make 9 tiers on the front and 8 on the back. The back looks almost the same, which matters on a tree: an ornament always turns around on its branch. The beads only go on the front.
The tree tapers by losing 1 stitch at each end of every third row. That keeps it taller than it's wide, like a fir tree, and the ends of the ridges make the little scalloped edge on both sides.
Materials for one beaded tree
- Yarn: worsted #4 cotton, such as Lily Sugar 'n Cream or Paintbox Yarns Cotton Aran. Cotton keeps the ridges crisp. You'll need about 11 yd of moss or olive green (with the hanging cord) and about 2 yd of cream, by my estimate from the stitch count with tails for sewing.
- Hook: 4 mm (US G/6).
- Beads: 18 small gold beads of 4 mm for the tiers and 1 gold bead of 10 mm for the tip. Any round metallic or glass beads work.
- Notions: gold or green sewing thread, a beading needle or a fine sewing needle, a tapestry needle, a stitch marker and scissors.
Tension. Aim for about 4½ sc and 5 rows per inch (2.5 cm) in back-loop rows, measured flat and unstretched. At that tension the tree comes out about 3 in (7.5 cm) wide at the bottom and 3½ in (9 cm) tall, and the whole ornament about 4½ in (11.5 cm) with the trunk and the top bead. Those sizes are estimates, so measure yours.
Stitches (US terms): chain (ch), single crochet (sc), back loop only (BLO), sc2tog (insert in the next st, pull up a loop, insert in the following st, pull up a loop, yarn over and pull through all 3 loops) and sc3tog (the same over 3 sts, then pull through all 4 loops). Work the decreases in the back loops too. The ch 1 at the start of each row doesn't count as a stitch. The number in parentheses is the stitch count at the end of the row.
The pattern: a ridged triangle, from the trunk up
Make 1, in green. The tree starts at its wide bottom edge and ends at the tip.
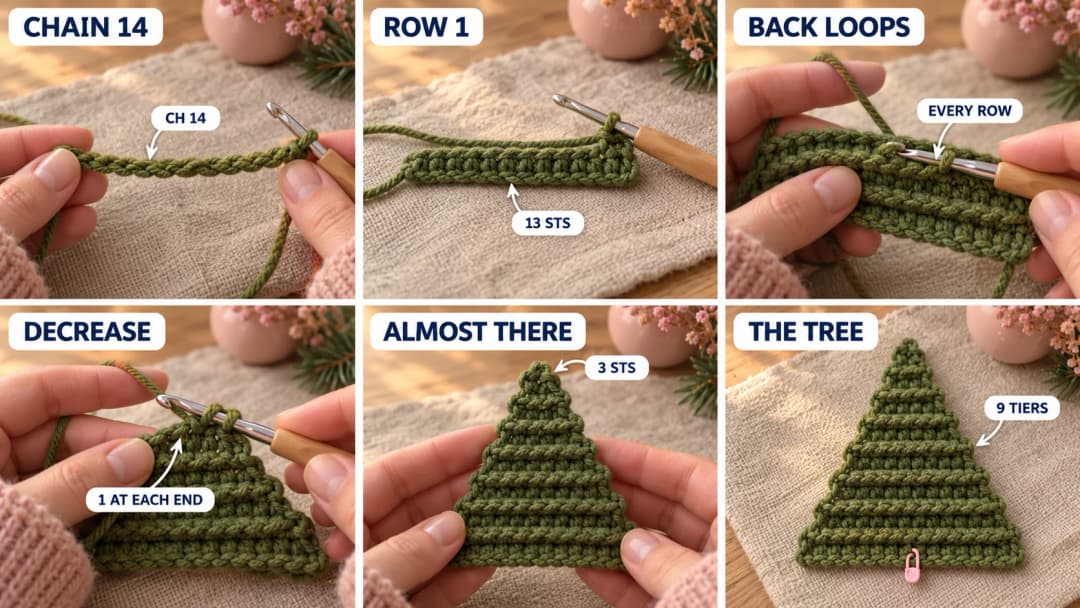
Ch 14.
- Row 1: sc in the 2nd ch from the hook and in each ch across. (13)
- Row 2: ch 1, turn, in BLO, sc across. (13)
- Row 3: ch 1, turn, in BLO, sc2tog, sc 9, sc2tog. (11)
- Rows 4–5: ch 1, turn, in BLO, sc across. (11)
- Row 6: ch 1, turn, in BLO, sc2tog, sc 7, sc2tog. (9)
- Rows 7–8: ch 1, turn, in BLO, sc across. (9)
- Row 9: ch 1, turn, in BLO, sc2tog, sc 5, sc2tog. (7)
- Rows 10–11: ch 1, turn, in BLO, sc across. (7)
- Row 12: ch 1, turn, in BLO, sc2tog, sc 3, sc2tog. (5)
- Rows 13–14: ch 1, turn, in BLO, sc across. (5)
- Row 15: ch 1, turn, in BLO, sc2tog, sc, sc2tog. (3)
- Rows 16–17: ch 1, turn, in BLO, sc across. (3)
- Row 18: ch 1, turn, in BLO, sc3tog. (1) That's the tip.
Fasten off, leaving a 6 in (15 cm) tail at the tip, and weave in the starting tail along the bottom edge.
Mark the middle. Put a stitch marker in the 7th st of Row 1, the middle of the bottom edge. The trunk and every bead line up on it.
Find the front. It's the side that faced you while you worked Row 2 and every even row, so it's facing you right now, as you finish Row 18. Count its ridges: 9, the lowest one right along the bottom edge. The other side has 8. Put a second marker or a safety pin on the front so you don't mix them up.
Tip. If the tree leans to one side, a decrease went into the turning chain. The ch 1 isn't a stitch: the first sc2tog of a row goes into the first 2 real sts. Count each decrease row before you go on: 11, 9, 7, 5, 3.
The little ribbed trunk
Make 1, in cream. It's worked sideways, so its ridges run up and down like the bark of a trunk.
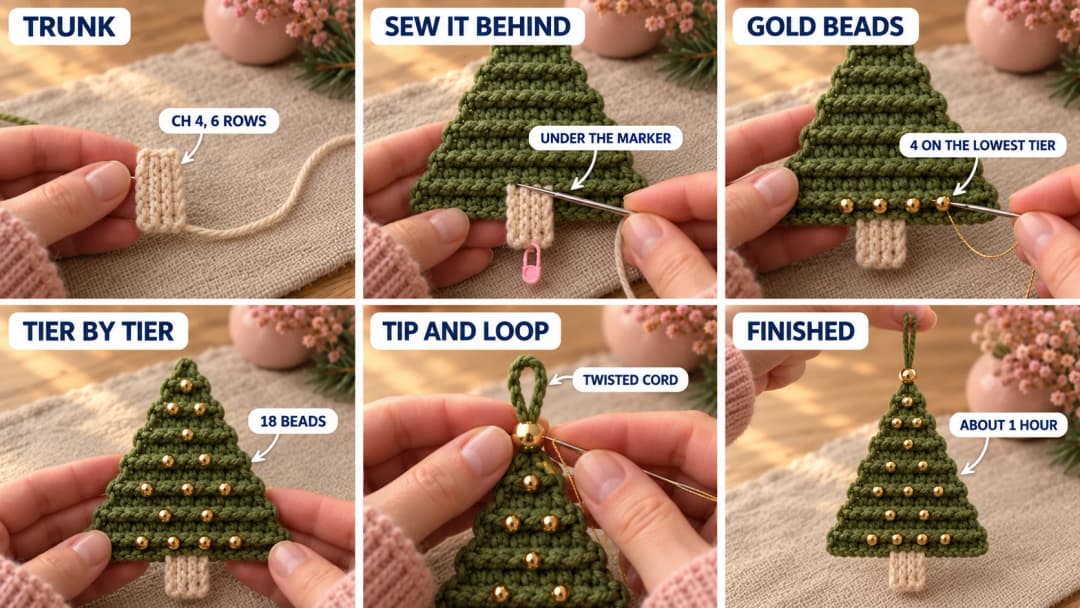
Ch 4.
- Row 1: sc in the 2nd ch from the hook and in each ch across. (3)
- Rows 2–6: ch 1, turn, in BLO, sc across. (3)
Fasten off, leaving a 10 in (25 cm) tail. The trunk is a small rectangle with 3 ribs on each side, about 1¼ in (3 cm) wide and ¾ in (2 cm) tall.
Hold it with the ribs running up and down, and the edge where your tail hangs at the top. Slide that top edge behind the bottom of the tree, so it overlaps Row 1 only, centered under the marker. With the cream tail, sew along the top edge of the trunk to the back of Row 1 with small stitches, catching only the back of the tree's stitches so nothing shows on the front. Hide the end inside the trunk.
Sewing on the gold beads, tier by tier
Lay the tree flat, front up, with the trunk at the bottom. Count the ridges from the bottom up: ridge 1 is the lowest, along the bottom edge. Ridge 1 is the free loops of Row 1, ridge 2 those of Row 3, and so on: each ridge has as many loops as its row has stitches. The table gives the bead positions in loops from the middle (the marker's column), to the left and to the right. Treat them as guides: if a bead lands on the very last loop of a ridge, move it one loop toward the middle.
| Ridge | Beads | Where |
|---|---|---|
| 1 | 4 | 2 and 5 sts to each side of the middle |
| 2 | 3 | one in the middle, and 4 sts to each side |
| 3 | 2 | 2 sts to each side |
| 4 | 3 | one in the middle, and 3 sts to each side |
| 5 | 2 | 2 sts to each side |
| 6 | 1 | in the middle |
| 7 | 2 | 1 st to each side |
| 8 | 1 | in the middle |
That's 18 small beads, staggered from one ridge to the next like lights on a branch. Ridge 9, at the tip, gets the big bead.
- Thread the needle with a doubled length of sewing thread and knot the end. Start on the back of the tree, under ridge 1.
- Come up through the top of the ridge at the first position, slide a bead on, and go back down right next to where you came up. Do it a second time through the same bead so it sits snug on top of the ridge.
- Travel along the back to the next position, catching only the back of the stitches, and repeat. At the end of each ridge, move up to the next one along the back.
Knot the thread on the back after the last bead and trim.
Tip. Sew the beads with thread, not yarn: worsted cotton won't fit through a 4 mm bead, and a split ply frays. Check the spacing of each ridge with pins before you sew it, since the stitches are easier to count before the beads go on.
Twisted loop and the big bead at the tip
Make the cord. Cut 24 in (60 cm) of green yarn and fold it in half. Hold the fold, and twist the two cut ends together in one direction until the strand kinks back on itself when you relax it. Bring the cut ends up to the fold, and let go of the middle: it twists into a cord about 5½ in (14 cm) long. Knot the cut ends together.
Add the big bead and the loop.
- With the tail left at the tip, sew the 10 mm bead onto the tip: come up through the top of Row 18, go through the bead, and back down into the tip. Go through it twice, then pull it snug so the bead sits right on the point of the tree.
- Fold the cord in half to make the loop and hold the ends against the back of Rows 16–18, just behind the bead. Slide them up or down until the loop stands about 2½ in (6.5 cm) above the bead. Your cord may come out a little longer or shorter: set the height by eye, not by the cord's length. With the same tail, sew both cord ends to the back of the tree at that point with 6 or 7 firm stitches through the cord and the back of the stitches, then trim any cord sticking out below the stitches.
- Hide the tail inside the back of the tree and trim.
Hold the ornament up by its loop. It should hang straight, with the bead at the top and the trunk at the bottom. If it tilts, the loop is off center: move it so it sits right behind the bead.
Safety. The beads are a choking hazard. Keep this ornament on the tree, out of reach of babies and small children, and don't give it to a child under 3 as a toy.
A set of three for the tree, or the gift pile
Three of them, in moss, sage and deep pine green, look lovely hung together at different heights. You can swap the gold beads for little red ones for a more traditional tree, or leave the beads off and add a tiny wooden star at the tip.
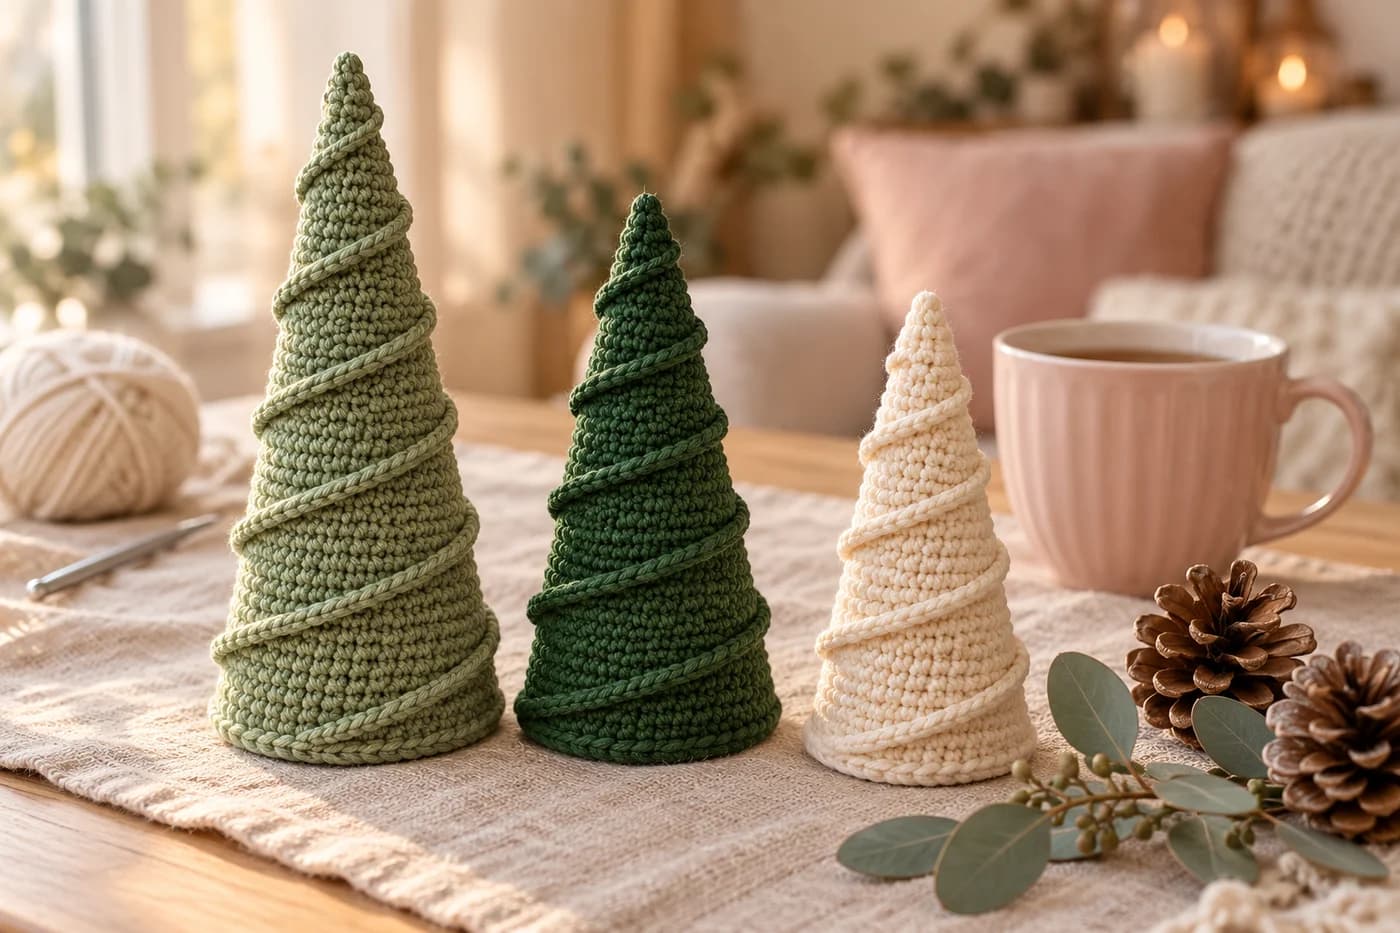
For gifts, I write the name on a small kraft tag and tie it to the loop, then knot the loop around the ribbon: it's a gift tag the person can keep. And if you'd like a rounder tree for the same branch, my swirl Christmas tree ornament makes a nice pair with this flat one.
Made a beaded tree? Tag #wavodecrochet on Pinterest so I can see it on your tree.
Pattern by Clara Hartwell for Wavode. Questions? Email me at support@wavode.com.
You might also like