Crochet Christmas Gnome: Free Wall Hanging Pattern (Step-by-Step)

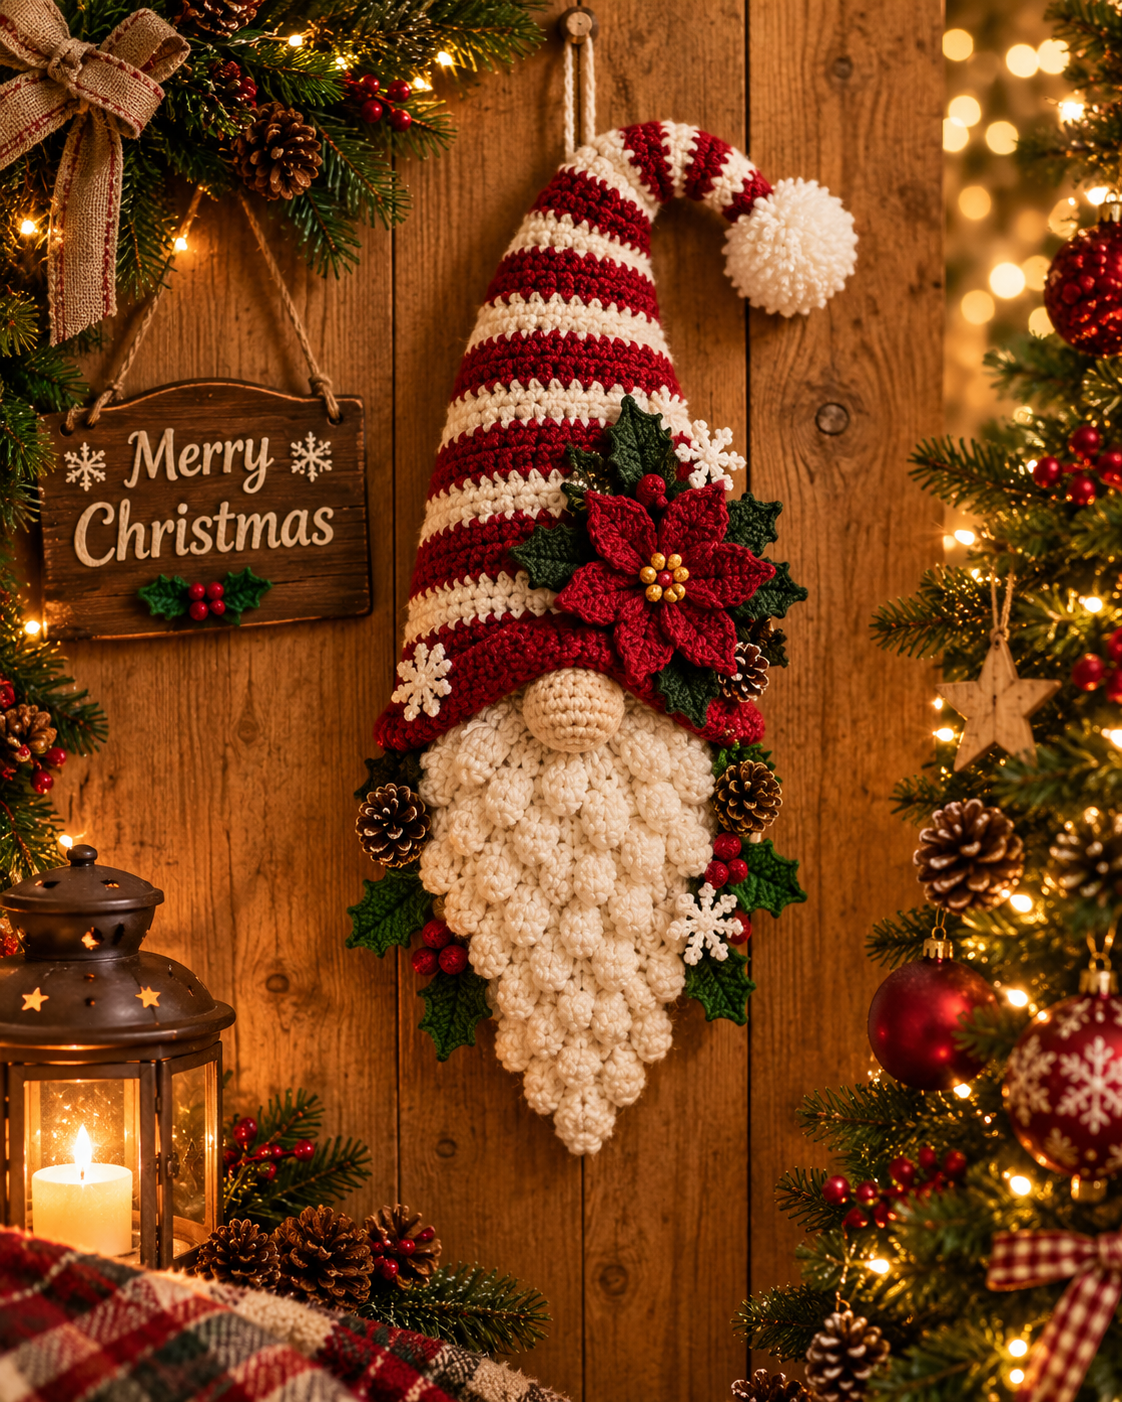
Crochet Christmas Gnome: Free Wall Hanging Pattern (Step-by-Step)
This crochet Christmas gnome is a wall hanging built from a chunky bobble-stitch beard, a red-and-white striped Santa hat, and applied poinsettia, holly and snowflake trims. The full piece takes about 4–6 hours using a 5mm hook and worsted-weight yarn — most crafters finish one in a single cozy evening.
Key Takeaways
- Skill level: advanced beginner — uses bobble stitch, single crochet, and simple appliqué.
- Finished size: ~55 cm tall × 25 cm wide, perfect for a door or wall.
- Total yarn needed: ~250g cream, plus small amounts of red and green.
- Works up in 4–6 hours — ideal last-minute holiday gift or décor project.
What Is a Crochet Christmas Gnome Wall Hanging?
A crochet Christmas gnome wall hanging is a decorative piece shaped like a classic Nordic gnome — pointed hat, round nose, chunky beard — but instead of standing on a shelf, it hangs flat on a wall or door. The beard is worked in bobble stitches to give that dimensional, fluffy look, and the hat and embellishments turn it into a festive centerpiece.
It's part of the wider gnome folklore aesthetic that took over Pinterest holiday décor around 2019 and hasn't left since. Every December I make three — one to keep, two to gift.
How Long Does a Crochet Christmas Gnome Take?
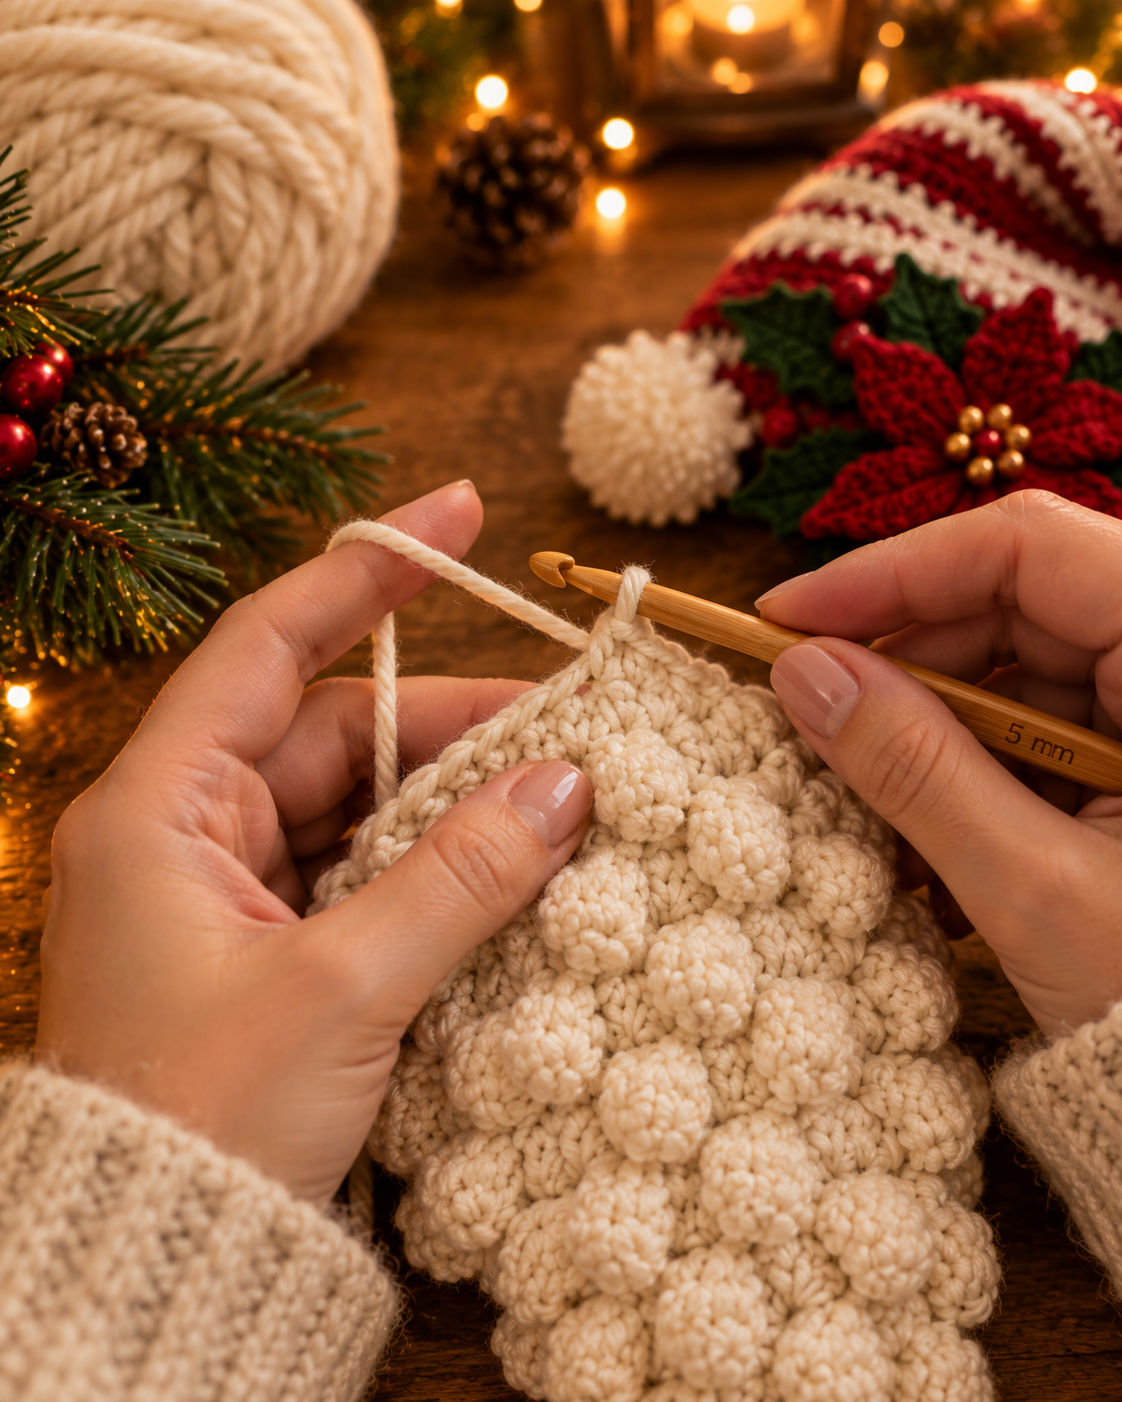
A wall-hanging gnome like the one shown takes 4–6 hours from cast-on to finished trim. The bobble-stitch beard is the slowest part (~2 hours). The hat, nose, and applied embellishments together take another 2–3 hours. First-timers should budget one full weekend afternoon plus an evening.
If you want to make a whole set — say three gnomes for a mantel — block off a full day. The second and third gnome always fly.
Materials You'll Need
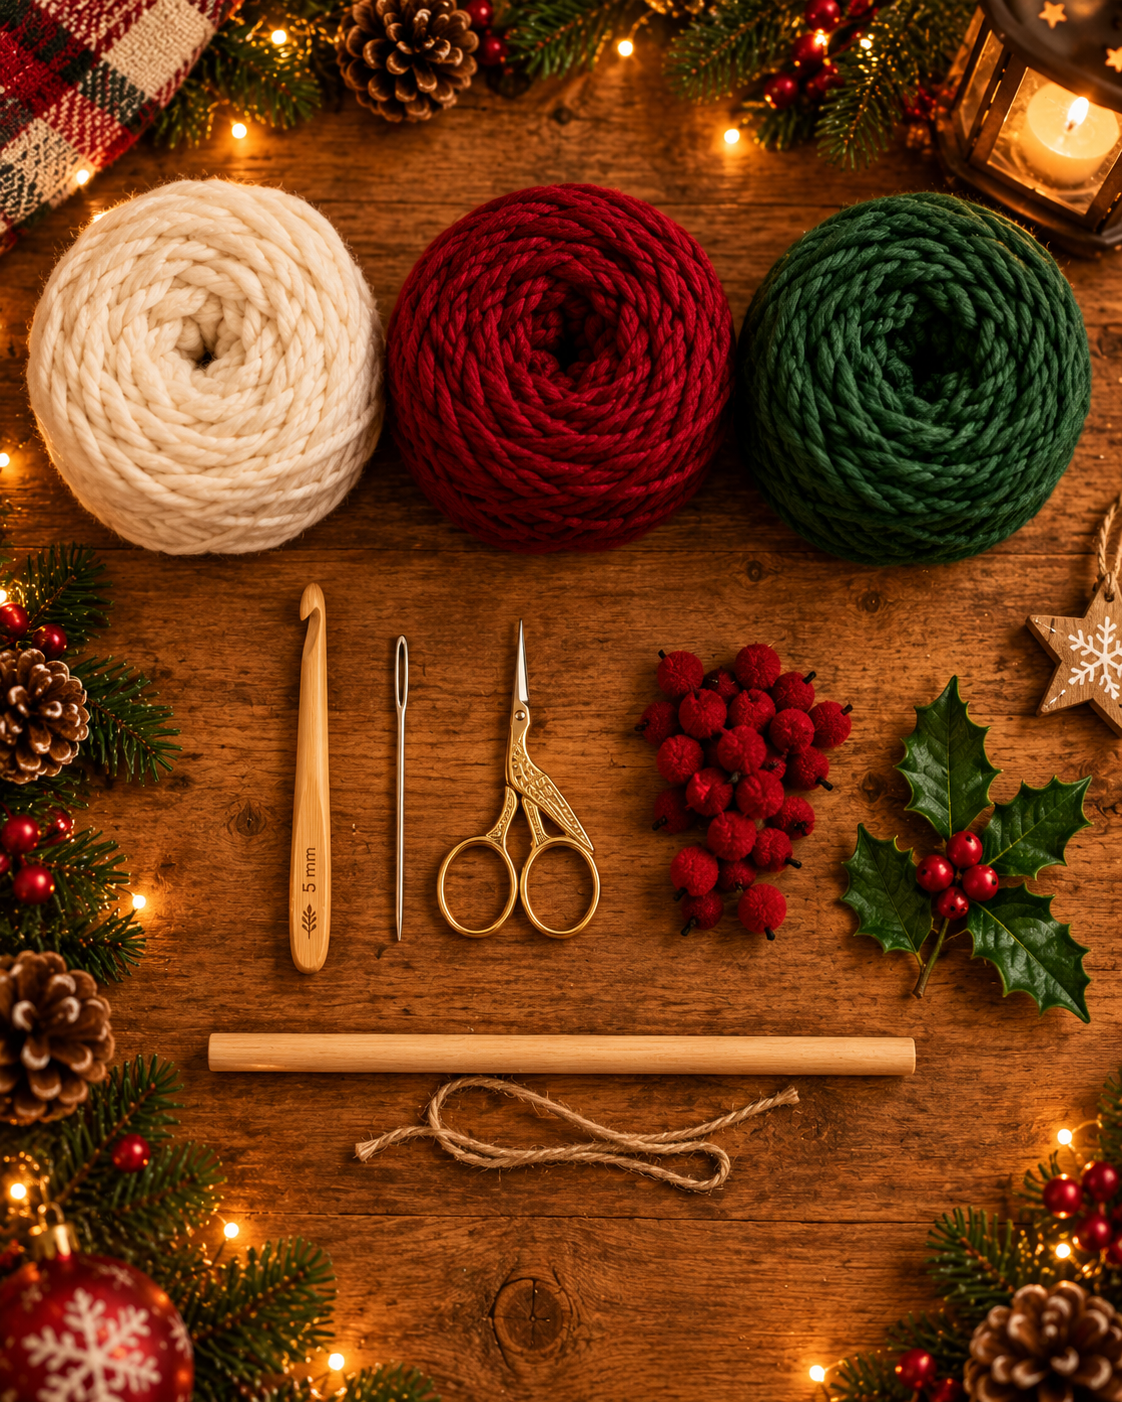
- Yarn: Chunky (5) or worsted (4) cream — ~250g; deep red — 50g; forest green — 30g
- Hook: 5mm (US H/8)
- Tapestry needle for weaving in and assembly
- Scissors and a wooden dowel (10 cm) for hanging
- Optional: small polyester fiberfill for the nose, gold beads for the poinsettia center, red berry pom-poms, mini pinecones
Skill level: Advanced beginner · Finished size: ~55 cm × 25 cm
Abbreviations (US Terms)
| ch | chain |
| sc | single crochet |
| dc | double crochet |
| bo | bobble stitch (5-dc cluster) |
| sl st | slip stitch |
| st | stitch |
How Do You Crochet a Christmas Gnome Wall Hanging?
You crochet it in five main steps: the bobble body, the striped hat, the poinsettia and holly trim, the nose, then final assembly. All abbreviations follow US terms. If you're used to UK terms, see the Craft Yarn Council conversion chart.
Step 1 — The Bobble Beard Body
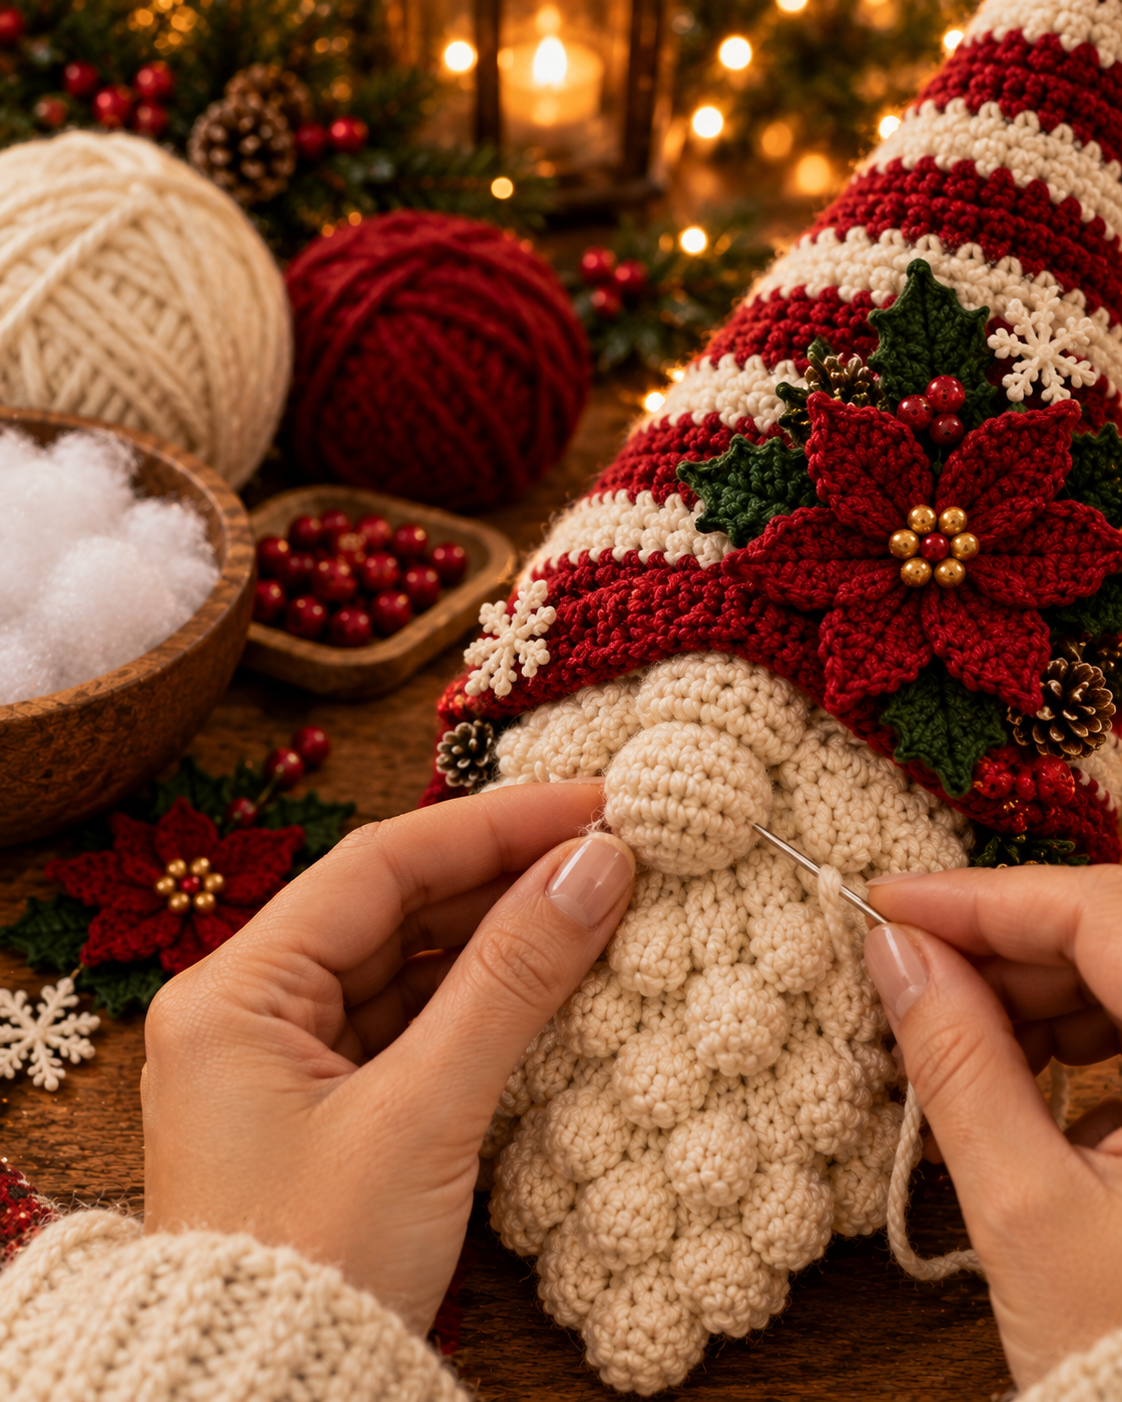
With cream yarn, ch 25. Row 1: sc in 2nd ch from hook and each ch across (24 sc). Row 2: ch 1, sc in next st, bo in next st, repeat across, turn. Row 3: ch 1, sc across. Alternate rows 2 and 3 for ~35 rows total, decreasing 1 st at each end every 4 rows to form a teardrop shape.
Step 2 — The Red-and-White Santa Hat
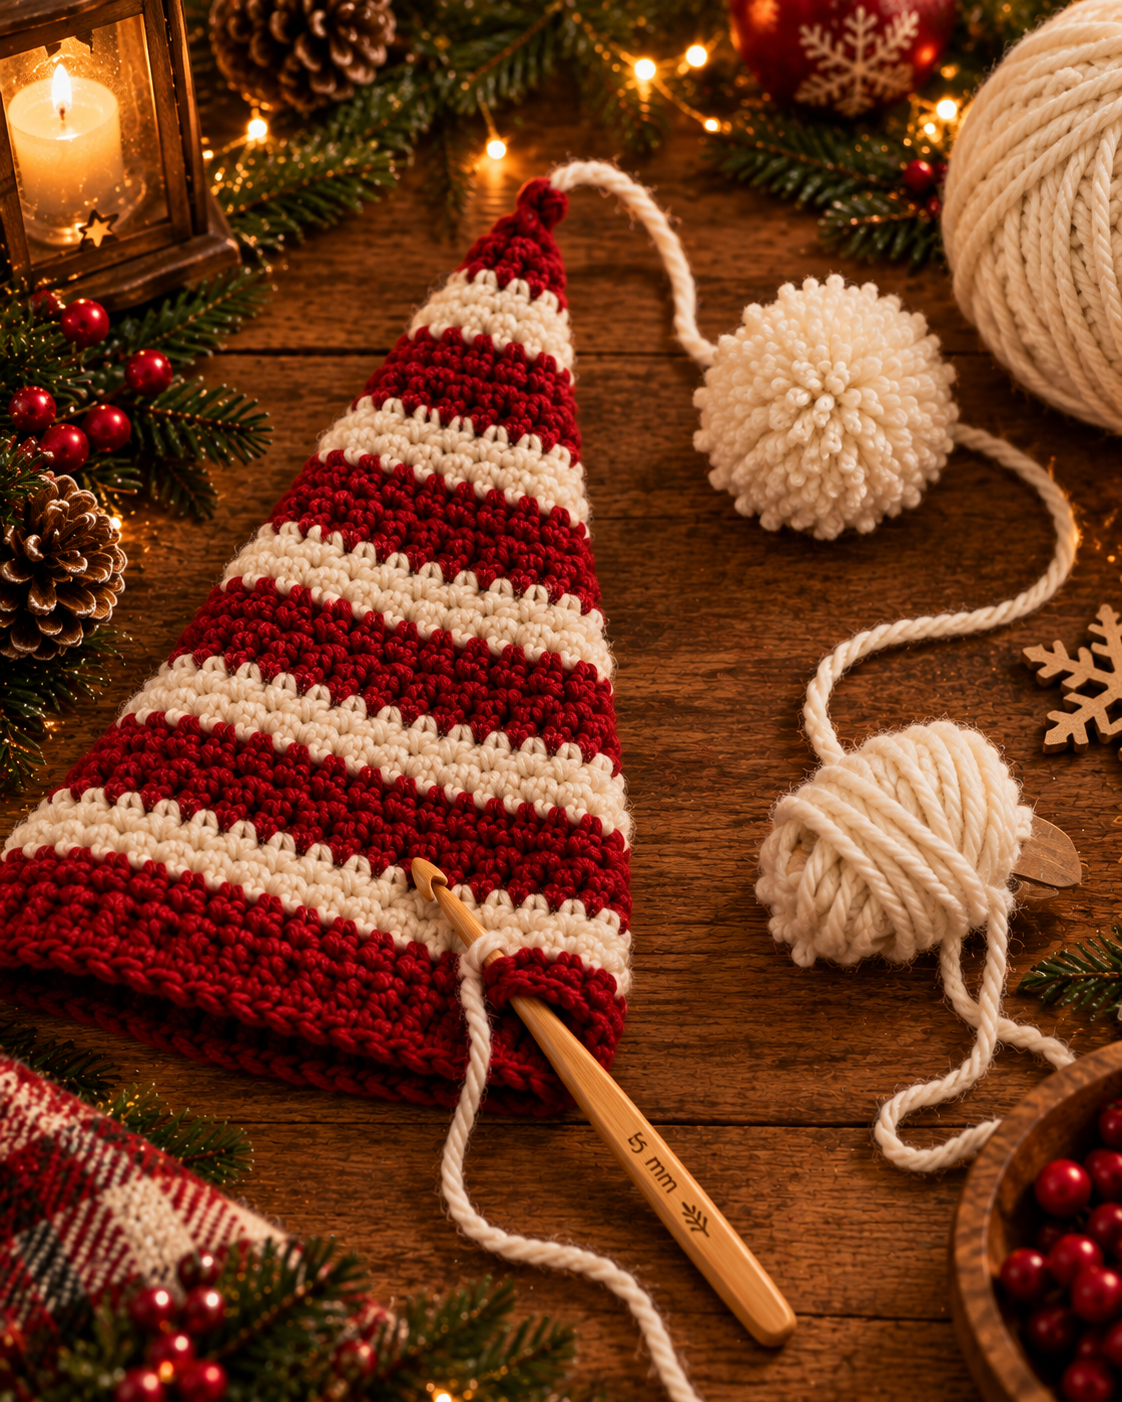
With cream, ch 30. Row 1: sc across. Rows 2–4: sc, switch to red. Continue alternating 2 rows red / 2 rows cream (stripes) while decreasing 1 st at each end every row, until you have 3 sts. Ch 1, fasten off. Make a big white pompom and attach it to the tip so it drapes down naturally.
Step 3 — The Poinsettia and Holly Leaves
For the poinsettia: magic ring, ch 6, dc-tr-dc-sc down the chain, sl st into ring, repeat 4 more times to make 5 red petals. Add gold beads at the center. For each holly leaf: ch 8, sc-hdc-dc-hdc-sc down, ch 1, work back up the other side with the same pattern. Make 2 holly leaves and a small cluster of red berry pom-poms.

Step 4 — The Nose
In cream yarn: magic ring, 6 sc into ring. Round 2: 2 sc in each st (12). Round 3: sc in each st around. Rounds 4–5: sc around. Stuff lightly with fiberfill, fasten off leaving a long tail for attaching later.
Step 5 — Assembly
Sew the hat to the top of the beard body, angling the tip slightly to one side. Attach the nose in the center. Sew the poinsettia and holly leaves onto the hat brim. Cluster the red berry pom-poms next to the flower. Dangle small snowflakes and mini pinecones from short cream chains along the beard.
Step 6 — Hanging Loop and Finish
Fold a 15 cm length of cream yarn or twine in half and stitch both ends to the very top point of the hat to form a loop. Slip it over a wooden dowel or hook. Fluff the bobbles with your fingers. Done.
How Do You Get Neat Stripes on the Santa Hat?
Change color on the very last yarn-over of the previous row — pull the new color through to complete the final stitch. That way the new color starts cleanly at the very beginning of the next row, with no bleeding into the last stitch of the old color.
For the striped Santa hat especially, this matters — the visual contrast between red and cream is unforgiving. My other trick: carry the unused color loosely up the side rather than cutting between every stripe. Fewer ends to weave in later.
Which Yarn Is Best for a Christmas Gnome?
Chunky (weight 5) cream yarn gives the fluffiest, most photographable beard. Worsted (weight 4) works too and gives a more delicate finish. For the red and green accents, choose the same weight so the whole piece hangs flat without one part pulling.
Wool or wool-blend yarn photographs better than shiny acrylic — the matte finish reads as more "handmade artisan" and less "craft store kit." If you're gifting the gnome, I'd splurge on wool. For your own home, acrylic is fine and washes easily.
Frequently Asked Questions
How much yarn do I need for a crochet Christmas gnome?
About 250g of cream chunky yarn for the body and hat, plus small amounts (~50g each) of red and green for the trim. If you use worsted weight instead of chunky, double the cream to 500g. Always buy one extra ball — you'll want it for a second gnome anyway.
What size hook is best for this pattern?
A 5mm (US H/8) hook is the sweet spot for chunky yarn and produces a firm bobble-stitch fabric that holds its shape. Use a 4.5mm hook if your bobbles look loose and floppy, or a 5.5mm if the fabric feels tight and stiff to work with.
Can I make this gnome as a standing amigurumi instead?
Yes — skip the flat teardrop base and work the body as a cone in the round, decreasing to a point at the top. Stuff firmly, attach the hat and nose the same way. The wall-hanging design is simpler for beginners because there's no shaping in the round.
Is the crochet Christmas gnome beginner-friendly?
It's rated advanced beginner — you need to know single crochet, chain, and be willing to try the bobble stitch. If you can already crochet a granny square, you can absolutely make this gnome. The bobble is the only "new" thing, and it's easier than it looks.
How long does a Christmas gnome take to make?
4–6 hours for confident crocheters; 8–10 hours if this is your first gnome. Most crafters break it into two sessions — body and hat one evening, embellishments and assembly the next. It's the perfect Netflix project.
What to Make Next
Once you've made one gnome, you'll want a whole family. Try a matching mini gnome ornament for the tree, or scale the same bobble-stitch idea into a chunky eyelet waves blanket for the couch underneath your tree. Same yarn, same weekend, whole cozy corner done.
Happy crocheting.