Pumpkin Witch Kitty Crochet Pattern + a Free Mini Witch Hat for Tiny Amigurumi

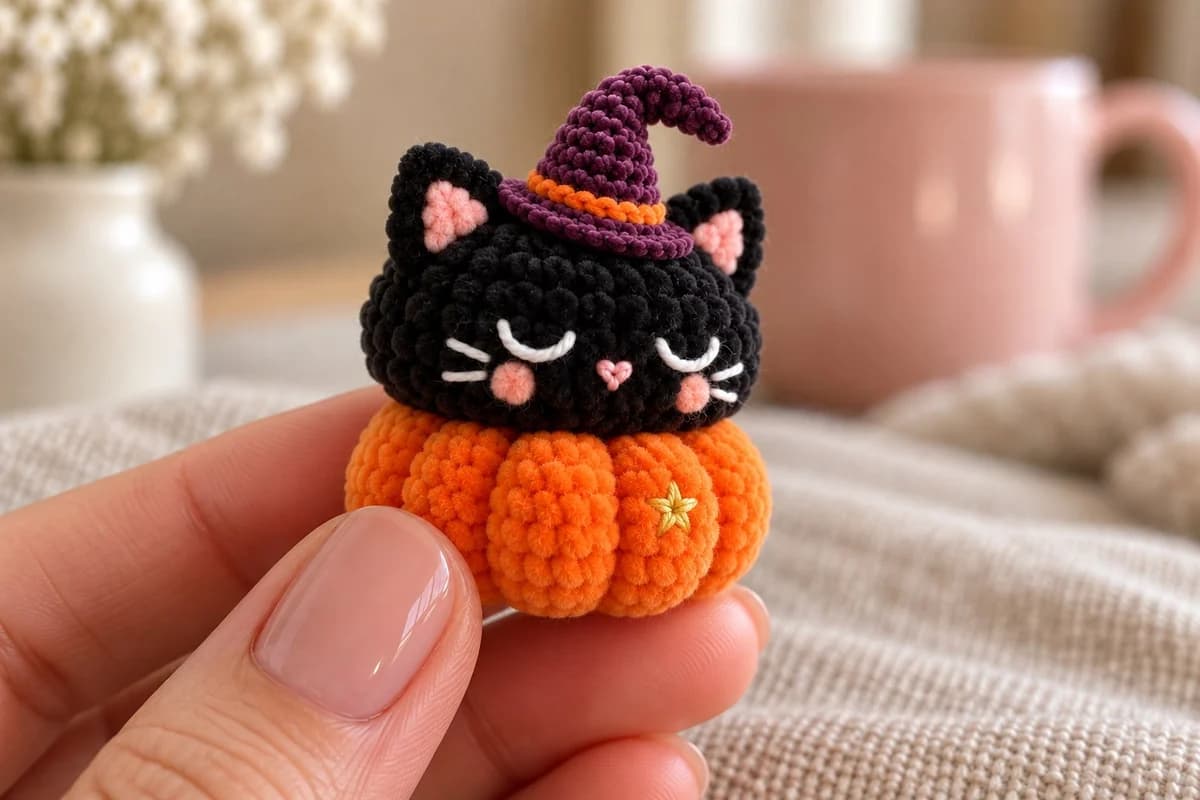
The witch hat was the last piece I added to this kitty, and it's the one everybody asks about. The Pumpkin Witch Kitty is a tiny black cat napping on a round chenille pumpkin, with a sleepy embroidered face and a plum witch hat with a bent tip. It sits in the middle of your palm, and it takes about an hour from the magic ring to the last whisker.
The full kitty pattern is a PDF in my shop. The hat, though, is free right here, round by round. It's 8 rounds of single crochet in thin chenille, and it fits the kitty or any tiny amigurumi with a head about ¾ inch (2 cm) across.
| At a glance | The kitty | The free hat |
|---|---|---|
| Size | about 1½ in (4 cm) tall, 2 in (5 cm) with the hat | about ¾ in (2 cm) tall |
| Time | about 1 hour | about 15 minutes |
| Yarn | thin 2 mm chenille, about 16 yd in all | about 3 yd plum + 1 yd orange |
| Hook | 2 mm | 2 mm |
| Level | easy, low-sew | easy |
Meet the kitty: a sleepy cat curled on its pumpkin
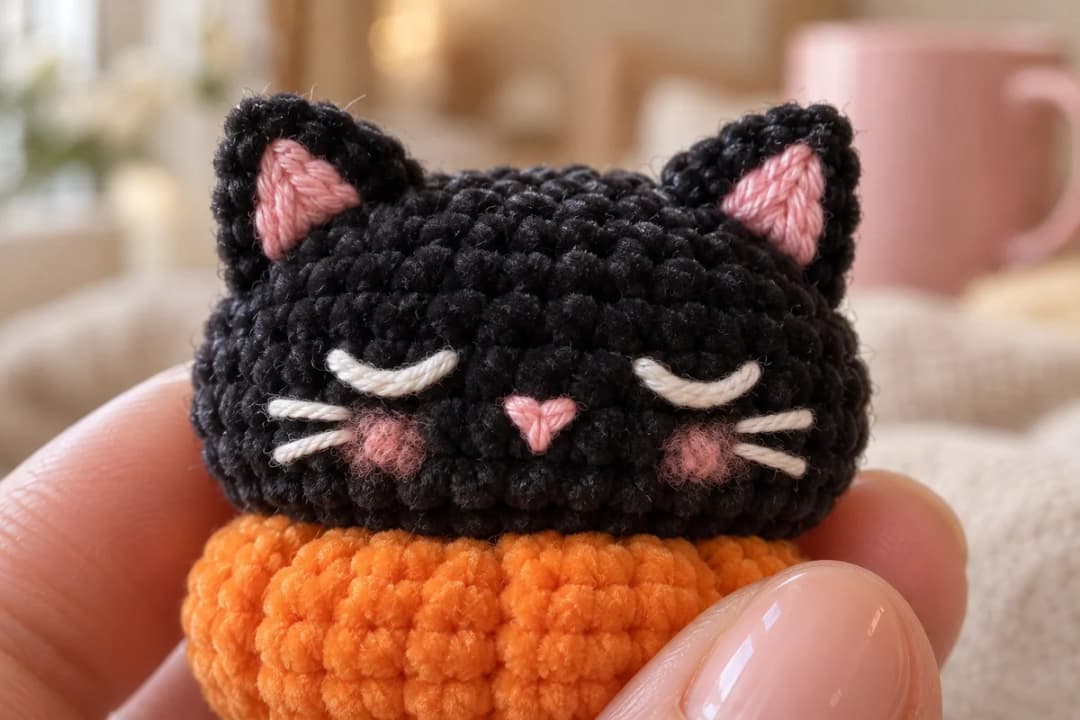
I wanted a Halloween cat that looked cosy rather than spooky. So the cat isn't standing or arching its back: only its head shows, pressed low on top of the pumpkin, the way a cat flattens itself on a warm cushion. The eyes are closed, the nose is a little pink heart, and two short whiskers on each side stay crisp on the chenille pile.
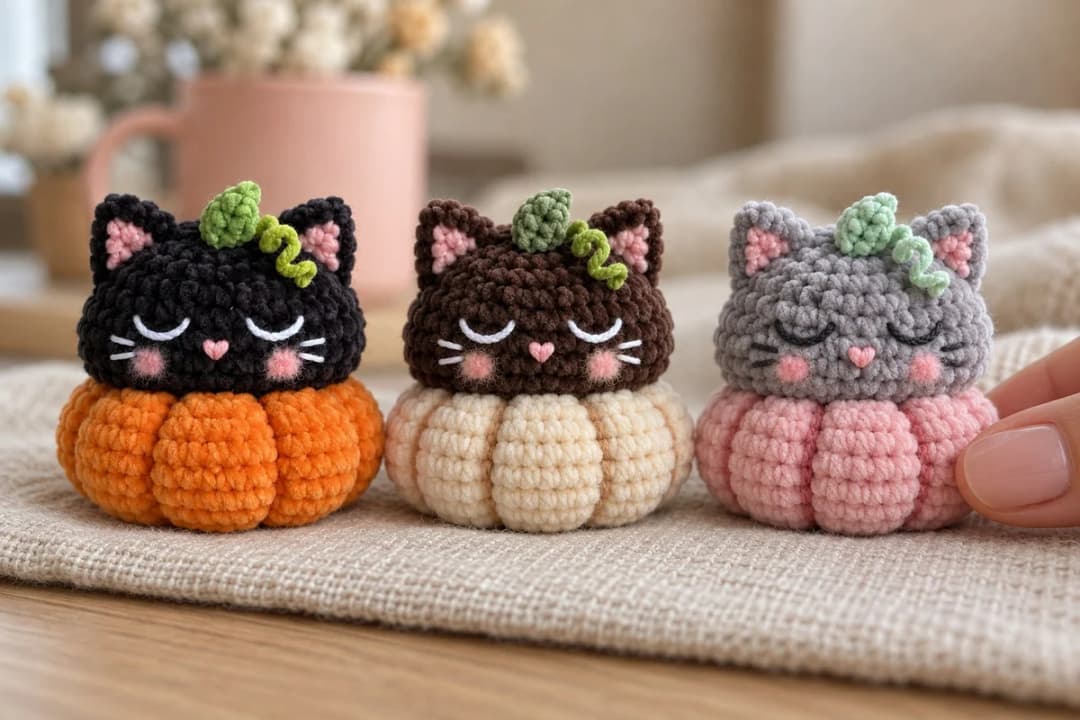
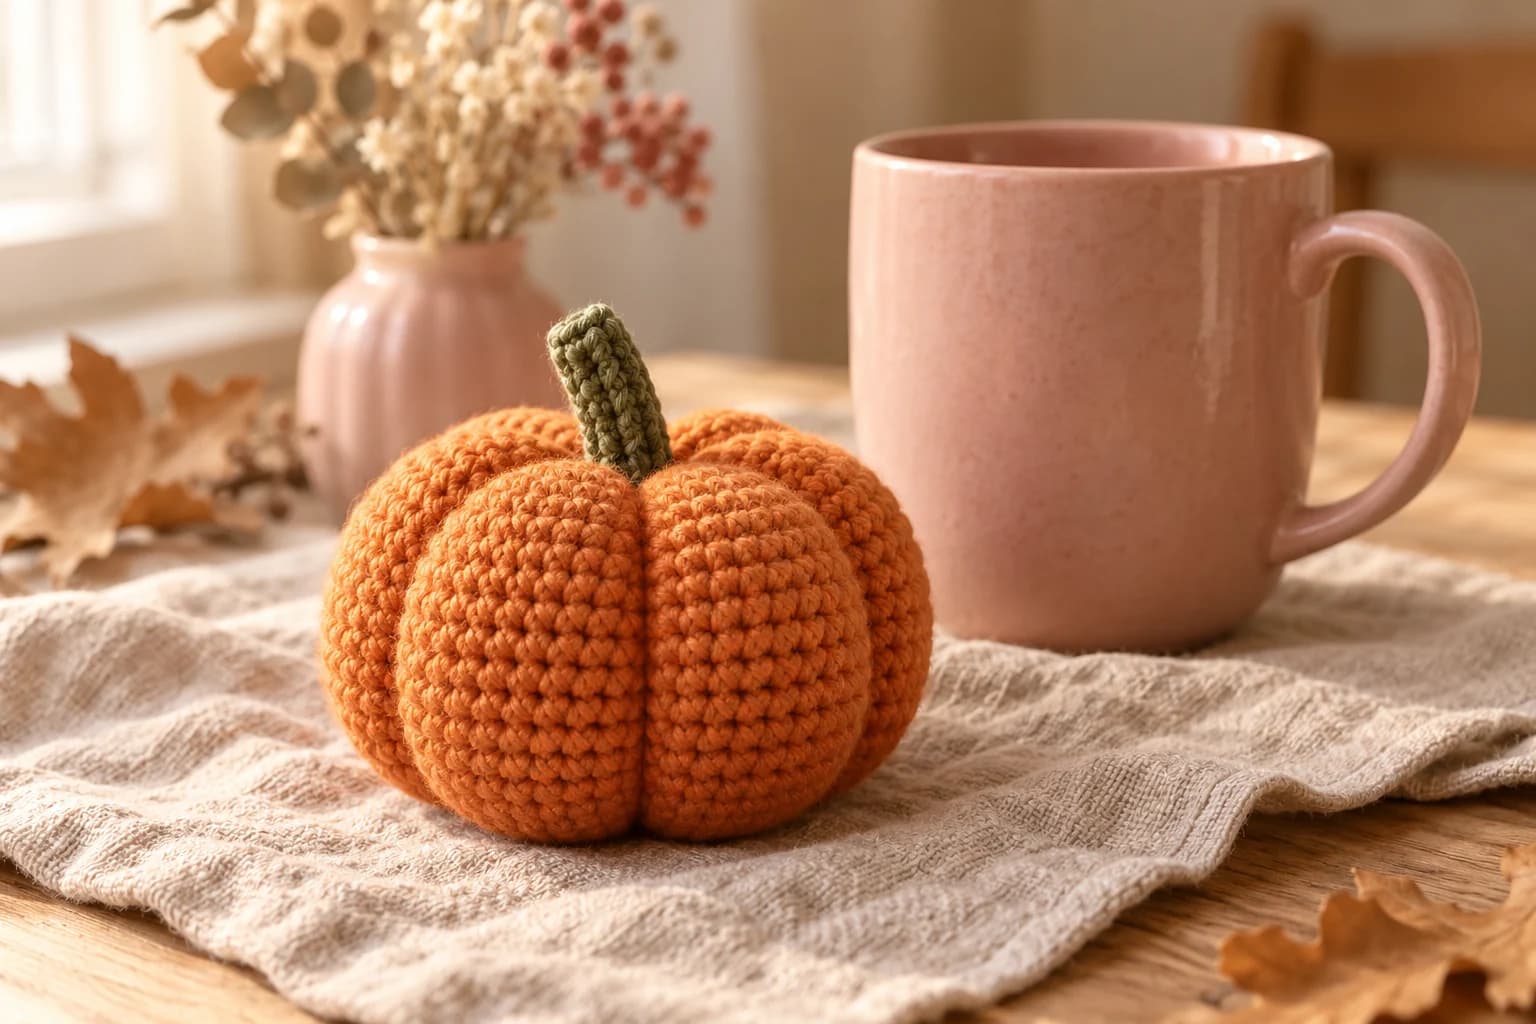
It's a low-sew design. The pointed ears are crocheted straight onto the head, so there are no ears to pin and sew. The only seams are the head onto the pumpkin and the little piece on top. The pumpkin gets its six sections from a strand of yarn pulled through its middle, not from ribs worked in, so the round itself stays plain single crochet.
The PDF comes in three colourways with the same counts: classic (black cat, orange pumpkin), autumn (chocolate cat, cream pumpkin) and kawaii (grey cat, powder pink pumpkin). The autumn one stays on my shelf well into November.
Leaf and vine, or the witch hat: the kitty's two looks
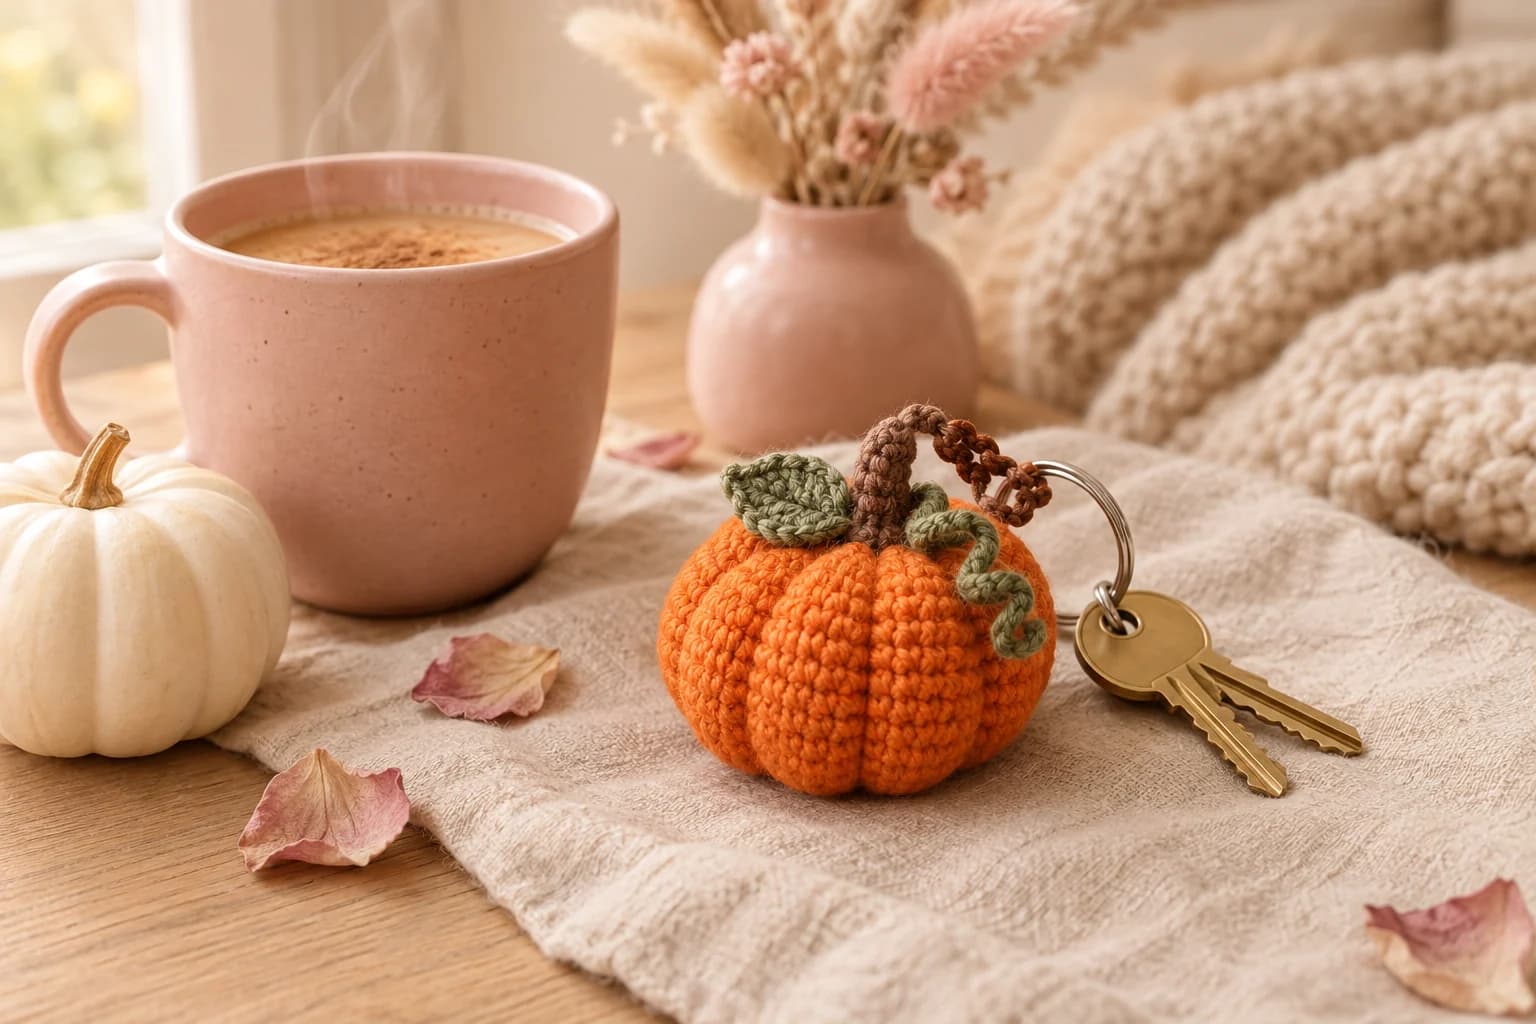
The classic kitty wears a little green leaf between its ears and a curly vine that corkscrews over one side. That's the version that works from September to Thanksgiving.
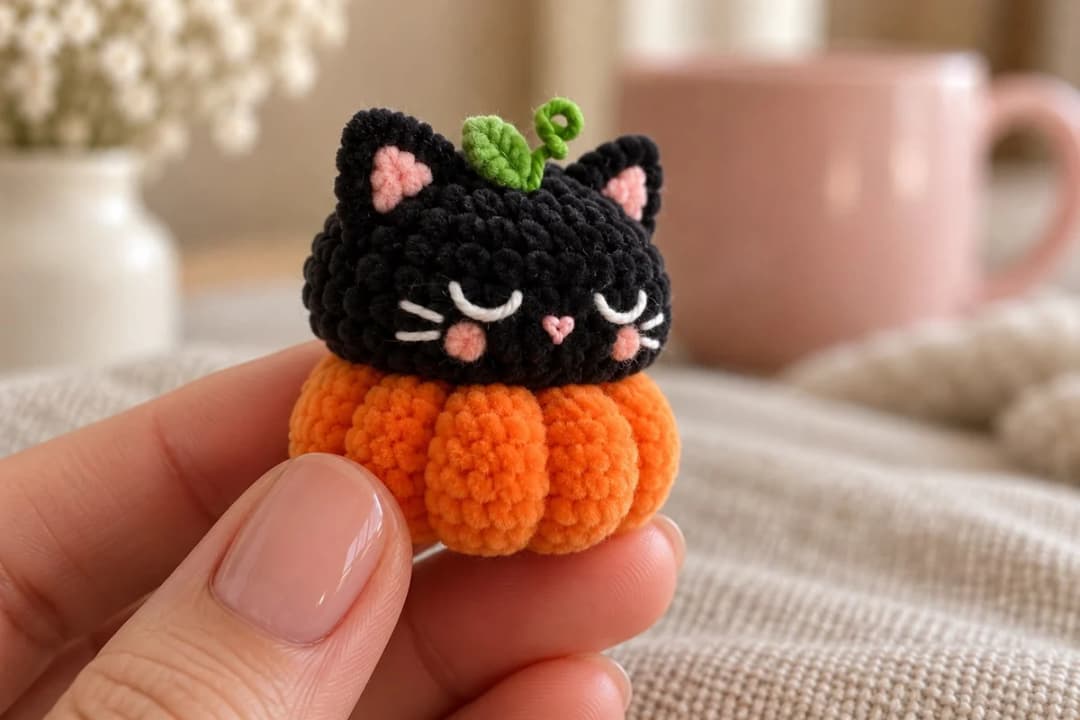
The witch version swaps the leaf for the hat below and adds a tiny gold star on one section of the pumpkin. Same pumpkin, same head. If you make both, one cat for the fall shelf and one for October, they look lovely side by side.
Crocheting with 2 mm chenille: what I check every round
Thin chenille gives tiny pieces that velvet look, and it also hides your stitches. These are the habits that save me from frogging, on the hat and on the kitty alike.
- Mark every round. Put a stitch marker in the last stitch and move it up each time. In chenille, you can't count the stitches by eye once the round is done.
- Count by touch. Run a fingertip along the top of the round and feel for each "V". It's quicker than squinting at the pile.
- Keep your tension tight. At about 8 single crochet per inch, no stuffing shows through. Looser than that, white fiberfill peeks out between the stitches on such a small piece.
- Don't pull it back twice. Frogged chenille sheds and goes thin. If a round is off by one, fix it in the next round with an extra increase or decrease, then carry on.
- Pull seams steadily. A sharp tug can snap thin chenille. When I need a strong seam, I sew with a matching strand of regular yarn or floss, which disappears in the pile.
The pattern: a free mini witch hat in eight rounds
This is the same hat the kitty wears in the PDF. It's worked from the tip down in a continuous spiral, then the last round goes in the front loops only, so it flips out into a small brim.
You'll need
- Yarn: thin 2 mm chenille, about 3 yd (3 m) of plum or deep purple and 1 yd (1 m) of orange for the band.
- Hook: 2 mm.
- Also: a pinch of stuffing, a tapestry needle, a stitch marker and scissors.
Stitches (US terms): magic ring (MR), single crochet (sc), increase (inc, 2 sc in the same stitch), slip stitch (sl st), front loop only (FLO), fasten off (FO). Stitch counts are in parentheses.
The cone and the brim
Plum. Don't join the rounds.
- R1: MR, 4 sc in the ring. (4)
- R2: sc in each st around. (4)
- R3: (sc, inc) × 2. (6)
- R4: sc in each st around. (6)
- R5: (sc 2, inc) × 2. (8)
- R6: sc in each st around. (8)
- R7: (sc 3, inc) × 2. (10)
- R8: in FLO: (sc, inc) × 5. (15)
Sl st in the next stitch and FO, leaving a 10 in (25 cm) tail for attaching. Working R8 in the front loops makes it turn outward, so the brim stays small and the kitty's ears still show.
Tip: pull the magic ring closed hard before R2. A 4-stitch ring that stays loose leaves a hole right at the tip, and the bend will open it further.
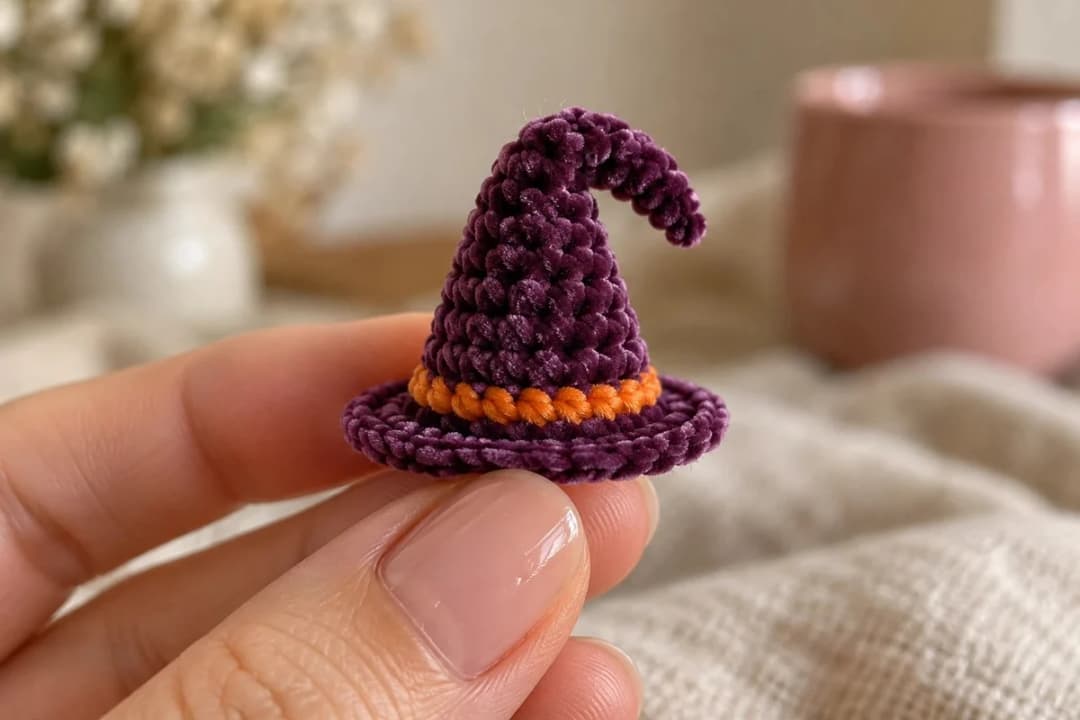
The orange band
Hold the hat tip up. Join orange with a sl st in a stitch of R7, on the outside, just above the brim. Sl st in each of the 10 stitches of R7, on the surface, then FO and weave both ends inside the hat. For an even quicker band, wrap a strand of orange twice around the base of the cone and knot it inside.
The bent tip
Push a very small pinch of stuffing into the lower half of the cone only. Leave the tip empty, bend it to one side, and hold it there with one tiny stitch through the cone. That one stitch is what makes the hat look like a witch's rather than a party hat.
Putting the hat on your amigurumi
Set the hat on the crown, between the ears, tilted a little toward one ear and never over the eyes. With the plum tail, tack the base of the cone to the head at 4 points: front, back and both sides. Don't pull these stitches tight, or they'll dent the head. Bury the tail inside the head.
Tip: keep the hat light. A firmly stuffed hat slowly tips a small head forward, and the kitty ends up looking at its own pumpkin.
For other toys. In 2 mm chenille, the brim is about ¾ in (2 cm) across, made for a head about that size. For a bigger amigurumi, the same counts in a thicker yarn and a bigger hook make a bigger hat. Measure the brim against the head before you sew, since every yarn comes out a little different.
Where the kitty ends up: shelves, desks and little gifts
Mine lives on the windowsill next to a pumpkin candle, and a second one sits by my keyboard. At this size the kitty also fits in a gift bag with a bar of chocolate, or in a teacup on a Halloween table setting, one at each plate.
If you'd rather have a Halloween cat you can carry around, my ghost cat crochet keychain is another quick one in velvet yarn.
What's inside the Pumpkin Witch Kitty PDF
The Pumpkin Witch Kitty PDF pattern has everything you need for the whole kitty, from the magic ring of the pumpkin to the last whisker:
- 14 pages, with each round on its own line and the stitch count at the end.
- 12 close-up photos, from the stuffed ball before the grooves to the finished witch version.
- The pumpkin round by round, and how to pull in its six sections evenly.
- The cat head and the pointed ears crocheted straight onto it, with exact stitch placement so the head doesn't tilt.
- The leaf and the curly vine for the classic version.
- The sleepy face: closed eyes, heart nose, whiskers, pink inner ears and cheeks, with where each stitch goes.
- Assembly stitch by stitch, plus the witch hat and the optional magic star.
- Three colourways, yardage per colour, chenille tips, and care and safety notes.
It's an instant download in English, US terms. You can sell the kitties you make from it in small quantities. Just credit Wavode as the designer.
Frequently asked questions
Is the witch hat in the PDF too? Yes. The PDF has the same hat with photos, plus where to place it on the kitty's head. The free version here is for anyone who wants to put a witch hat on their own amigurumi.
Can I use regular yarn instead of chenille? For the hat, yes. It works in any yarn, just bigger with a thicker yarn. For the kitty, chenille is what gives it that soft, velvety look and hides the seams. In smooth cotton it still works, but every stitch shows.
Is the kitty a toy for children? It's a small decoration rather than a toy. The tiny pieces and any felt or glue details can come off, so keep it away from children under 3 and pets.