Crochet Baby Sandals


This free crochet baby sandals pattern makes a pair of soft summer sandals with a thick white sole, a mustard toe strap covered in little daisies and an ankle strap that buttons onto a little side strap. They're worked in DK cotton with single crochet, in three sizes from newborn to 12 months. You need about 100 yards of cotton in three colors, a 3 mm hook and an evening or two.
Key Takeaways
- Two white ovals per sandal, joined by one mustard round, make a thick, comfy sole.
- The toe strap is worked in rows straight off the sole, then sewn to the other side.
- The ankle strap buttons onto a side strap with a crochet button, so there's no hard plastic.
- Three sizes, 0 to 12 months, about 100 yd of DK cotton for the pair.
Why I love these little sandals
Baby booties are lovely, but in summer they're just too warm. These sandals keep little feet open and cool, and the daisies make them the cutest summer gift you can crochet. They're perfect for a baby shower, a summer birthday or the first photos in the garden.
The construction is simple. Each sole is two white ovals: an outer sole with a little white wall, and an insole that sits inside it. One mustard round joins the two layers and gives the sandal its colored rim. Then you work the straps straight off that rim, so there's very little sewing.
The daisies take five minutes each. Three on each toe strap is my favorite, but two look sweet too.
Skill level. Advanced beginner. You need ch, sc, sc in the back loops, inc, a few rows, a magic ring, dc for the petals, and some whipstitch sewing.
What you'll need
Yarn: DK #3 cotton, such as Paintbox Yarns Cotton DK or Scheepjes Catona. Cotton is soft, breathable and washes well, and it keeps the sole firm.
| Color | Used for | Amount (middle size) |
|---|---|---|
| White | Soles, daisy petals, buttons | about 60 yd |
| Mustard yellow | Rim, toe strap, heel tab, side strap, ankle strap | about 35 yd |
| Orange | Daisy centers | about 3 yd |
I worked those amounts out from the stitch counts, plus tails for sewing. The smallest size uses a little less and the largest a little more, but one 50 g ball of white and one of mustard cover any size.
Hook and notions
- 3 mm (US C-2 / D-3) hook.
- A few stitch markers.
- A tapestry needle and scissors.
Sizes
Choose the size by foot length, not age. Measure the baby's foot from heel to longest toe and pick the sole that's a little longer.
| Size | Foot length up to | Sole length | Foundation chain | Toe strap rows | Ankle strap chain |
|---|---|---|---|---|---|
| 0–3 months | 3.25 in (8.5 cm) | 3.5 in (9 cm) | ch 11 | 16 | ch 29 |
| 3–6 months | 3.75 in (9.5 cm) | 4 in (10 cm) | ch 14 | 18 | ch 32 |
| 6–12 months | 4.25 in (11 cm) | 4.5 in (11.5 cm) | ch 17 | 20 | ch 35 |
The pattern is written for the smallest size, with the other two in parentheses: 0–3 (3–6, 6–12) months. If only one number is given, it's the same for all sizes.
Gauge
22 sc × 24 rows = 4 in (10 cm) with a 3 mm hook. Gauge matters here, because it sets the size of the sole. Check it at the end of Rnd 5: the sole should measure about 3.5 (4, 4.5) in long. If it's longer, go down half a hook size. If it's shorter, go up.
Abbreviations (US crochet terms)
- ch = chain
- sl st = slip stitch
- sc = single crochet
- inc = 2 sc in the same stitch
- dc = double crochet
- BLO = back loop only
- MR = magic ring
- st(s) = stitch(es)
- rnd(s) = round(s)
UK crocheters: this pattern uses US terms. US single crochet = UK double crochet, and US double crochet = UK treble crochet.
The soles are worked in joined rounds. Ch 1 at the start of a round doesn't count as a stitch. Make the first sc in the same st as the join, and sl st to the first sc at the end of each round.
The pattern — step by step
Part 1 — The soles (make 4)
With white. Each sandal has an outer sole (Rnds 1–7) and an insole (Rnds 1–5). Make 2 of each.
The oval starts at the heel end of the chain and turns at the toe end. Both ends grow by 3 sts each round, and the straight sides stay the same.
Foundation: Ch 11 (14, 17).
- Rnd 1: Sc in the 2nd ch from the hook, sc in the next 8 (11, 14) ch, 3 sc in the last ch. Working along the other side of the chain: sc in the next 8 (11, 14) ch, 2 sc in the last ch (the same ch as the first sc). Sl st to the first sc. (22, 28, 34)
- Rnd 2: Ch 1, inc in the first st, sc in the next 8 (11, 14), inc in each of the next 3, sc in the next 8 (11, 14), inc in each of the last 2. (28, 34, 40)
- Rnd 3: Ch 1, sc in the first st, inc, sc in the next 8 (11, 14), [sc, inc] 3 times, sc in the next 8 (11, 14), [sc, inc] 2 times. (34, 40, 46)
- Rnd 4: Ch 1, sc in the first 2 sts, inc, sc in the next 8 (11, 14), [sc 2, inc] 3 times, sc in the next 8 (11, 14), [sc 2, inc] 2 times. (40, 46, 52)
- Rnd 5: Ch 1, sc in the first 3 sts, inc, sc in the next 8 (11, 14), [sc 3, inc] 3 times, sc in the next 8 (11, 14), [sc 3, inc] 2 times. (46, 52, 58)
Check the length now (see Gauge). The sole should lie flat.
For the 2 insoles: fasten off and weave in the ends.
For the 2 outer soles, keep going:
- Rnd 6: Ch 1, sc in the back loop only of each st around. (46, 52, 58) The edge turns up and starts the white wall.
- Rnd 7: Ch 1, sc in each st around. (46, 52, 58)
Fasten off and weave in the ends. The outer sole is now a shallow white tray.

Part 2 — The rim and straps
The mustard rim (joining round). Drop an insole into an outer sole, with the right sides out and the heels and toes lined up. The edge of the insole (Rnd 5) sits level with the top of the white wall (Rnd 7). Both have 46 (52, 58) sts.
- Rnd 1: Join mustard at the center back of the heel, through a st of the insole and the matching st of the wall. Ch 1, sc through both layers in each st around. Sl st to the first sc. (46, 52, 58)
Fasten off and weave in the ends. You now have a thick white sole with a mustard rim.
Place the markers. Lay the sole flat, toe up. The toe curve ends where the side edge goes straight. On each side, mark the first 5 straight rim sts next to the toe curve. Then mark the 7 center sts at the back of the heel.
The toe strap (mustard), worked in rows on 5 sts.
- Row 1: Join mustard in the first marked st on one side. Ch 1, sc in the same st and the next 4 marked sts. (5)
- Rows 2–16 (2–18, 2–20): Ch 1, turn, sc in each st across. (5)
Fasten off, leaving a 12-in (30 cm) tail. The strap is about 2.75 (3, 3.25) in long.
Bring the strap over the top of the sole to the 5 marked sts on the other side, without twisting it. Whipstitch the last row to those 5 rim sts with the tail. Go across twice, so the strap is sewn on firmly. The strap should arch over the foot with room for a finger under it. If it doesn't, add or take out a row before you sew it down.
The heel tab (mustard), worked in rows on the 7 heel sts.
- Row 1: Join mustard in the first marked heel st. Ch 1, sc in the same st and the next 6 marked sts. (7)
- Rows 2–4 (2–4, 2–5): Ch 1, turn, sc in each st across. (7)
Fasten off and weave in the ends. The tab stands up at the back of the heel.
The side strap (mustard), worked in rows on 3 sts. Decide which side of the sandal is the outer side (the little-toe side). For the second sandal, it's the opposite side, so the pair mirrors. On the outer side, count the rim sts between the toe strap and the heel tab, and mark the 3 sts in the middle.
- Row 1: Join mustard in the first marked st. Ch 1, sc in the same st and the next 2 marked sts. (3)
- Rows 2–4 (2–4, 2–5): Ch 1, turn, sc in each st across. (3)
Fasten off and weave in the ends. The side strap stands up as high as the heel tab.
The ankle strap (mustard), worked lengthwise.
- Foundation: Ch 29 (32, 35).
- Row 1: Sc in the 2nd ch from the hook and in each ch across. (28, 31, 34)
- Row 2: Ch 1, turn, sc in each st across. (28, 31, 34)
- Row 3 (buttonhole): Ch 1, turn, sc in each st to the last 3 sts, ch 2, skip 2 sts, sc in the last st. (26, 29, 32 sc and a ch-2 space)
- Row 4: Ch 1, turn, sc in the first st, 2 sc in the ch-2 space, sc in each st across. (28, 31, 34)
Fasten off, leaving a 16-in (40 cm) tail at the end without the buttonhole. That end is the plain end.
Attach the ankle strap.
- Lay the strap across the outside of the heel tab, with the strap's lower edge over the tab's last row.
- Slide it along until the plain end reaches the side strap on the outer side and covers its last row. The buttonhole end goes the long way, around the inner side.
- Check the fit before you sew. Wrap the buttonhole end around the ankle (or around a tape measure loop set to the ankle size) and bring it to the side strap. It should close with one finger fitting under it. If it's too loose or too tight, make the strap again with 2 ch fewer or more.
- With the tail, sew the plain end to the last row of the side strap, through both layers. Go across twice.
- Then sew the strap to the last row of the heel tab, through both layers, across all 7 tab sts. Go back across a second time. These two seams carry the pull of the strap, so make them firm.
The long end wraps around the inner side of the ankle, crosses the front and buttons on the outer side, right above the side strap.

Part 3 — The daisies and buttons
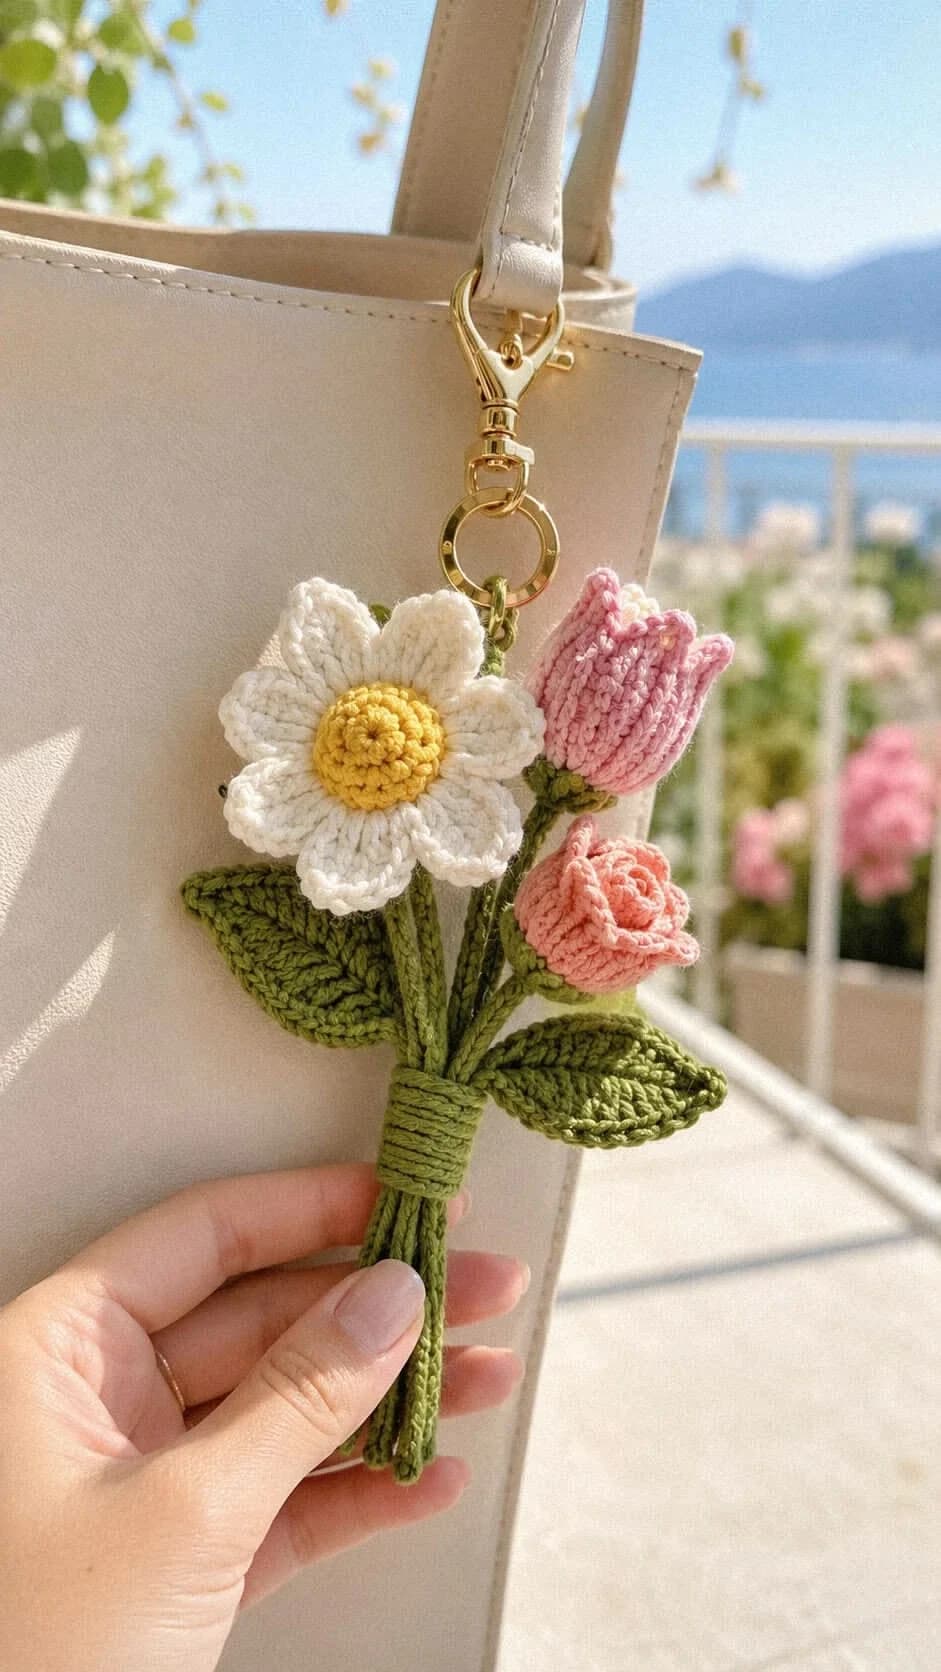
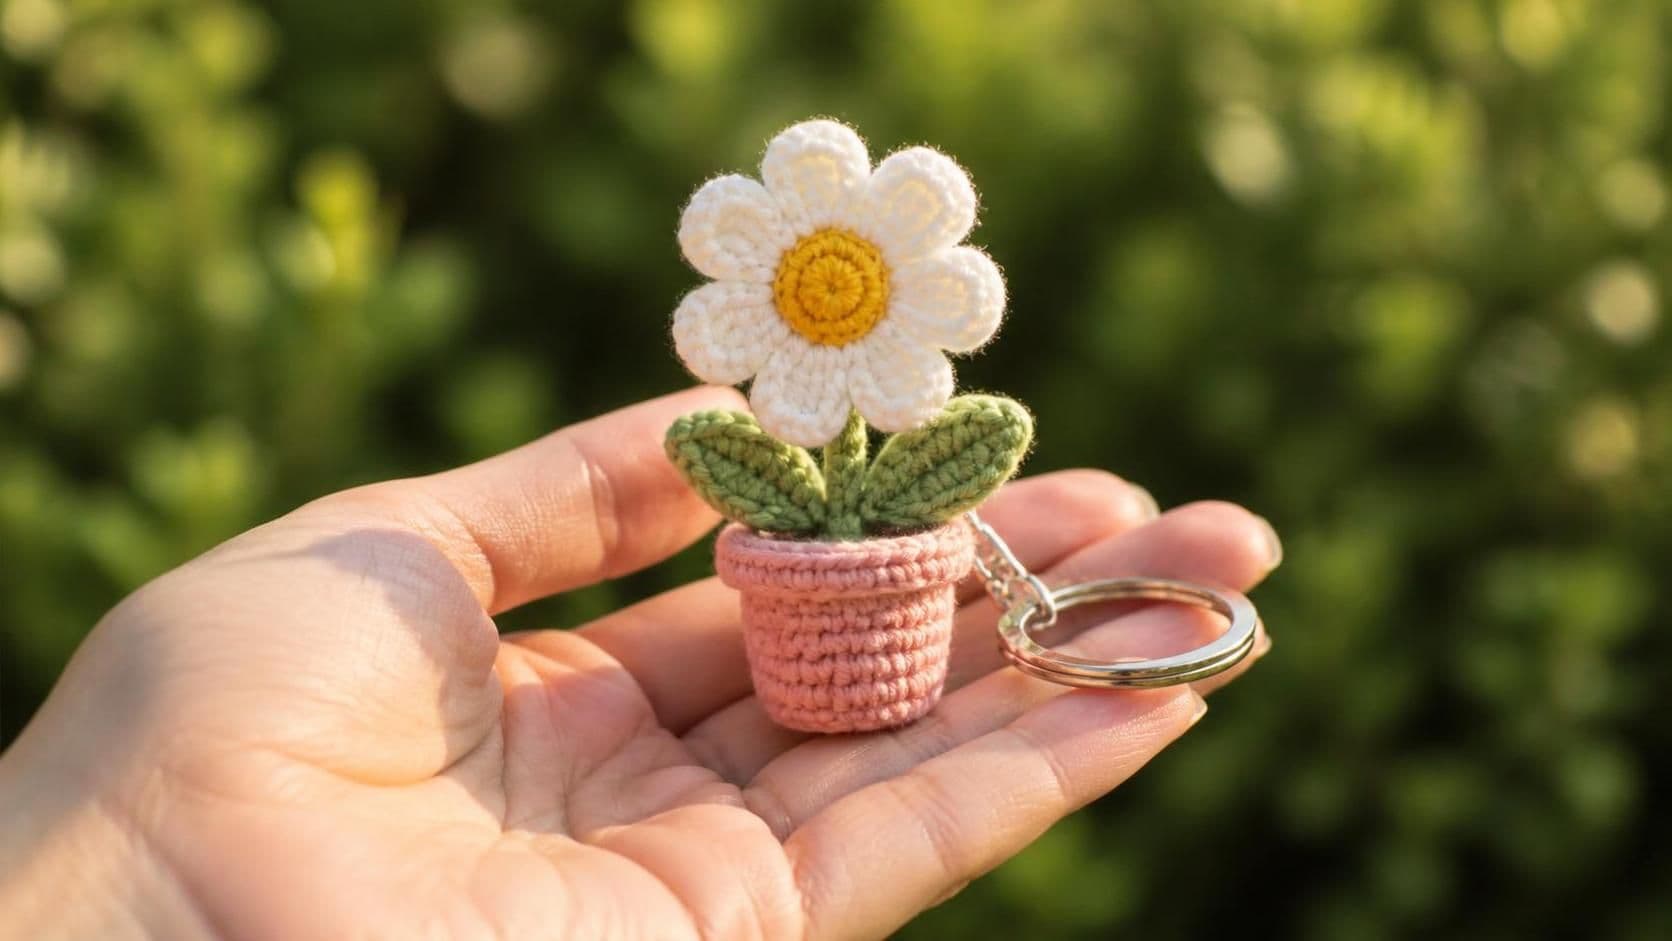
Daisy (make 6, 3 per sandal).
- Rnd 1: With orange, MR, 5 sc in the ring. Pull it closed tight and sl st to the first sc. Fasten off orange. (5)
- Rnd 2: Join white with a sl st in any sc. *(Ch 2, 2 dc, ch 2, sl st) in the same st, sl st in the next sc. Repeat from * 4 more times, ending with the last sl st in the first sc. (5 petals)
Fasten off, leaving an 8-in (20 cm) tail. Each daisy is about ¾ in (2 cm) across.
Sew 3 daisies along the top of each toe strap, one in the center and one on each side. Sew around the orange center first, then tack each petal tip, so there are no loose petals for little fingers to pull.
Button (make 2).
- With white, MR, 6 sc in the ring. Pull it closed as tight as you can and sl st to the first sc. (6)
Fasten off, leaving an 8-in (20 cm) tail.
Sew on the buttons. Sew each button on the outside of the ankle strap, right where the plain end sits over the side strap. Use lots of small stitches through the center, going through the strap and the side strap. Then wind the tail around the base of the button a few times and knot it at the back.
Weave in all the ends through at least 6 sts, in two directions.

Safety and care. These are soft pram sandals for babies who aren't walking yet. Cotton soles have no grip, so they're not for standing or walking on smooth floors. There are no hard parts, but the daisies and buttons are small. Check that they're firmly sewn every time, and don't leave a baby alone or asleep in the sandals. Hand wash in cool water, reshape and dry flat.
Make it yours — quick variations
| Variation | Change from base pattern |
|---|---|
| Strawberry | Red straps and rim, with tiny green leaves instead of daisies and a few yellow seed stitches on the strap. |
| Pastel | Blush pink or sage green straps, with the same white daisies and a yellow center. |
| Plain and simple | Leave off the daisies and work the rim and straps in a soft neutral, such as oatmeal or light grey. |
| One big flower | Sew one daisy in the center of the toe strap and skip the other two. |
Troubleshooting
The sole curls up
Rnds 2 to 5 have the wrong stitch count, or your tension is tight at the ends. Count each round: you should add exactly 6 sts per round, 3 at each end. If the counts are right, work the toe and heel ends a little looser.
The insole doesn't fit in the outer sole
Both pieces need the same count before the rim. Check that the insole has 46 (52, 58) sts, just like Rnd 7 of the outer sole. If the insole looks bigger, push it down into the tray so its edge sits level with the top of the wall.
The toe strap is too tight or too loose
The strap should arch over the foot with room for one finger. Take it off the far side, add or pull out a row or two, and sew it down again.
The button slips out
The buttonhole is too big for the button. Pull the button's magic ring tighter, or add a second round of 6 sc in the back loops to make it thicker.
Frequently asked questions
How long do the crochet baby sandals take? An evening or two for the pair. The four soles take the longest. The straps go quickly, and each daisy takes about five minutes.
How much yarn do I need? About 100 yd of DK cotton for the middle size: around 60 yd of white, 35 yd of mustard and 3 yd of orange. One 50 g ball of white and one of mustard cover any of the three sizes.
Can I use worsted cotton instead of DK? Worsted makes a bigger, stiffer sandal. If you use worsted #4 cotton with a 3.5 mm hook, make the next size down. Measure the sole at Rnd 5 to check.
Can babies wear these sandals to walk? No. They're soft pram sandals for babies who aren't walking yet. Crochet cotton has no grip, so a walking toddler needs real shoes with a non-slip sole.
Can I sell sandals made from this pattern? Yes, you're welcome to sell finished sandals made from this free pattern at markets, on Etsy or as gifts. Please credit "Pattern by Wavode" in your listing and link back to this page. What you can't do is republish this write-up or my photos as your own pattern.
Related patterns on Wavode
- Crochet baby sneakers: the cold-weather sister of these sandals.
- Rosebud baby booties: classic cream booties with a little bow.
- Meadow baby crocs: sage clogs with a flip-back heel strap.
- Crochet baby socks: soft socks for the in-between weather.
- Primrose twirl baby dress: a summer dress to go with the sandals.
Made a pair of baby sandals? Tag #wavodecrochet on Pinterest. I re-pin every finished make and credit the maker.
Pattern by Clara Hartwell for Wavode. Questions? Email me at support@wavode.com.